Social Icons

.

Wednesday, March 9, 2016

Bar Project Series #11: Installed Panel Molding on Bar Wall

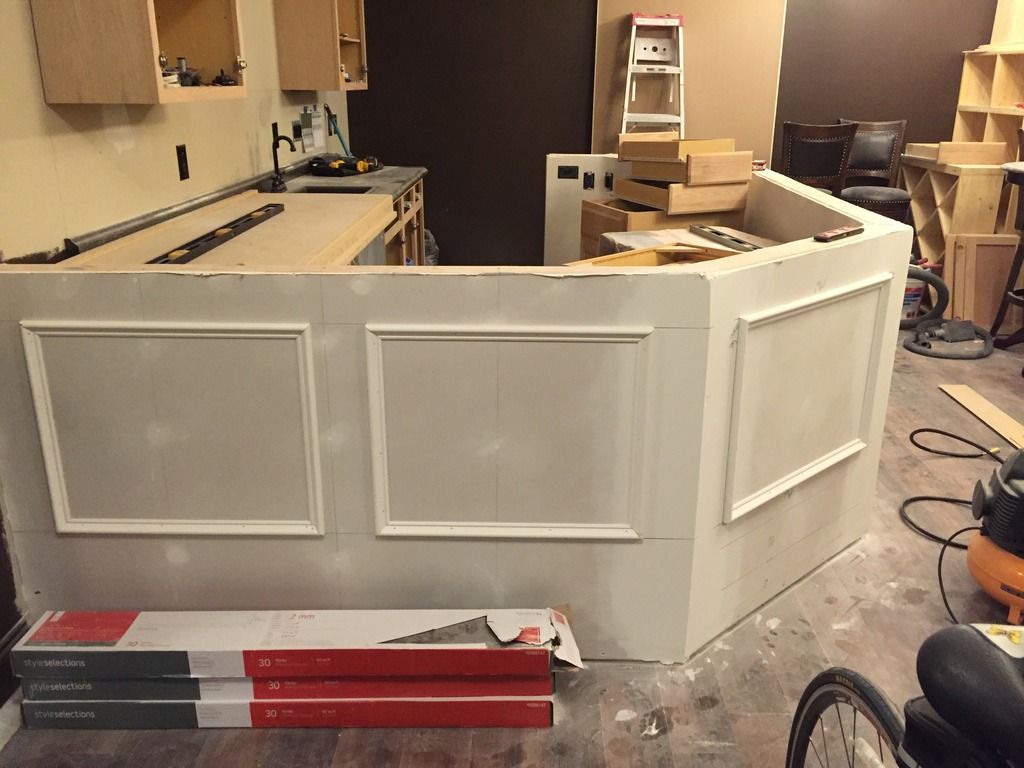
Again when we first started this project we had planned on buying the oak bar front kit from Hardwoods Inc. (We may still do this at some point and honestly it would have been a lot less work than having to tape and mud these corners. :-(  Ugh!).  We also considered doing stone, tile or reclaimed distressed wood... not sure.  For now though, we just put up some paneling trim, baseboard and are going to paint it dark brown (Sherwin Williams Turkish Coffee).

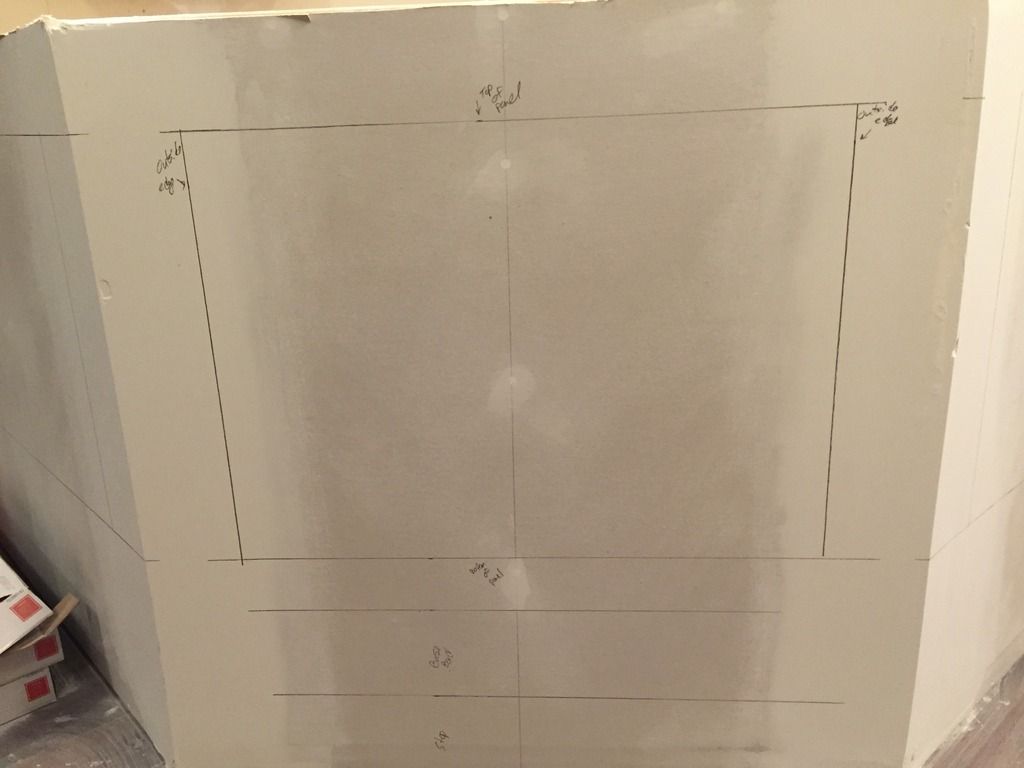
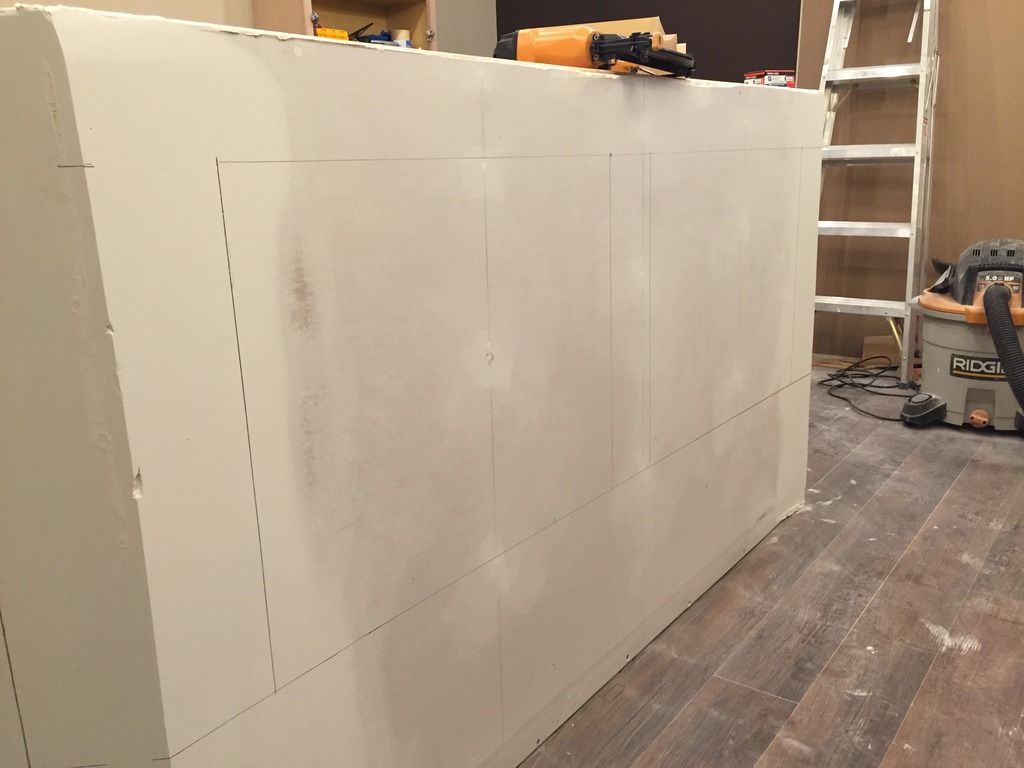
We started out by marking where the bar step and baseboard would be then figured out what kind of spacing we wanted around the paneling.  Then transferred the level lines around the bar wall and marked plumb lines for the vertical pieces. 

Two problems with doing it this way: 

First is that the floor isn't level and the gap between the bottom of the panel and the baseboard will not be the same from one side of the bar to the other.  If we made the boxes the same height and made the distance from the baseboard to the bottom of the panel box the same then the gap at the top would be off.  Alternatively we could have made the boxes different sizes to accommodate the change in the level of the floor but visually, you would have noticed the difference in panel size.  Doing it the way we did, you can sight the line of both the bottom and top of the panel boxes and they are straight.

The Second issue is that the taped and mudded corners aren't perfectly plumb, so the gap between the plumb panel and the corners is slightly off, top to bottom.

I'm sure these are nit picky details that absolutely no one will notice but it's frustrating to a DIYer striving to do the best they possibly can on a project.


Starting mocking up where the bar step, baseboard and panel molding will go


Transferred Level Lines around bar wall.
You may also see some touch up I need to do on the corner... haha.


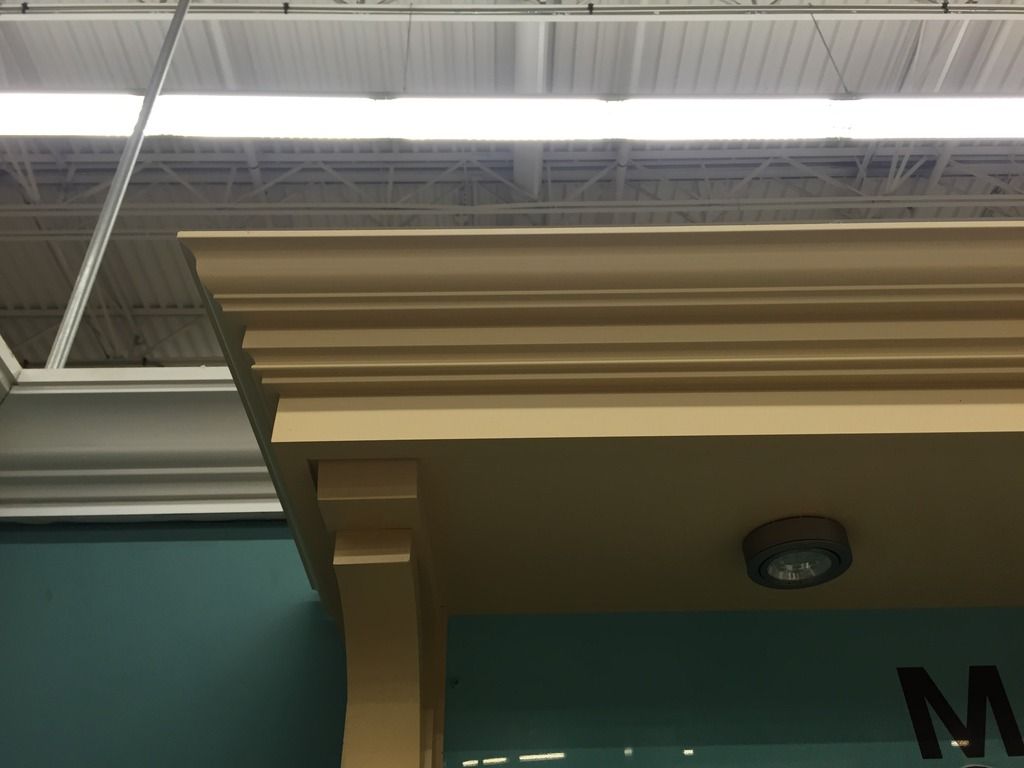
Panel Molding Installed. It looks high but there will be a bar step and
baseboard below it...


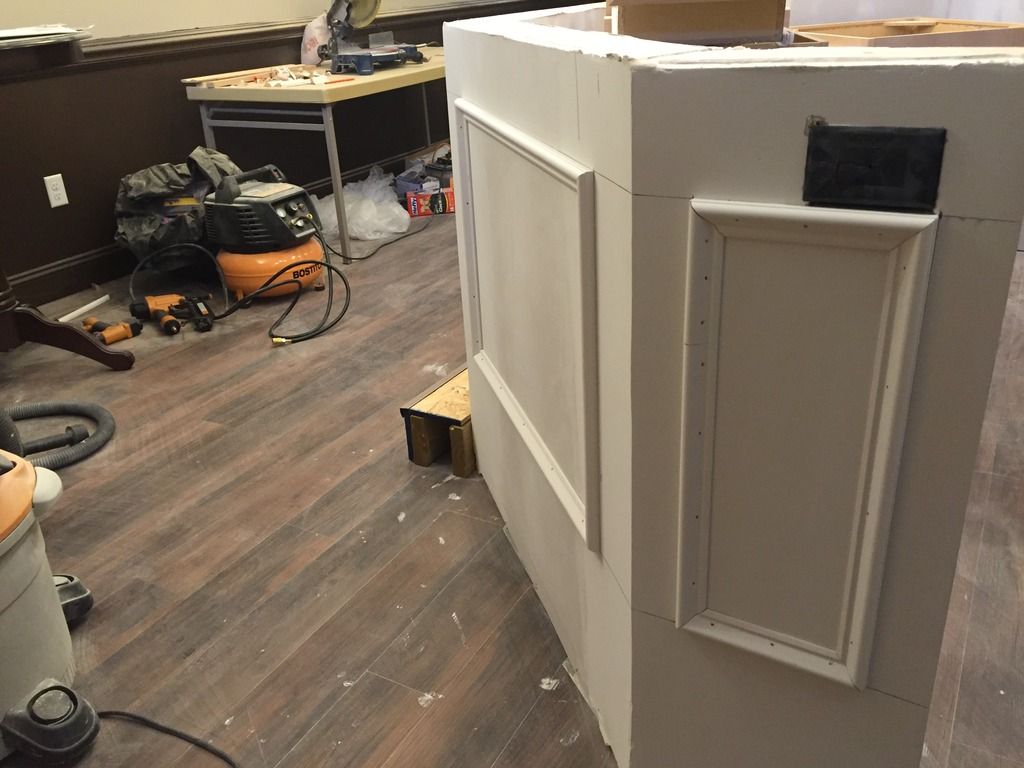
Other side of bar. Put in cable pass through for LED Rope Lights


Bar Project Series #10: Built Bridge Above Upper Cabinets

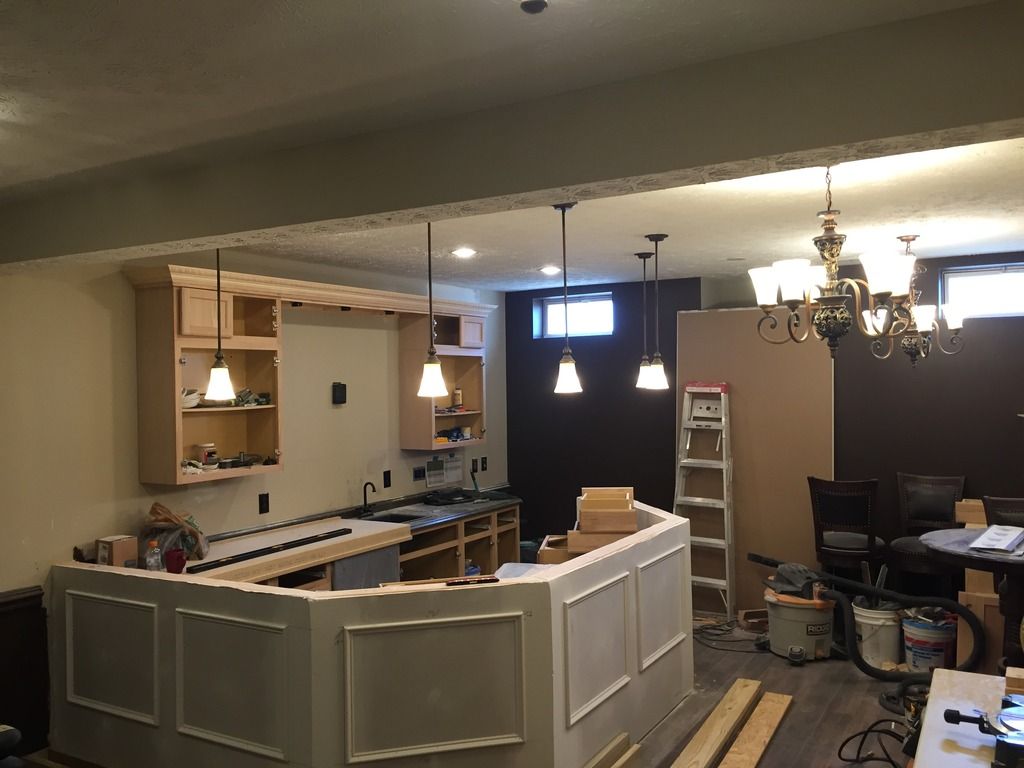
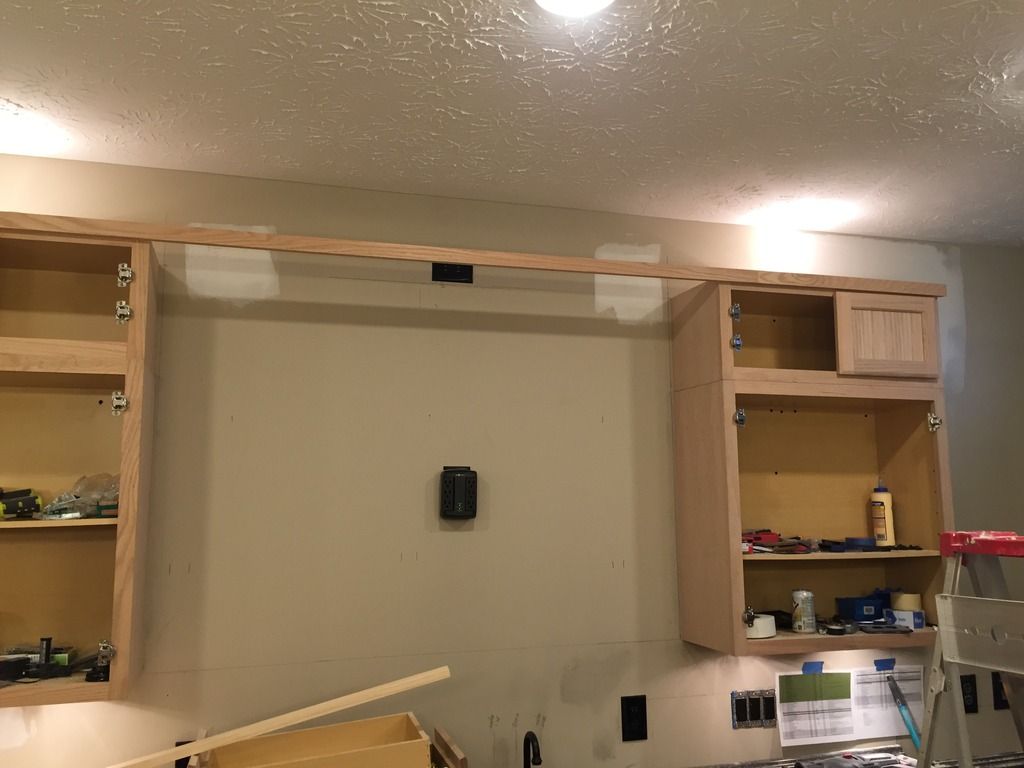
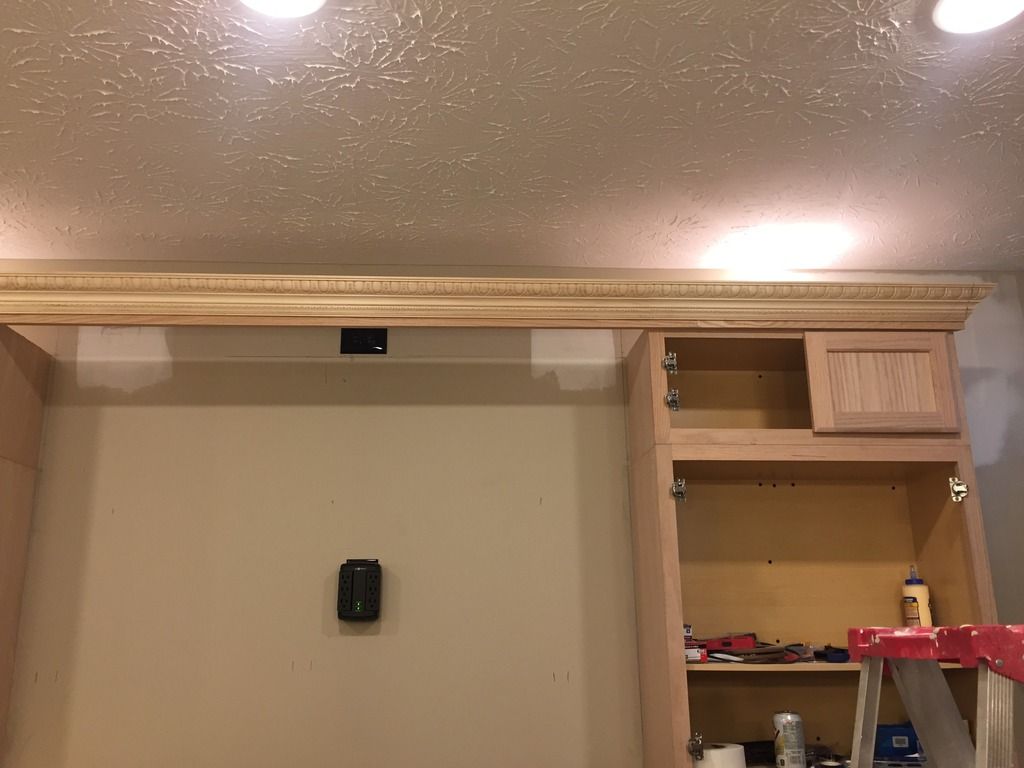
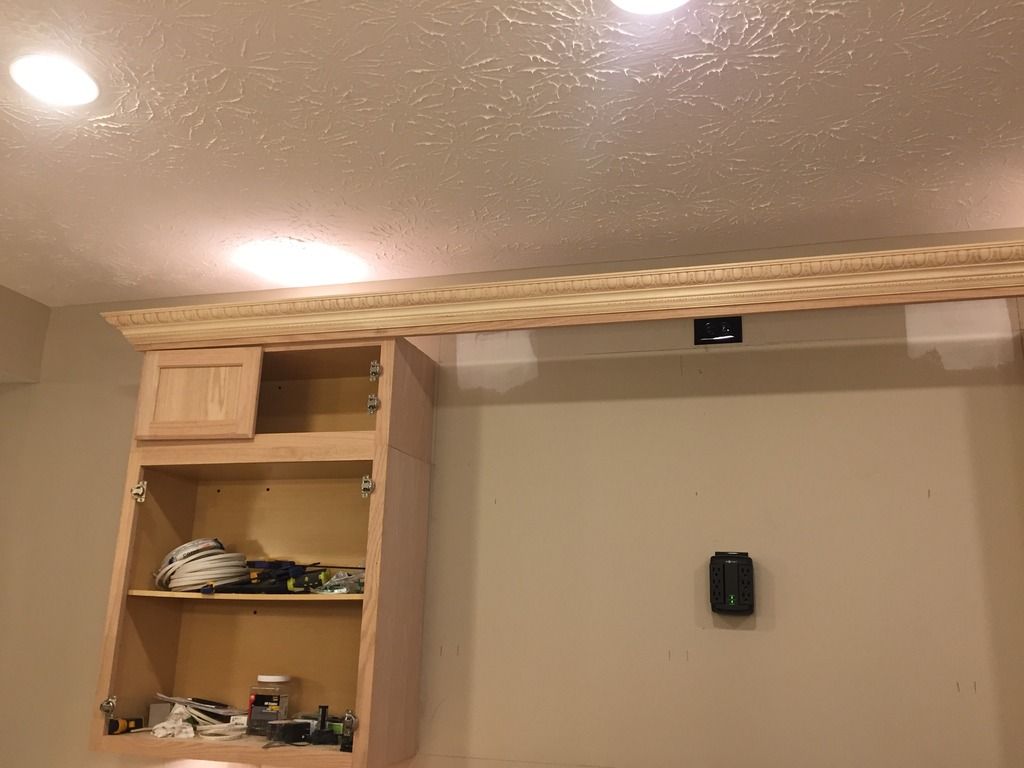
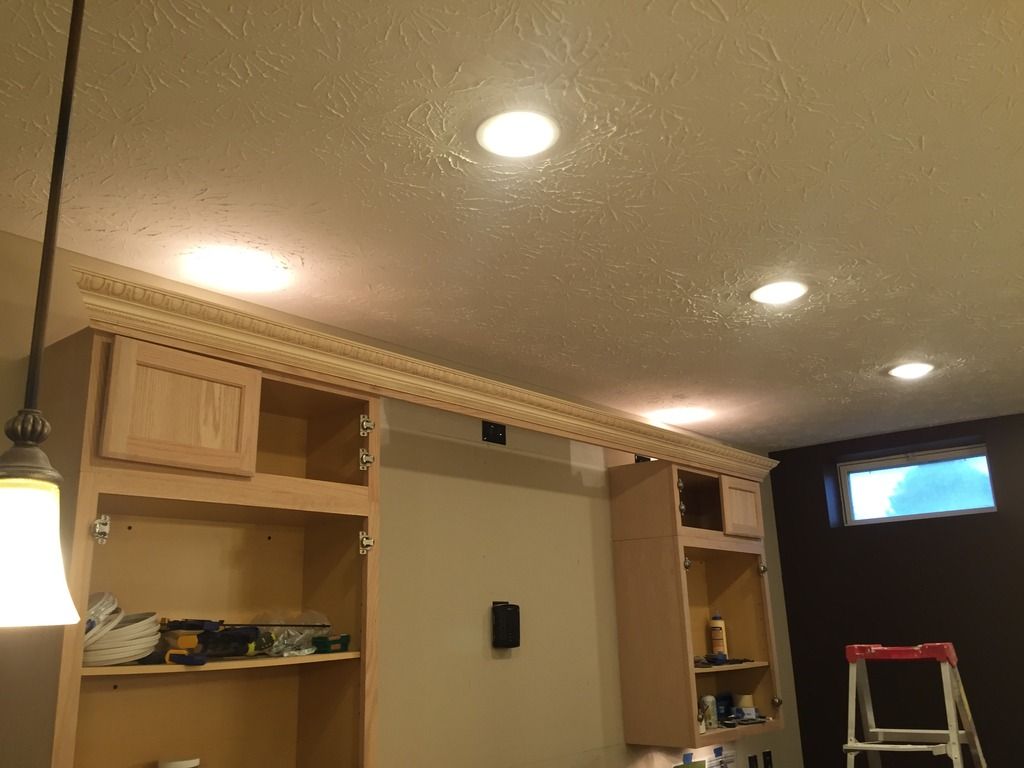
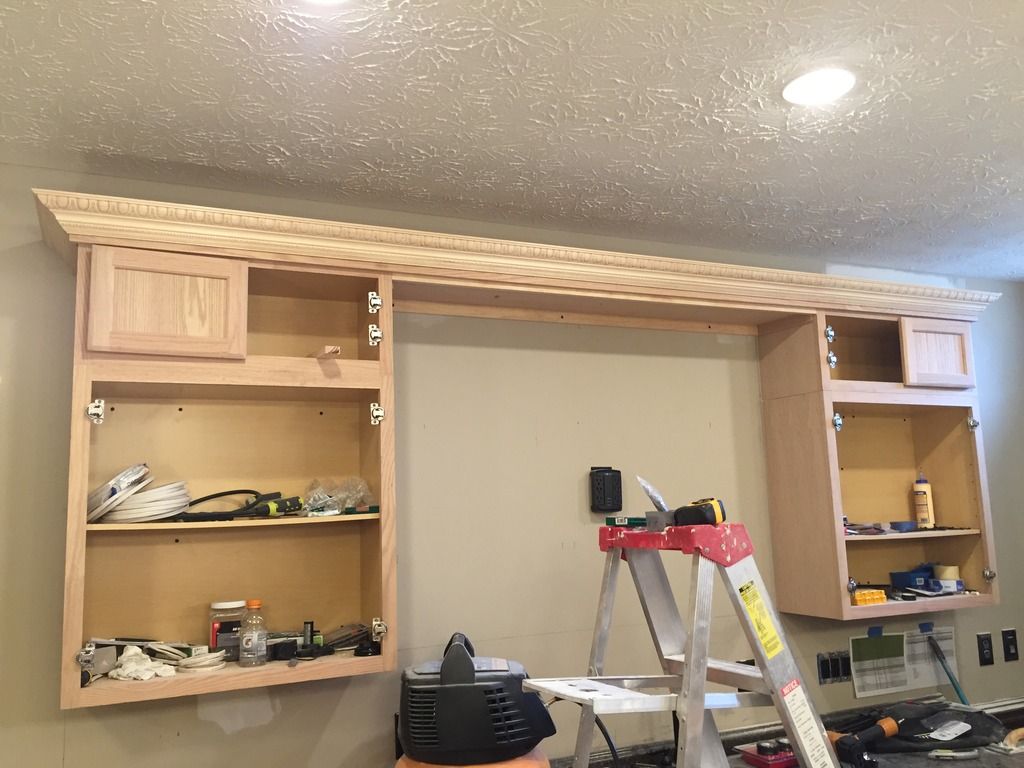
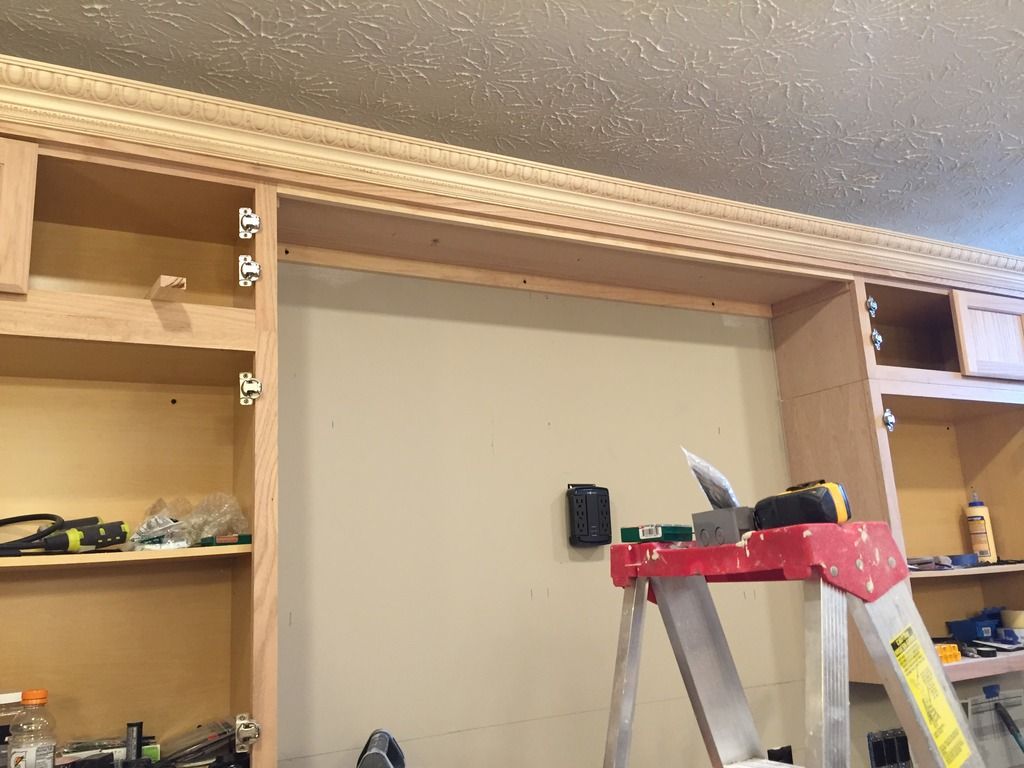
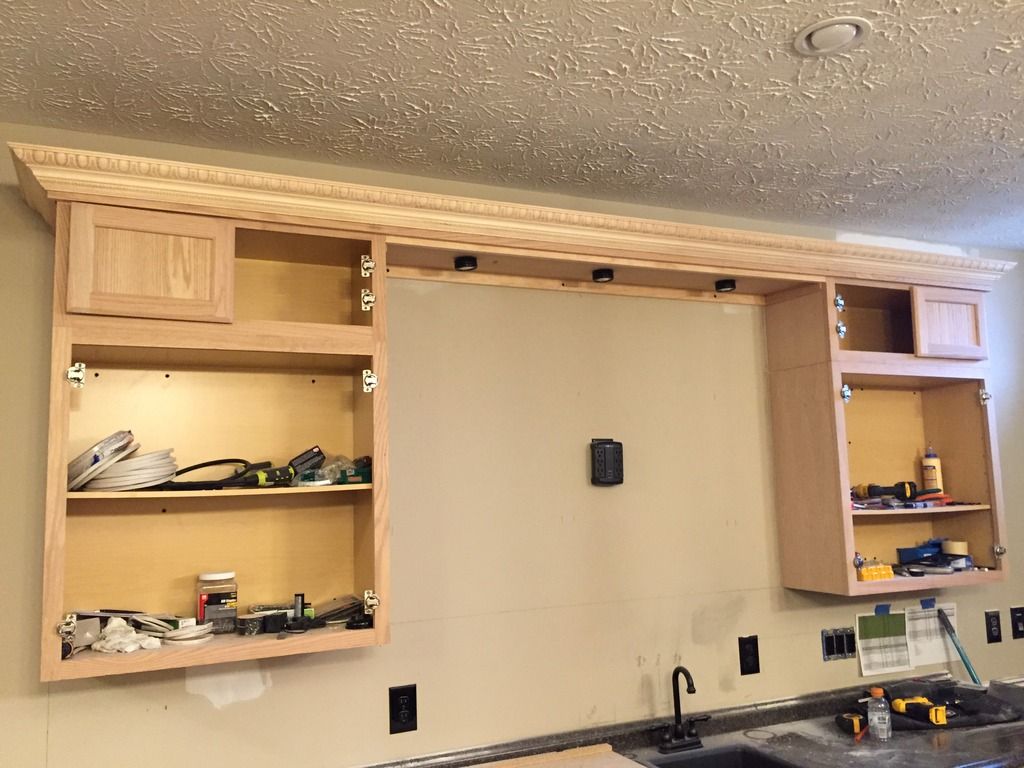
When we originally planned the bar we were going to do some custom shelving as the bar back much like what you would see in a typical bar.  Then after sketching it out, looking at time, materials and thinking about how we planned on using the space... it made more sense to use stock cabinets.  Although we were going to go with stock cabinets, we still wanted a custom feel... Didn't want it to look too much like an apartment kitchen. Haha.  So we decided to create a sort of bridge between the two sets of upper cabinets.  We think it turned out pretty good (well it looks good from 10'... which is good because we have 9' ceilings!).

Items Accomplished:
- Finished patching holes made from running wires on bar back
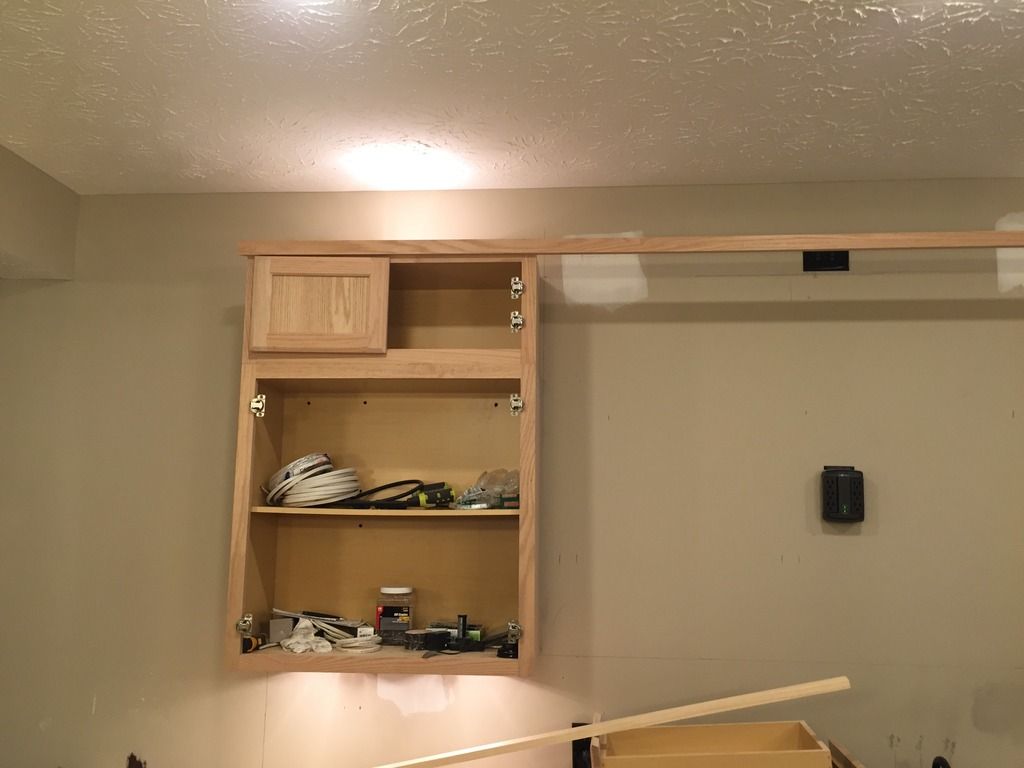
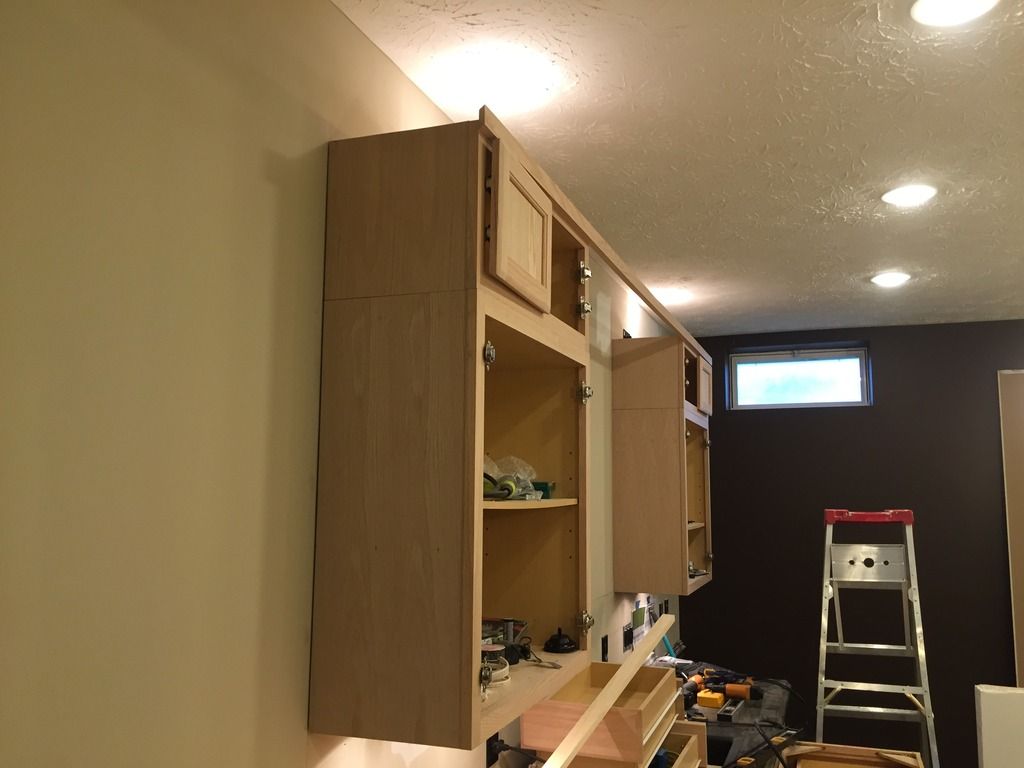
- Mounted 12" Tall Upper Cabinets to 30" Uppers and Wall
  - Alignment isn't great due to wall being crooked. Will need to sand faces a bit before staining
- Built Bridge above cabinets
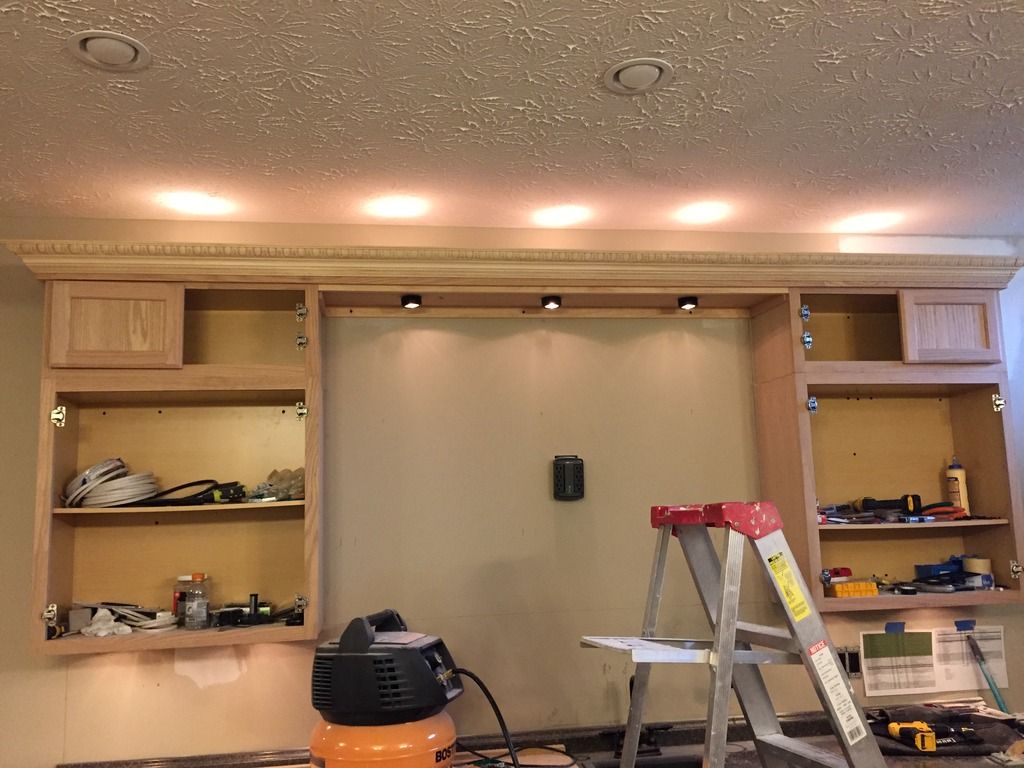
- Wired and installed rest of above cabinet and under bridge Xenon puck lights
  - A little concerned that although the lights under the bridge will provide task lighting for the bar sink and counter top, they might cast a glare on the TV going in between the cabinets.  Originally, these 3 lights were going to be on a separate switch but we ended up putting them on the same one as the rest of the puck lights.


Ran a piece of Red Oak 1x2 across both upper cabinets


Had to scarf in a 2' section on right. You can see it up close but from a distance
it's tougher to see. Will need to sand down a bit to hide joint.


In this pic you can see the gap between Oak Veneer on the 12" and 30"
cabinets. These panels come in 12"W x 30" H sheets. Unless you want
to buy and cut a 4'x8' sheet. So we will be putting a piece of trim over the gap.


Crown installed. Again there is a splice on the right side... which you can see
up close.  Still need to do some glue magic to hold the two pieces together.


Those doors r just loosely put in place to get spacing. They're not adjusted.


Crown finished and panel in middle installed


Probably going to add some cove molding on that piece in the back with
the screws.


Puck lights installed and wired


All Lit Up!!! Of course in person it doesn't look like you have 5
spot lights on the ceiling. The naked eye just sees a light glow!


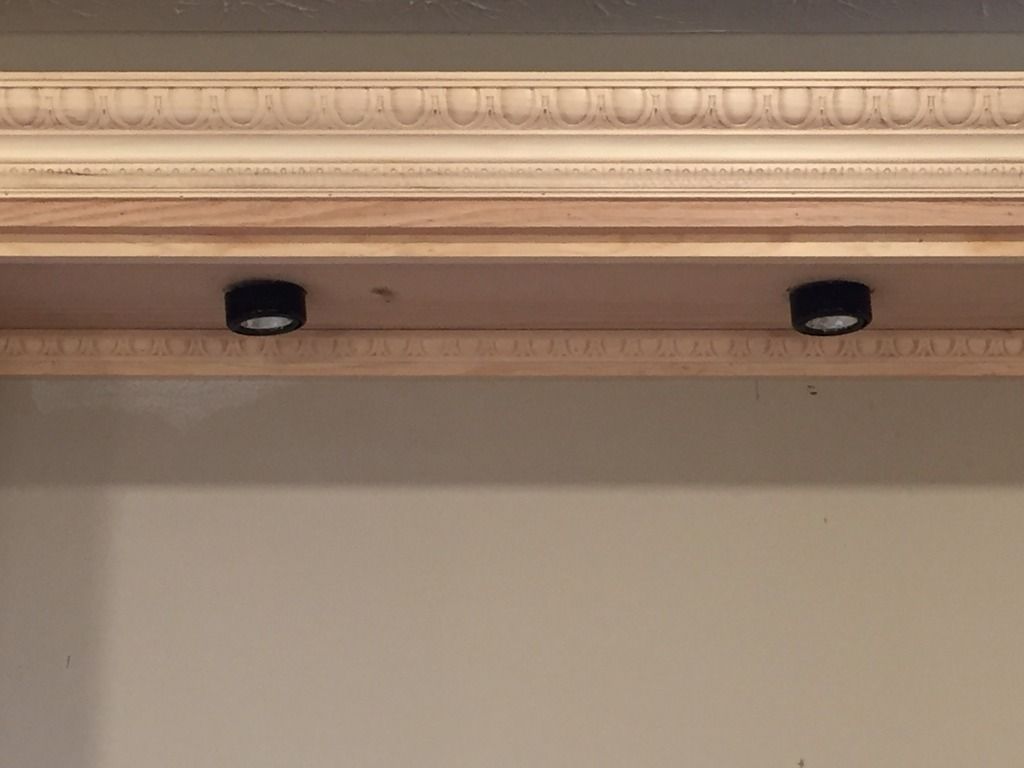
Added a decorative trim piece to back to dress up support piece


Close Up Shot of Trim... Don't look too close :-(


Thursday, March 3, 2016

Bar Project Series #9: Some Cabinet / Counter Top Work and Other Stuff

The drywall mud on the bar stub wall and other sheetrock repairs from the electrical work has been taking longer to dry than expected.  Ugh! So we have had to work ahead on other tasks that are not dependent on finishing the drywall work.

So while the mud was drying we:
- Laminated the oak veneer to the outside lower cabinets
- Leveled and mounted the lower cabinets to the back wall
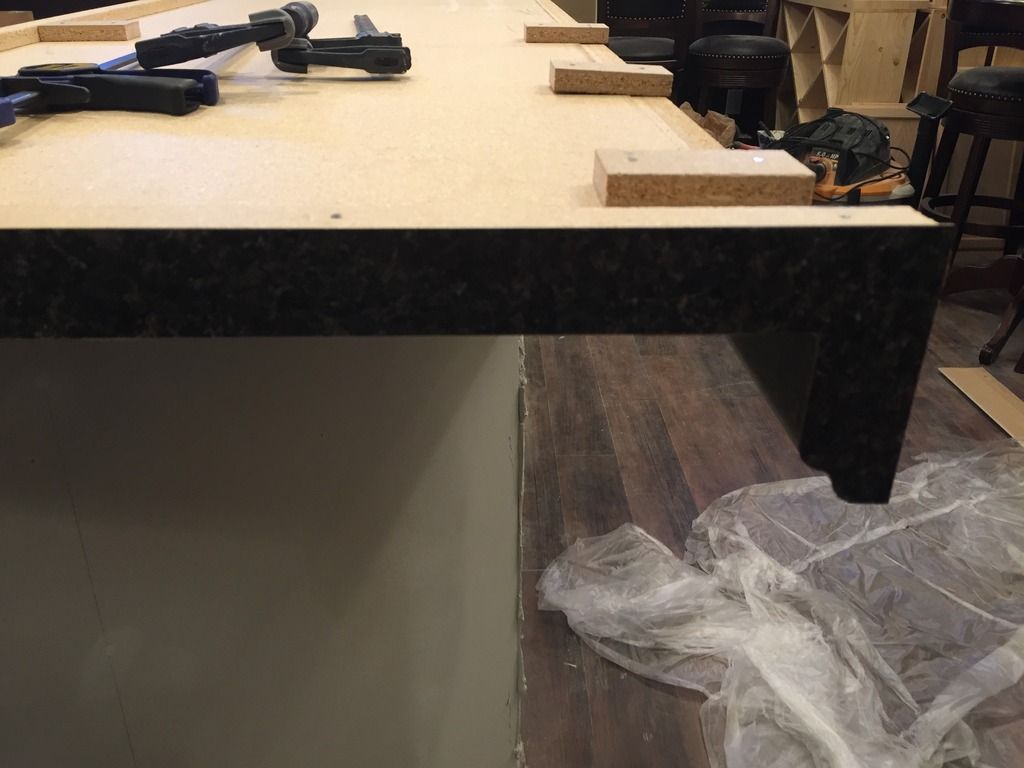
- Put build up blocks on the longer counter top for the back wall
- Attached the laminate end caps on the counter top
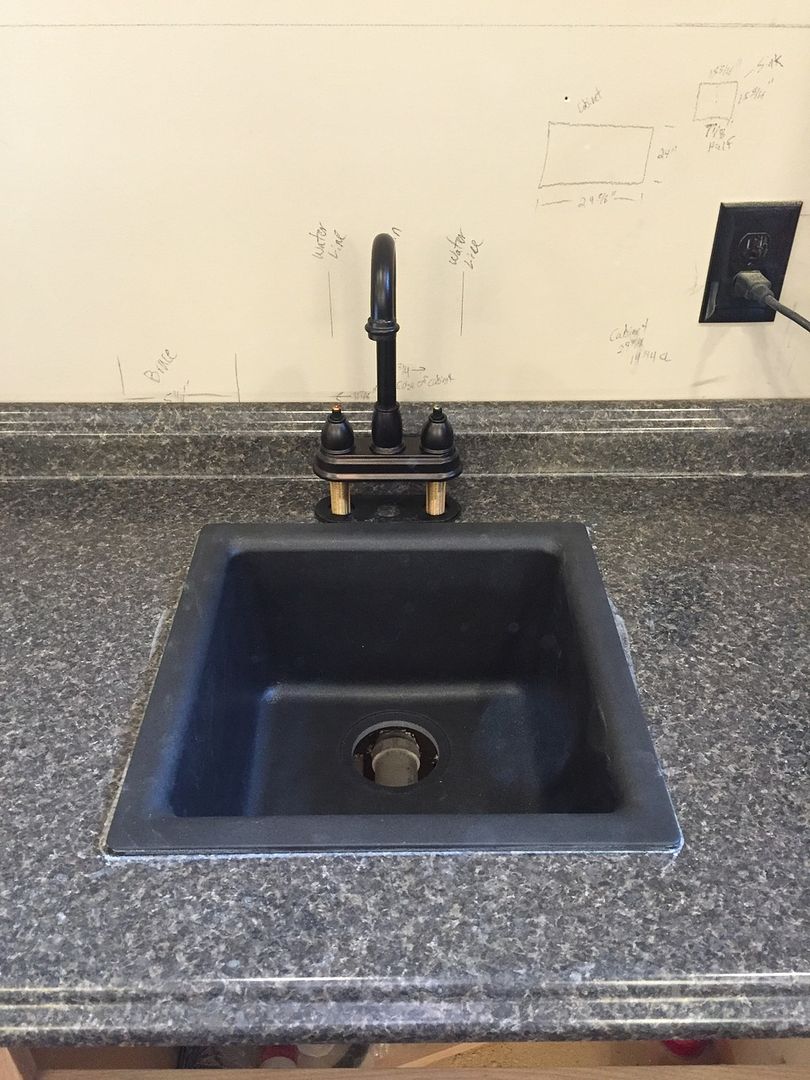
- Finally, we cut the holes for the sink and faucet. 

We will probably plumb all that after applying the next coat of mud.

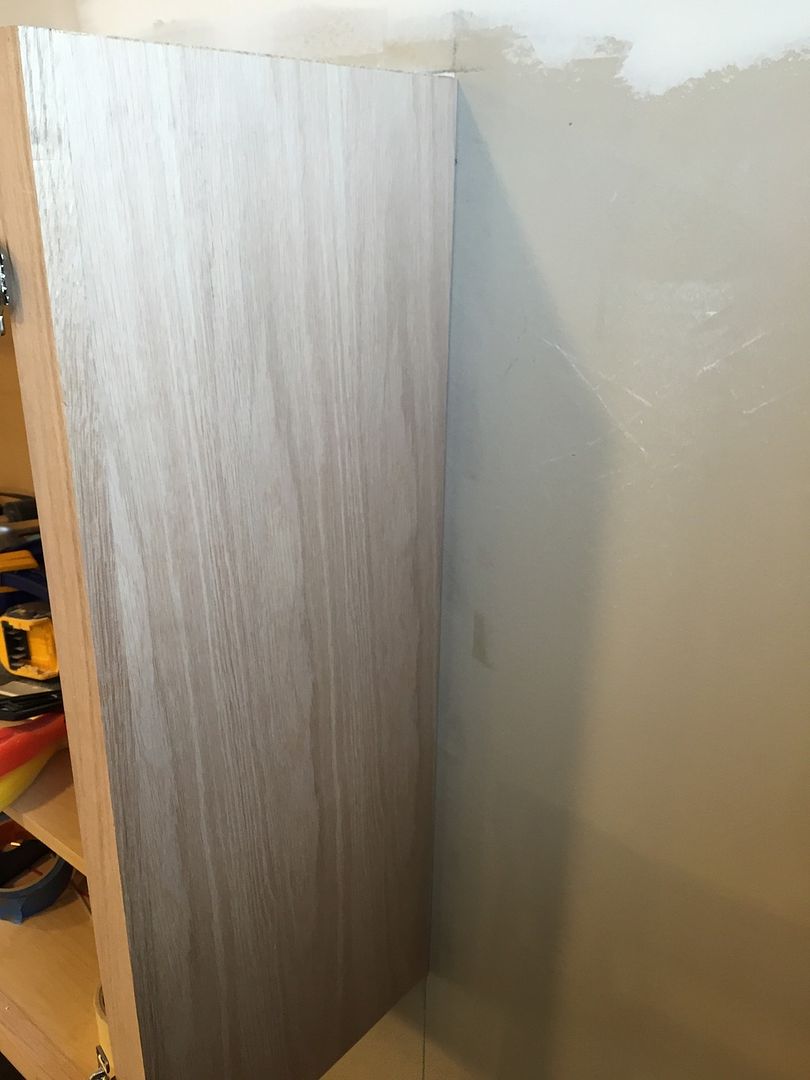
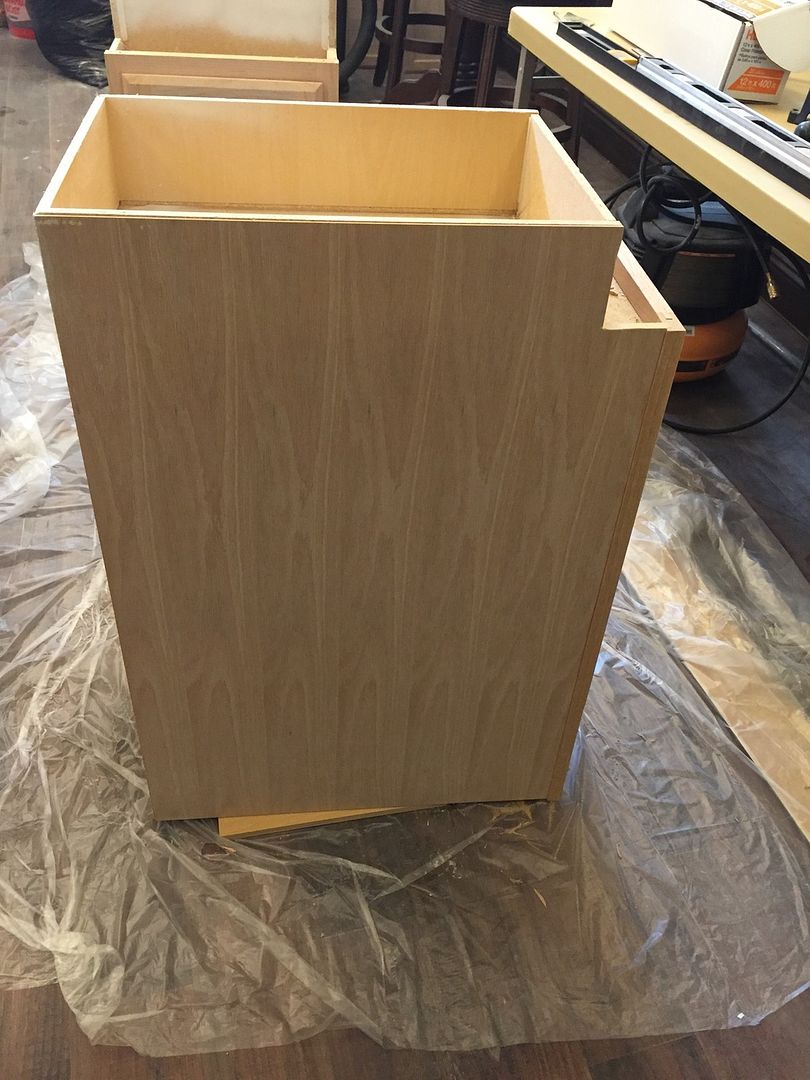
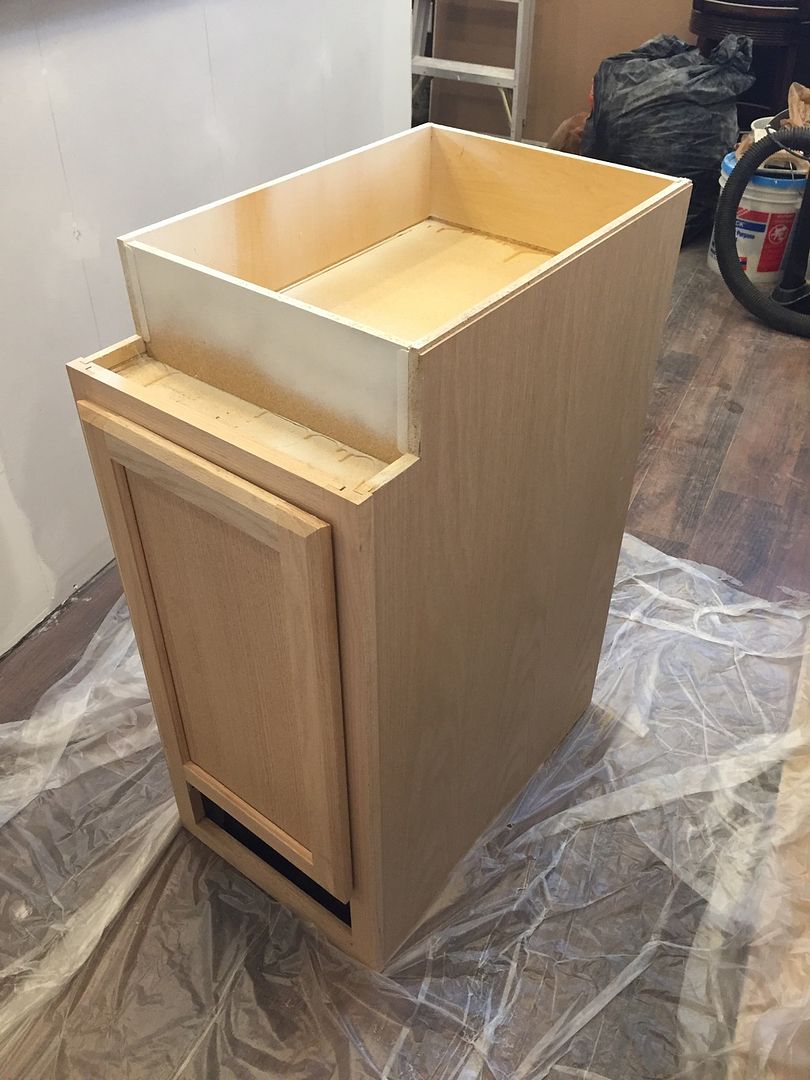
Laminating the oak veneer to the cabinets.  With he first ones I used wood glue.  It worked but I didn't like how the panel moved around and even when done there were spots that didn't quite adhere all the way.  Also, it kept moving around and required a lot of even weight to keep it in place.. and took a while to fully dry.  I found a Locktite laminate adhesive in a spray can at the home improvement store.  WOW! this stuff is NO joke.  You spray it on each side, wait 1-3 minutes, then put the two pieces together and use a rubber roller to ensure proper bonding.  It's completely dry within 15 minutes... but honestly isn't' moving once you put the pieces together.  You have NO ability to adjust once you put the piece down.  So you have to line it up the first time; which isn't too difficult if you are careful.  I was also really concerned about putting the veneer on the uppers using wood glue because they were already on the wall.  Using this method, no slipping, no need to clamp or add any weight.  Just spray, line up, stick in place and roll... DONE!  I was really happy with how this method worked out and am going to use it on the toe kicks as well.

A quick note on the build up blocks.  We didn't use these on the counter top we installed in our media room.  For the most part we didn't need them but do notice that the clearance between the top of the drawer faces and the bullnose is right a the height where you will pinch your fingers in between them.


Upper Cabinet Sprayed with Locktite Laminate Adhesive


Oak panel put in place and rolled on


This is the oak veneer attached and trimmed


We had sprayed some Oil Based Kiltz to the bottom
of the cabinets that will be against the wall. We noticed
some mildew accumulating on them and were concerned
that there was moisture building up behind the wall.


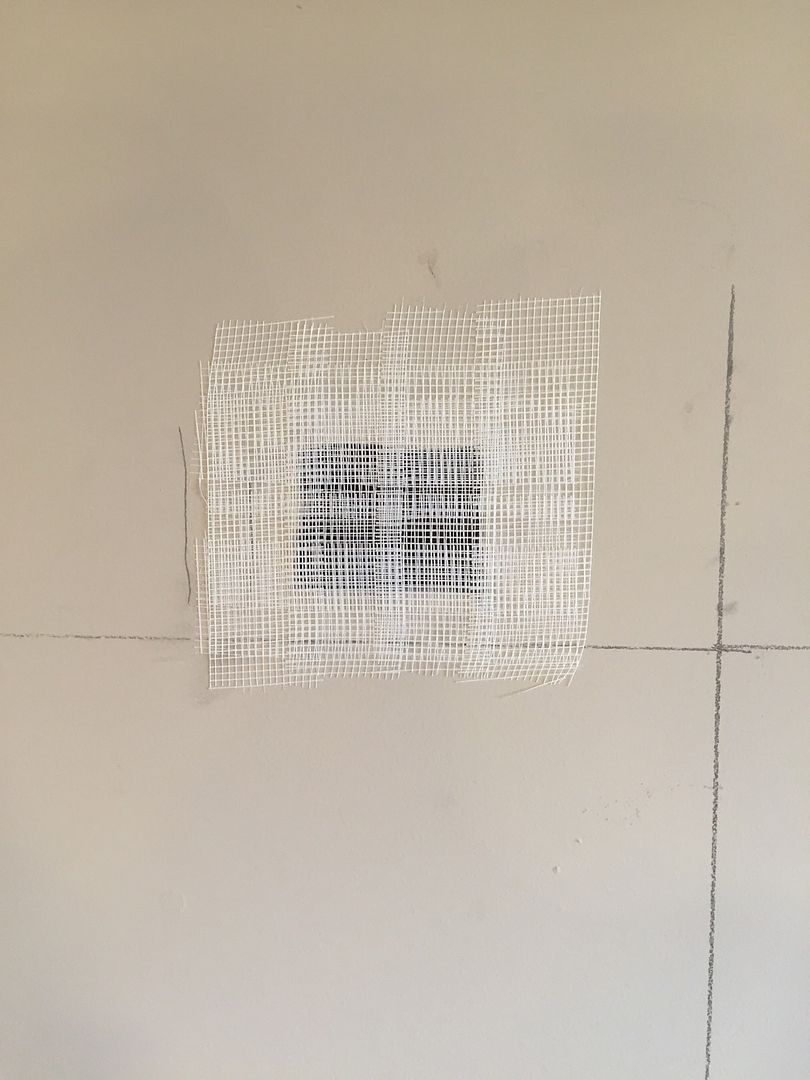
Wasn't having as much success putting blocking behind
the sheetrock pieces we had cut out to pull wires.
We had a roll of that fiberglass drywall seem tape,
so put 2 layers of tape across these small holes, and
put drywall mud over them. Will let you know
how it turns out. 


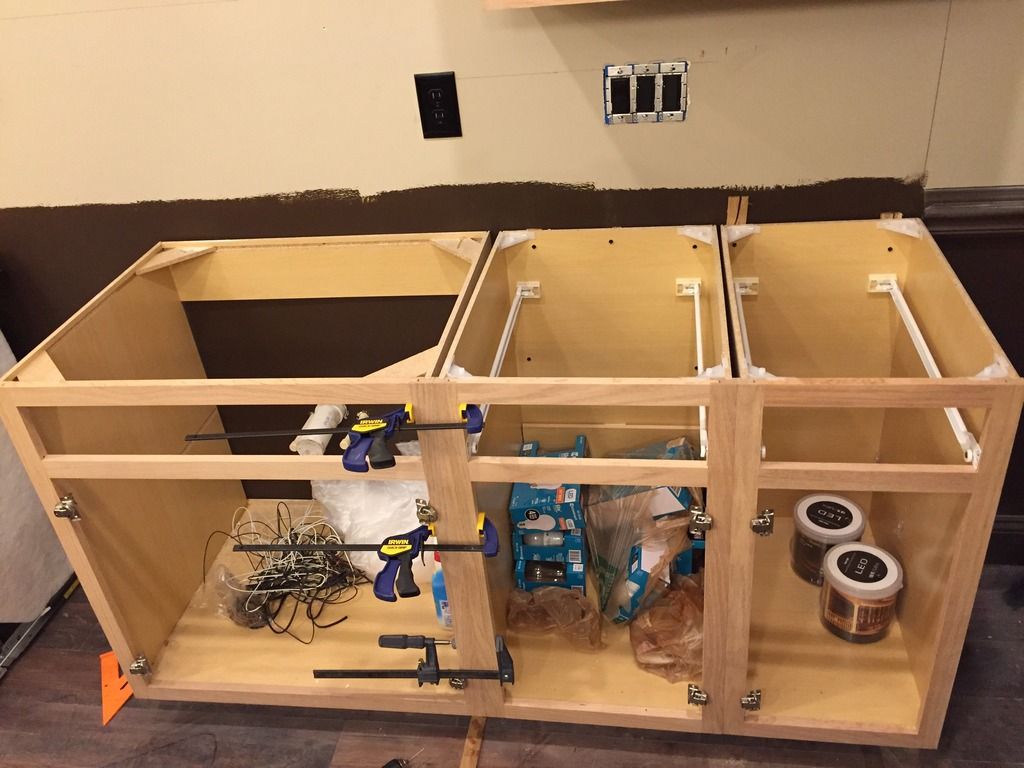
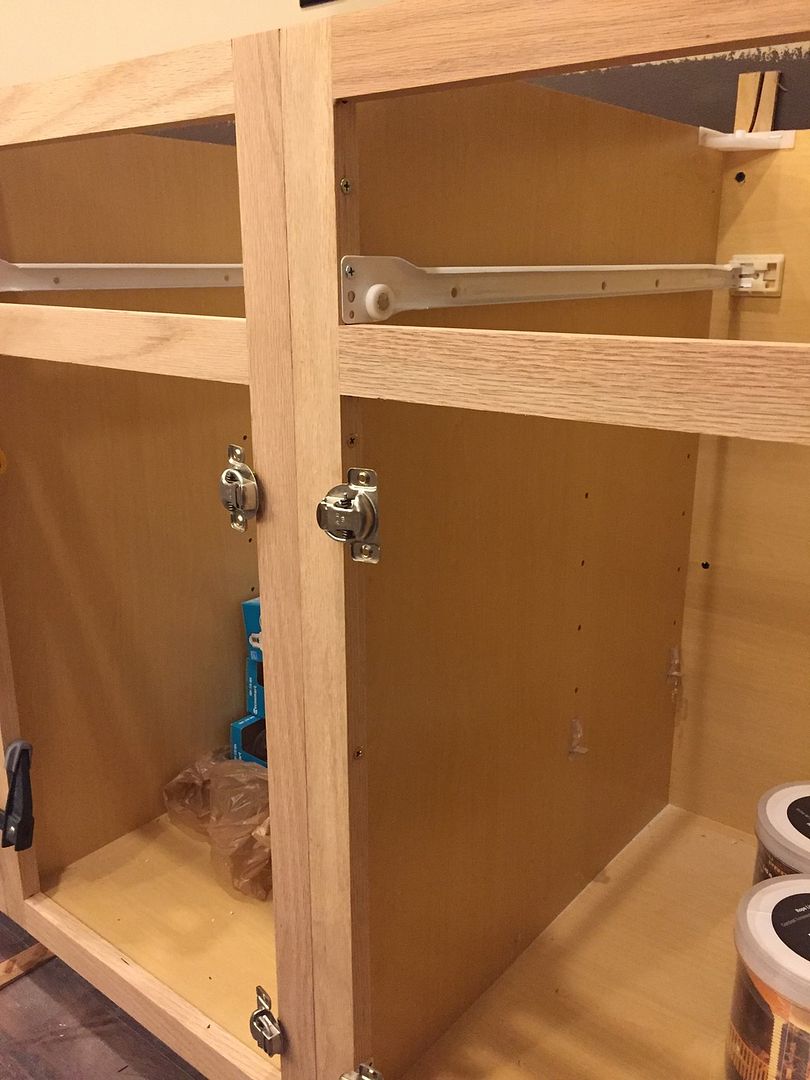
Clamping and screwing cabinet faces together and attaching cabinets to wall


You can sort of see the gold screws attaching the faces together


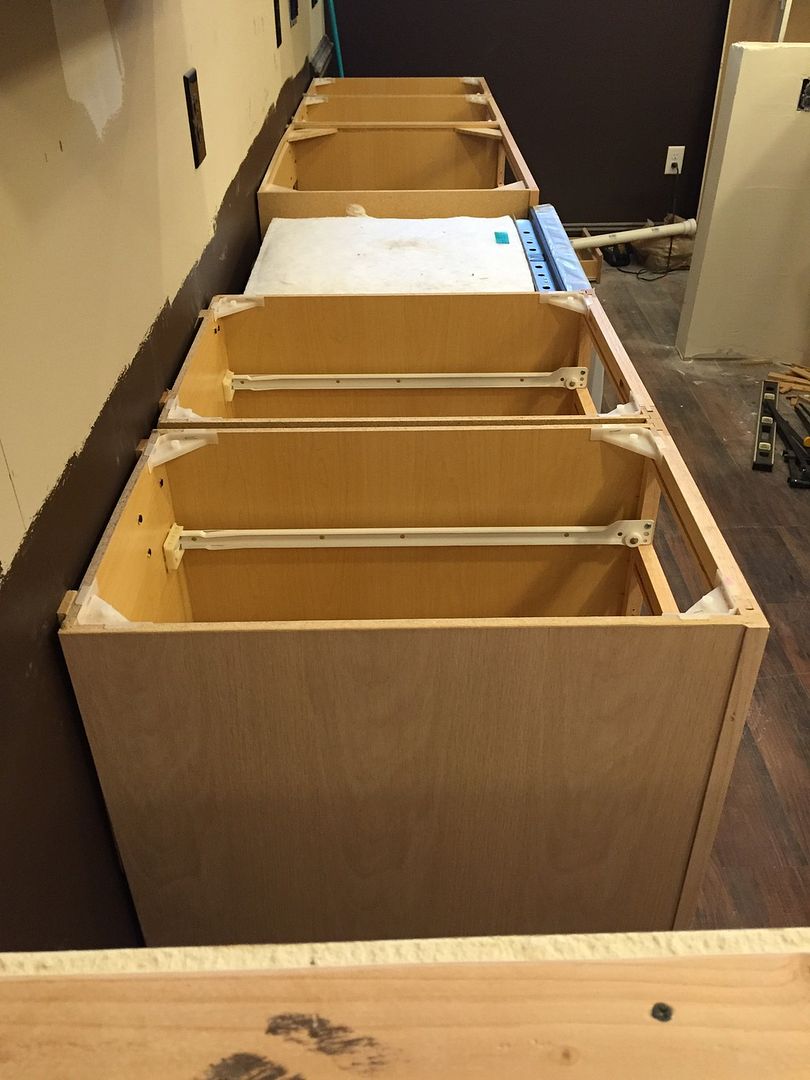
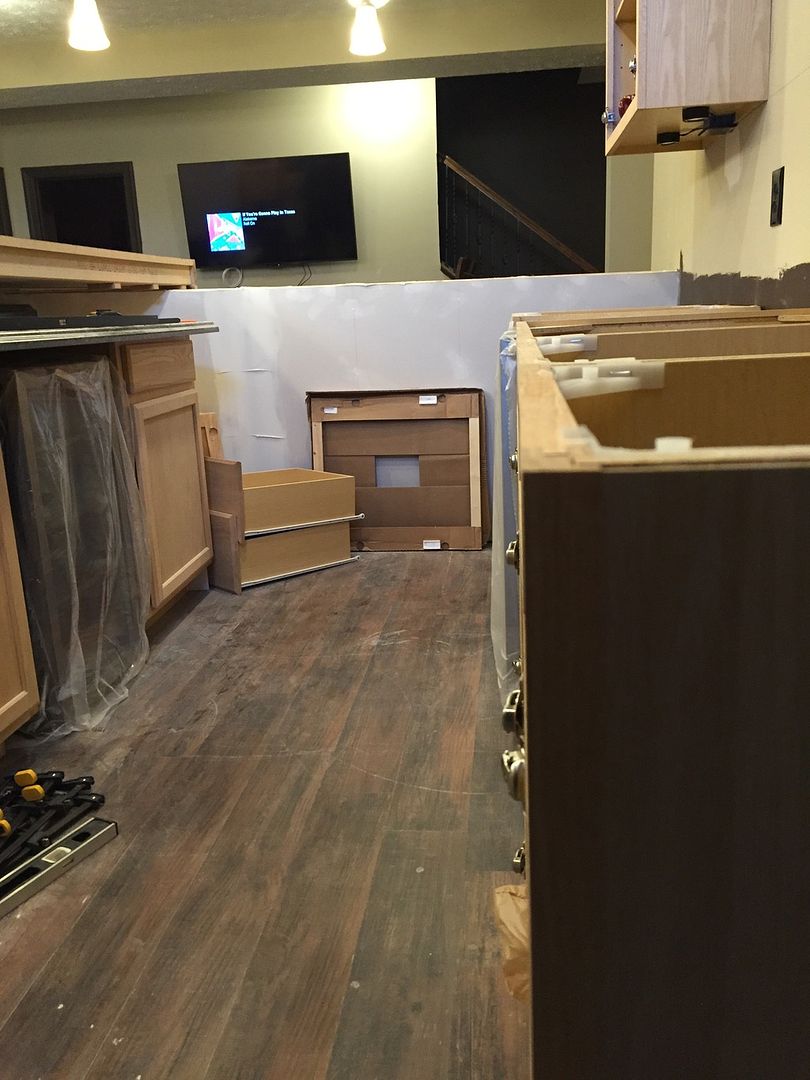
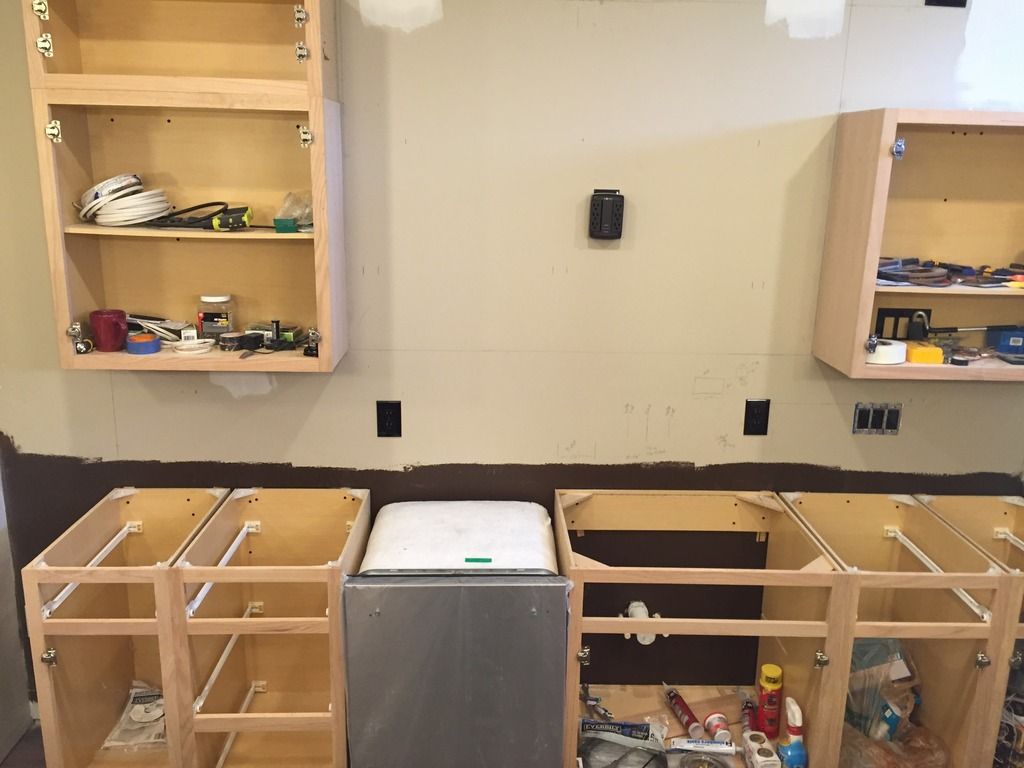
All the lower cabinets leveled and secured to wall


Looks kinda straight and level!?!


Front view of cabinets... Please ignore the mess in the cabinets...
 Lots of supplies and tools. UGH!


Adding Build Up Blocks to Counter Top. This is a 10'
Counter Top and we used 2 Kits for this. They each
have 8 blocks in them and cost around $5 each.


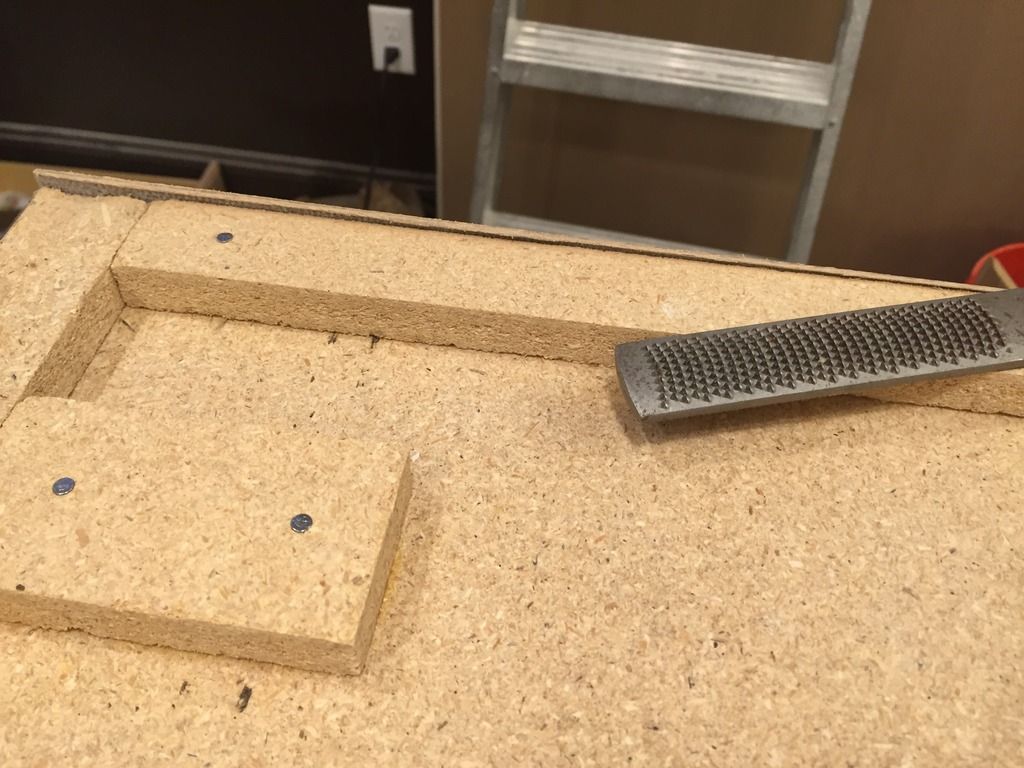
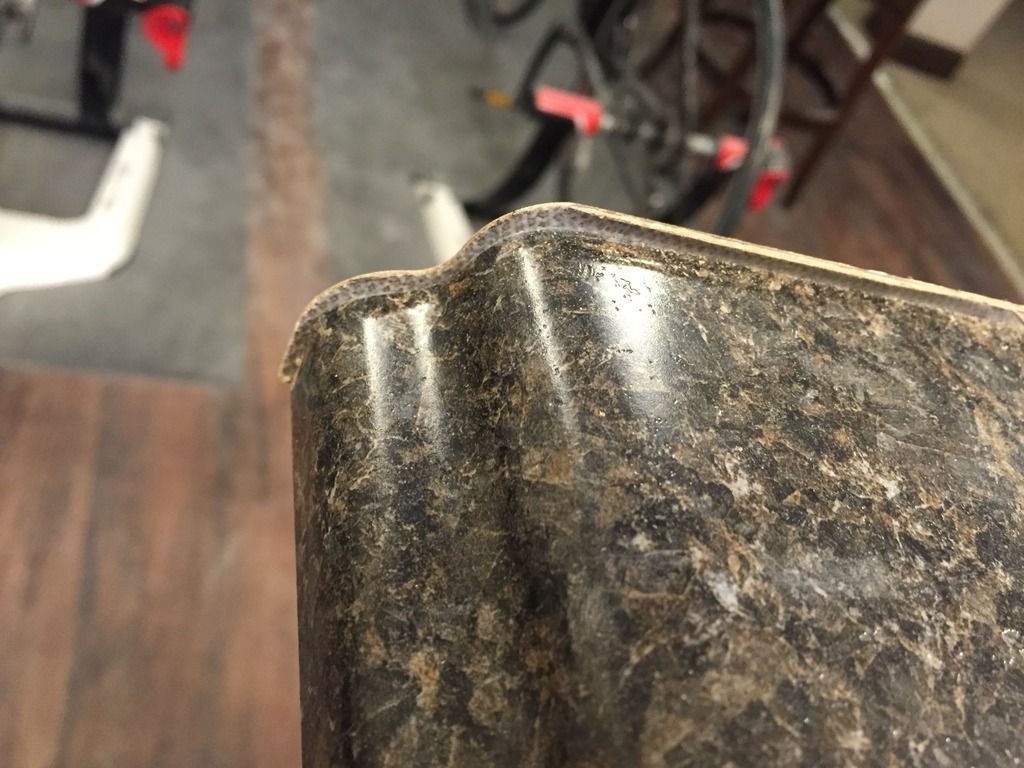
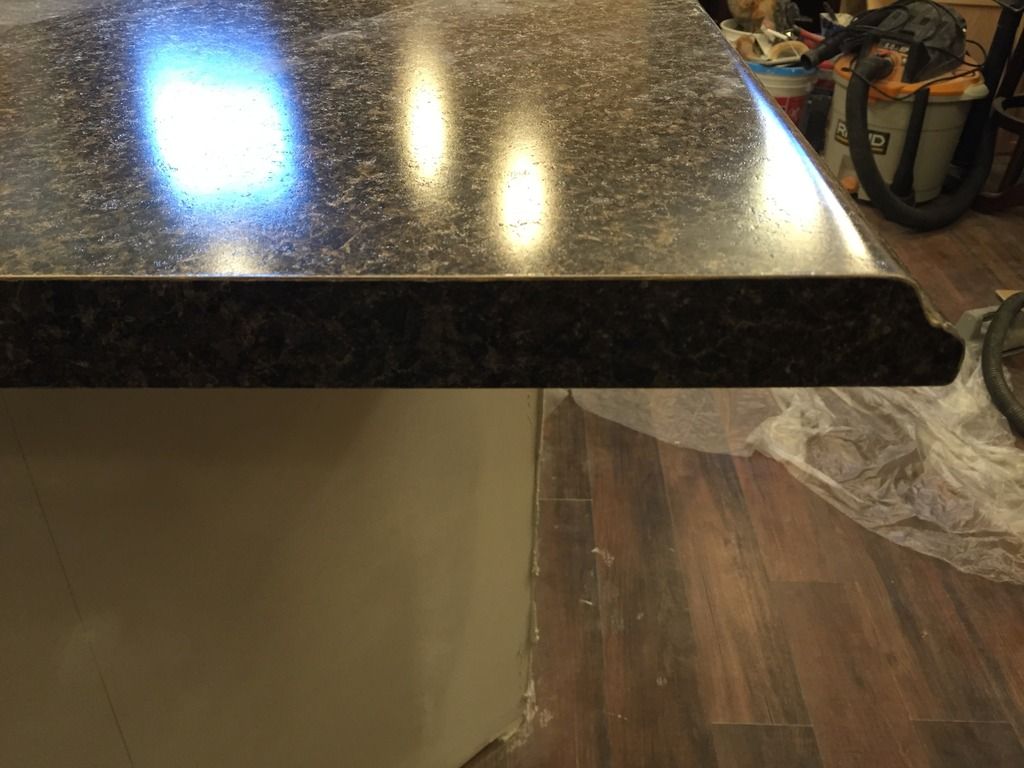
Laminate End Cap Blocking Installed and Laminate Ironed on.
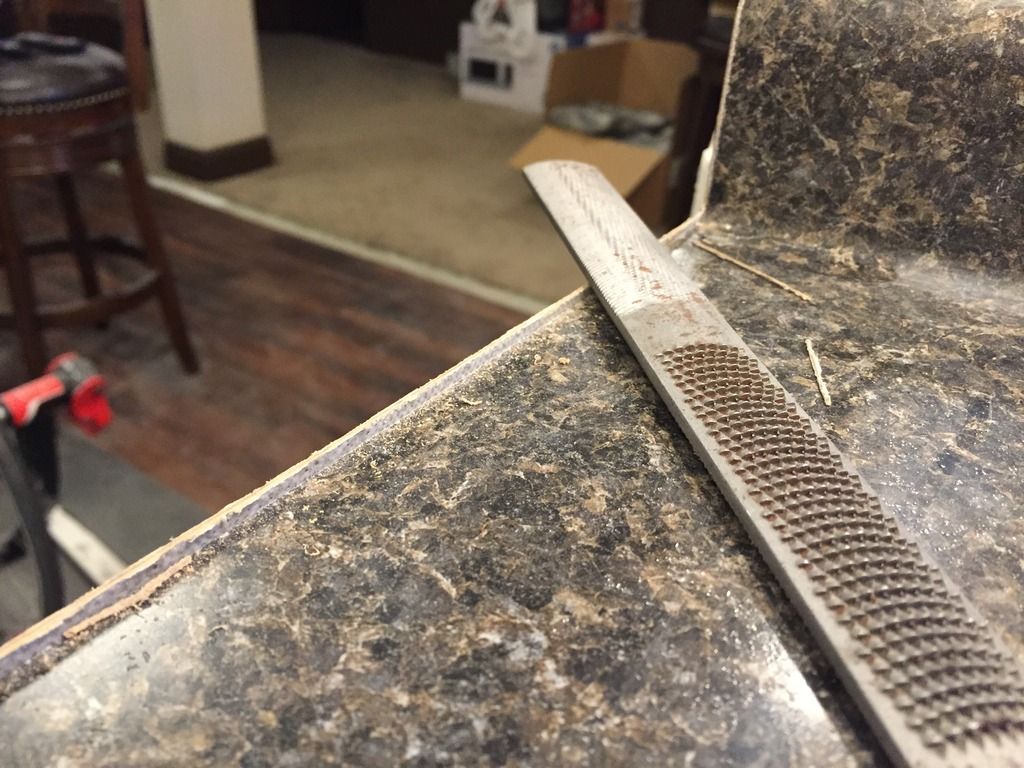
It requires a bit of filing... took a few hours. Mostly because we couldn't
find our good files.


You can see the little lip that is below the block. The laminate has to be
filed down to the blocking


The laminate is being filed down to be flush with the counter top


Another shot of the laminate before being filed down


Here is end cap after being filed to shape


Trying to figure out where to set sink and faucet.
Notice the high speed marking tool! We may have borrowed
a White Crayon from our Son!!! Ooops...


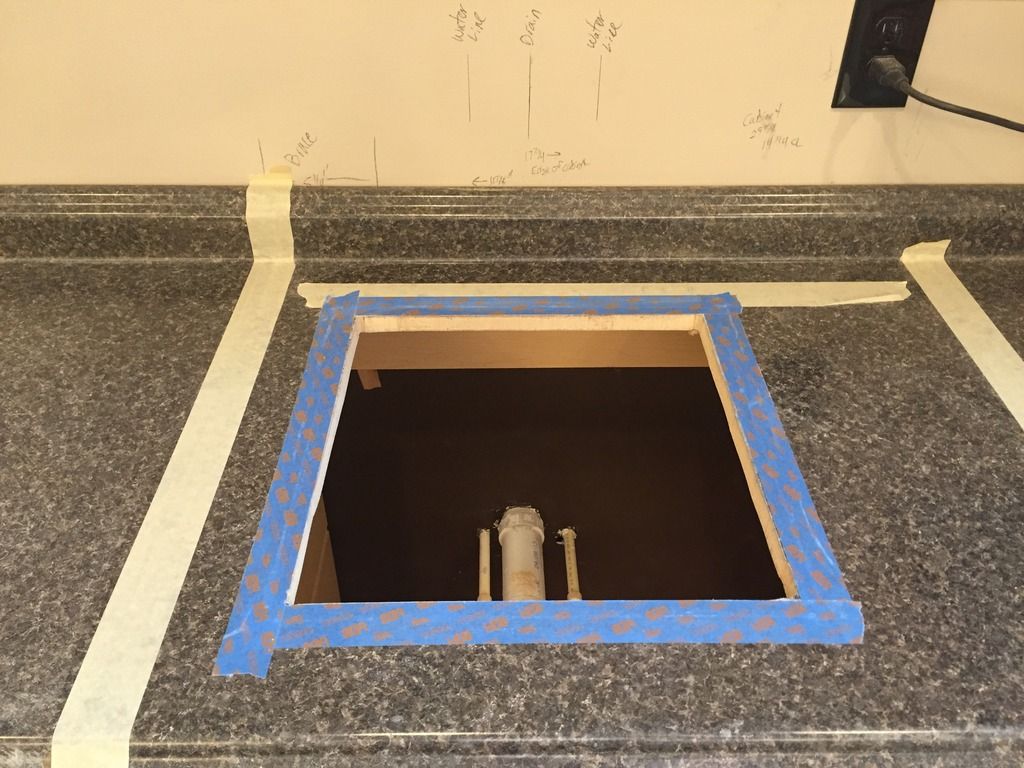
Marked and cut out for the sink. The markings on the wall are where the
drain and water lines are below the counter top for reference. Marked this
before installing counter top.


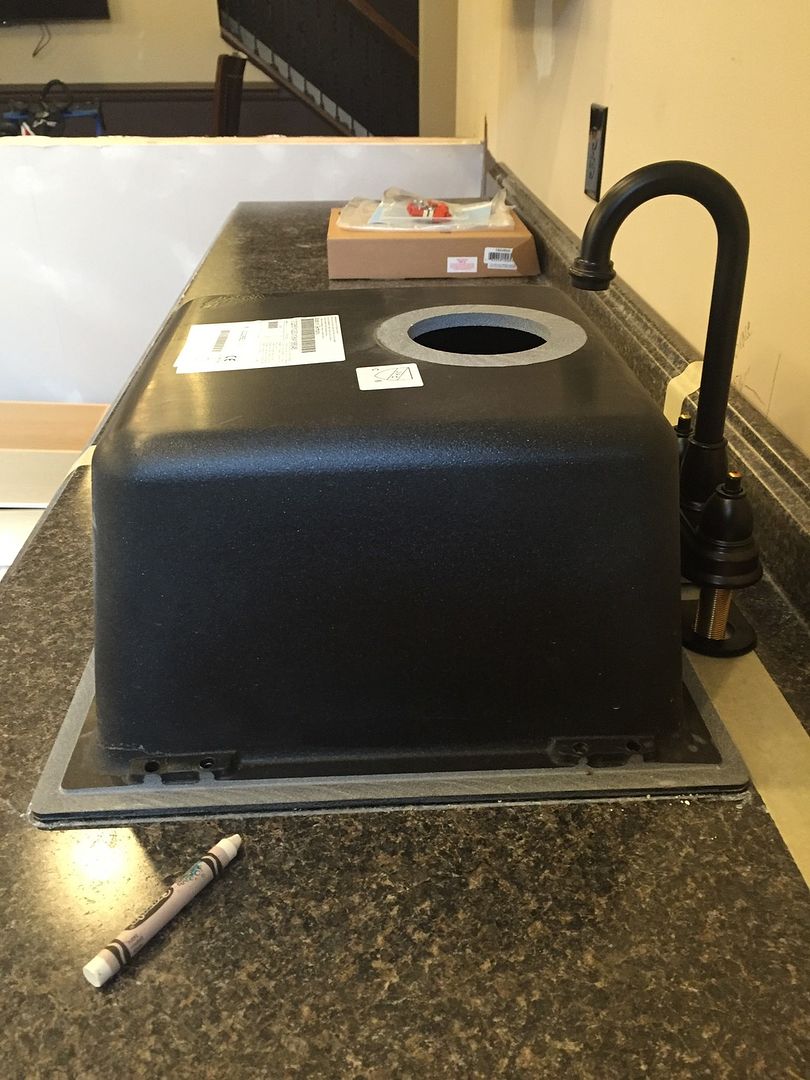
Sink dry-fit and getting faucet locations to drill holes


Sink and faucet just set in place.
Still need to plumb everything.


Friday, February 26, 2016

Bar Project Series #8: Lighting and Misc Electrical

We were originally going to do some of the lighting and electrical after we got the bar functional/usable.  However, once we started looking at running wires for the lights we wanted, we realized we would be tearing out sheetrock and making a mess that would be harder to clean up and repair after the fact.  So we went ahead and picked out lighting fixtures and planned where they were all going to go.

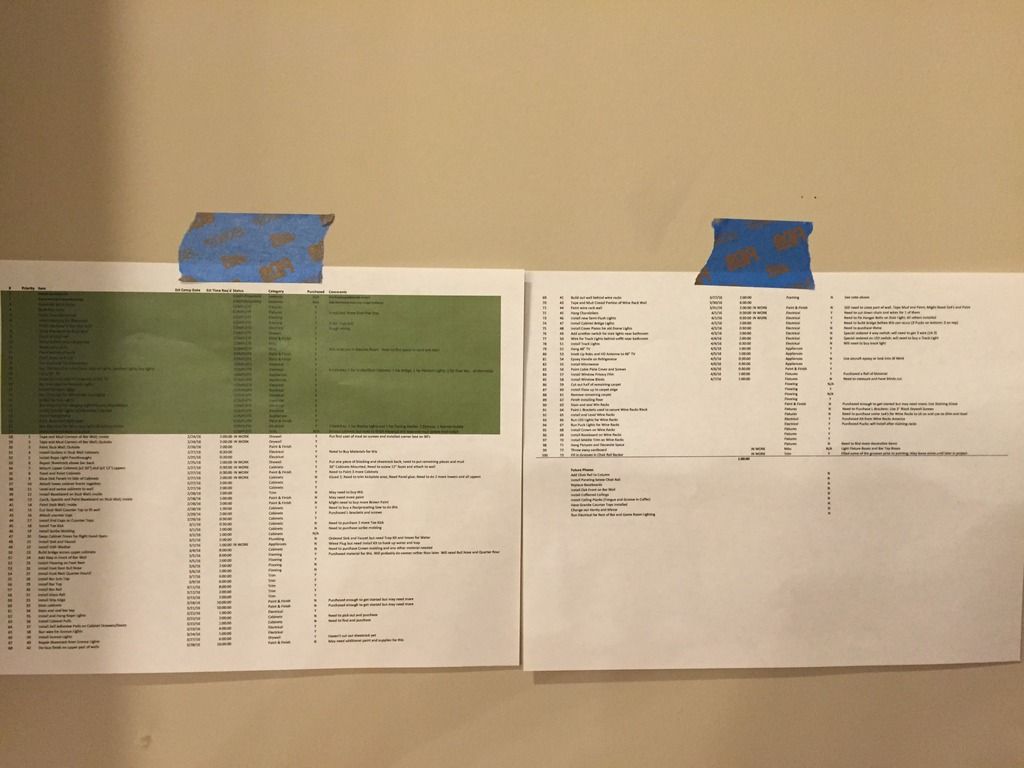
Also, we made a simple Project Management plan accomplishing some amount of work each day.  There is a total of about 184 hours of estimated work (before the final punch list) to do and we are projecting it to take 10 weeks to do it.  So about 18 hours of work per week.  Of course, it's all an estimate but we are crossing our fingers it will be done before Memorial day... and we would especially like it to be done before next football season so we can host some games.  We eventually have to get out in the backyard and build a deck or patio. Hopefully soon!


Attempt at some sort of Project Management Schedule


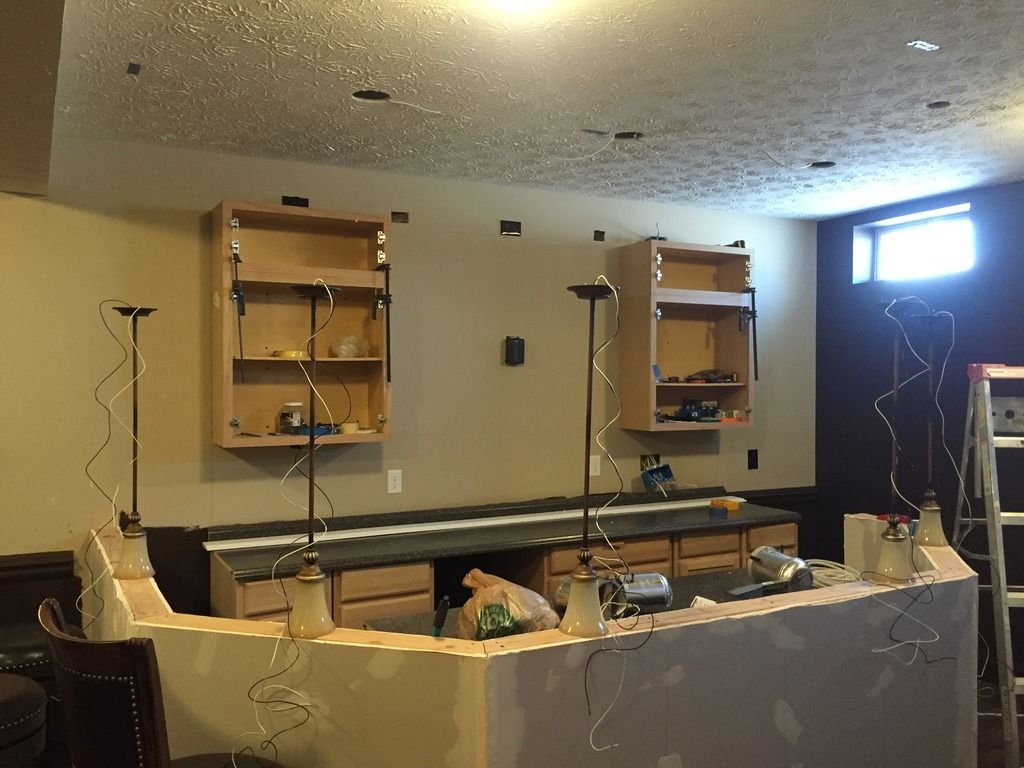
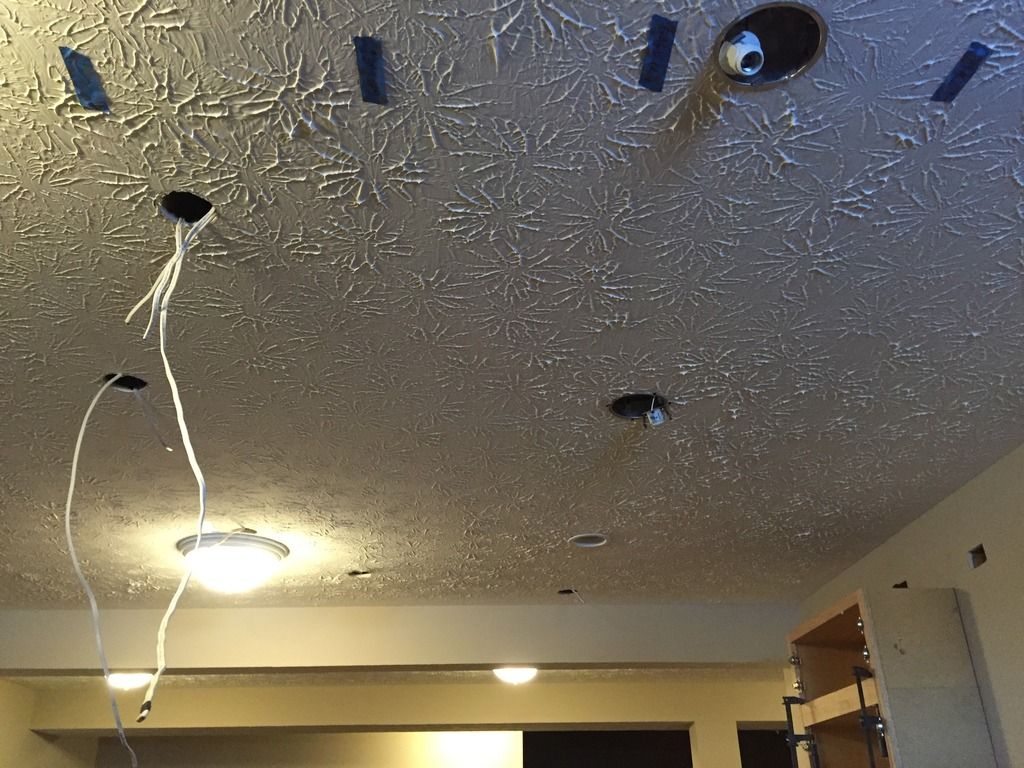
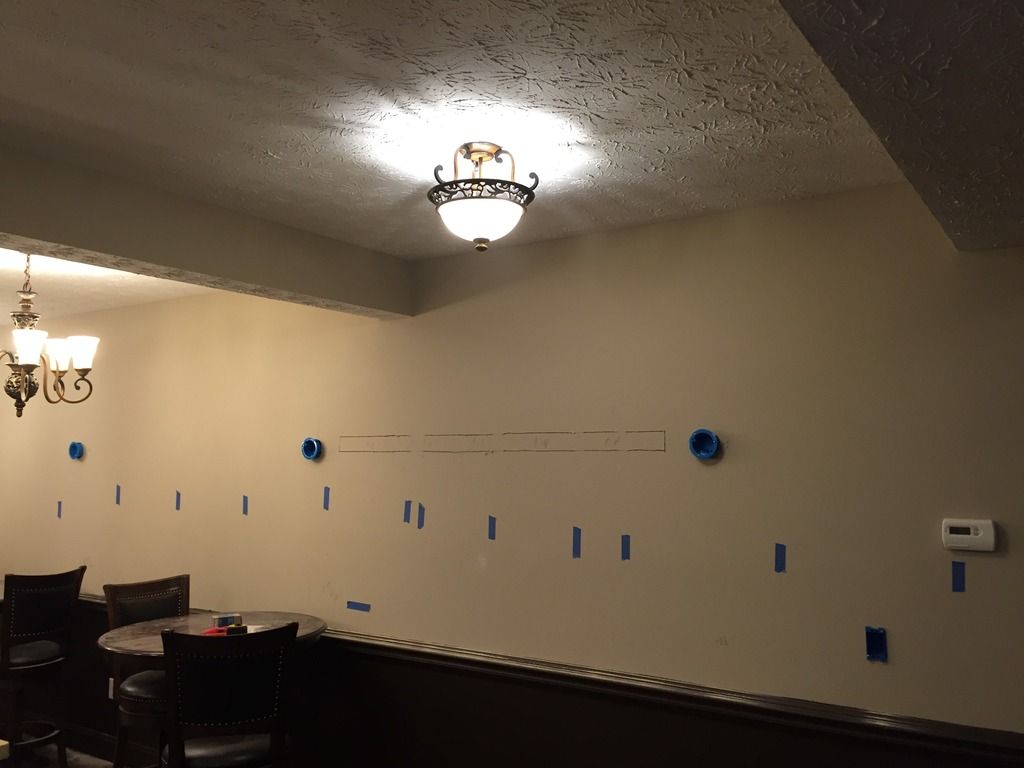
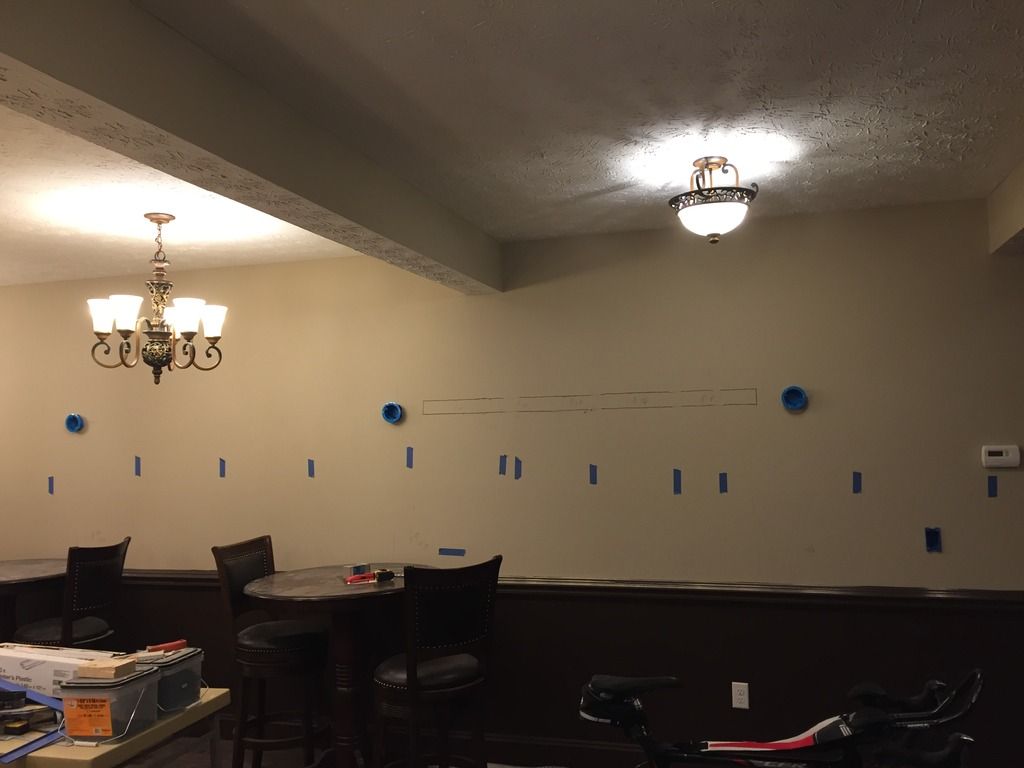
Cut out can light holes and started locating pendant light locations


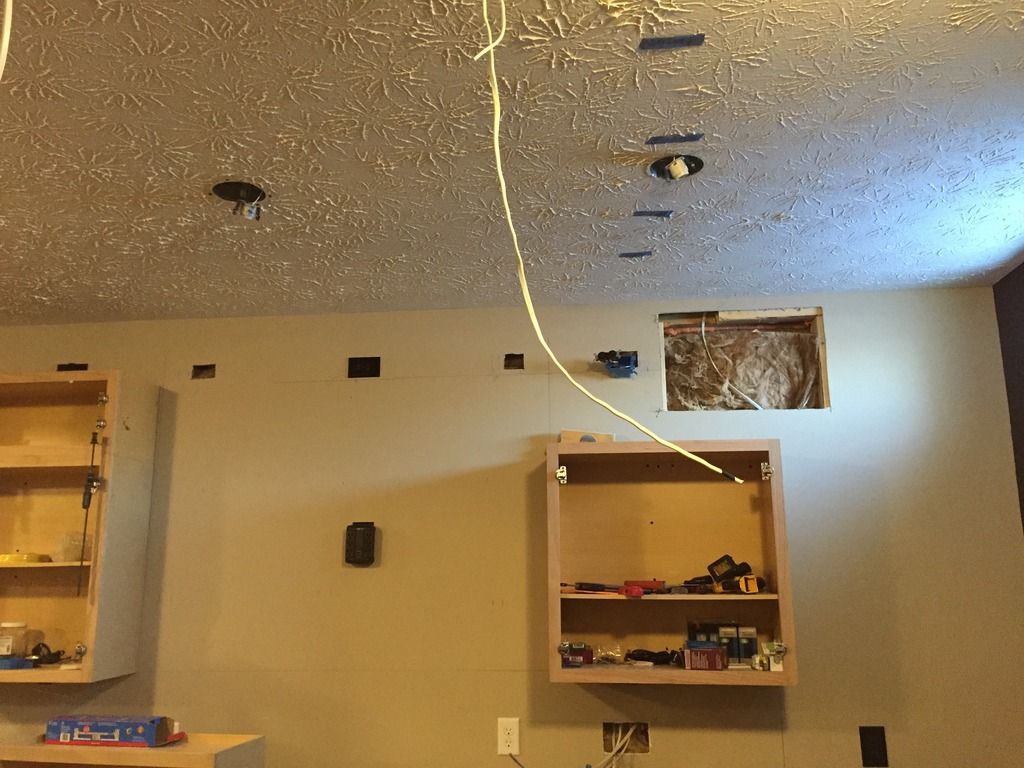
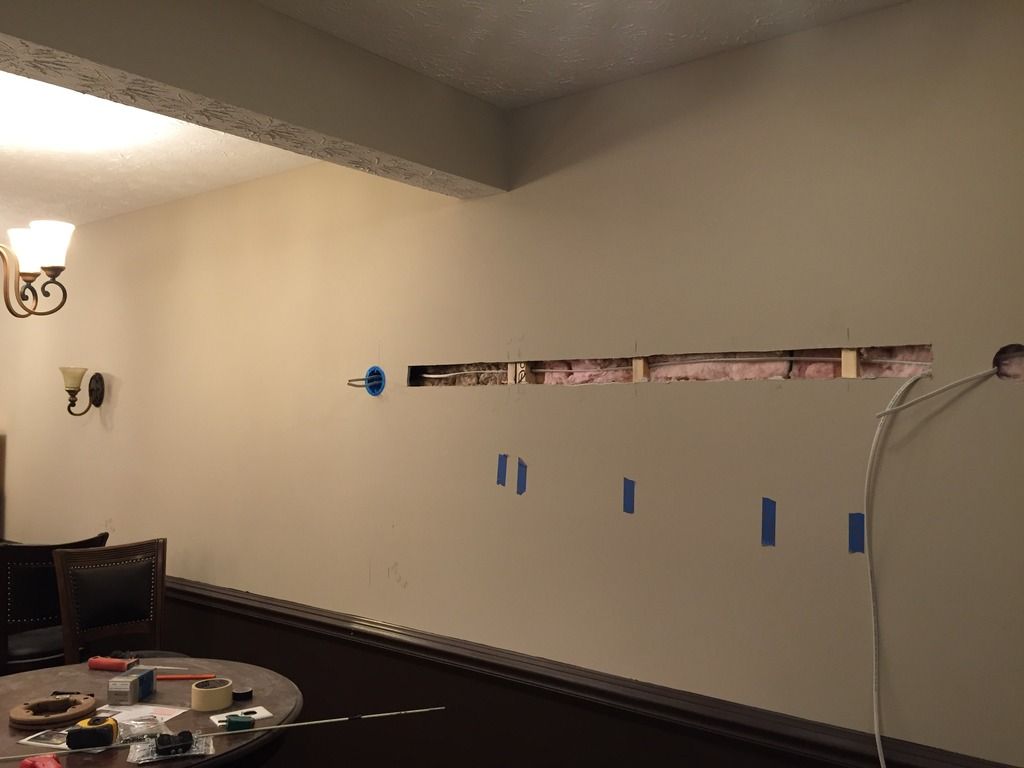
Had to cut out this large section of sheetrock to get wires from switch legs
to all the new lights. So couldn't mount cabinets until this was done and repaired.


The Blue Tape marks floor joist locations but also where gas lines, water pipes
and heating ducts are.


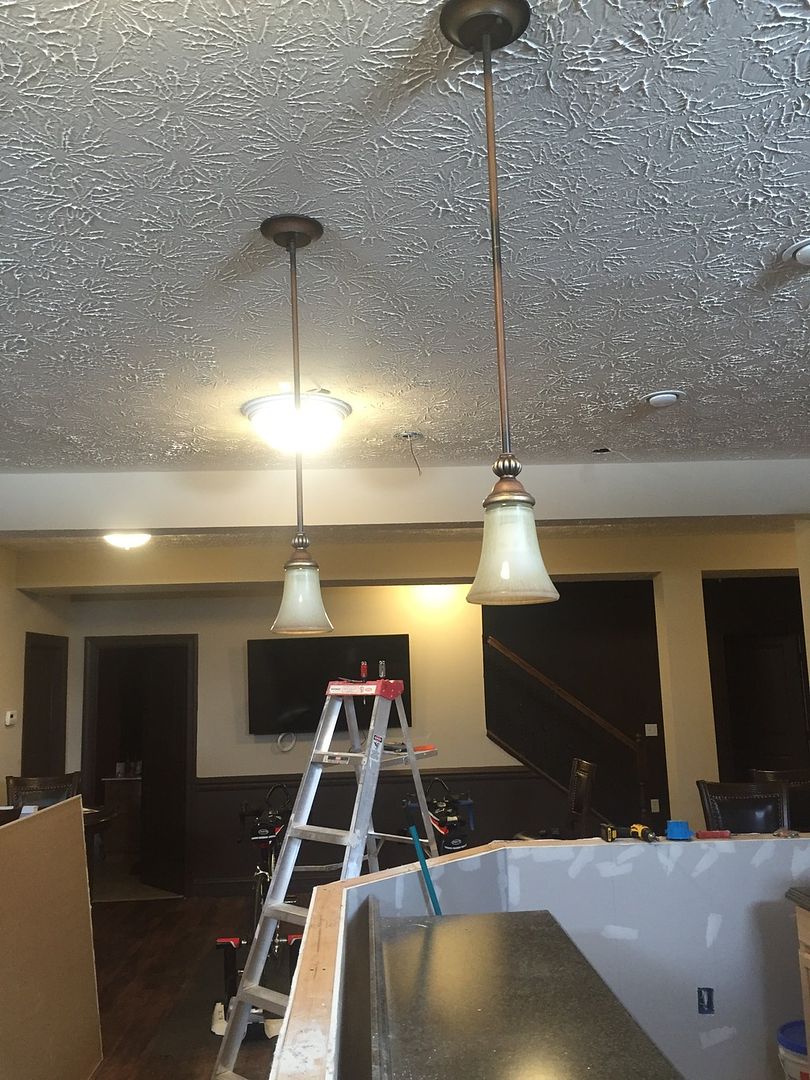
First couple pendants up. That dome light is coming out
all together. You might notice a couple of bikes in this
picture. Well, it's winter time and we are training for
a Triathlon. So we put our bikes on trainers here
and watch TV while we ride. Our exercise room
is full of construction material and wine racks :(


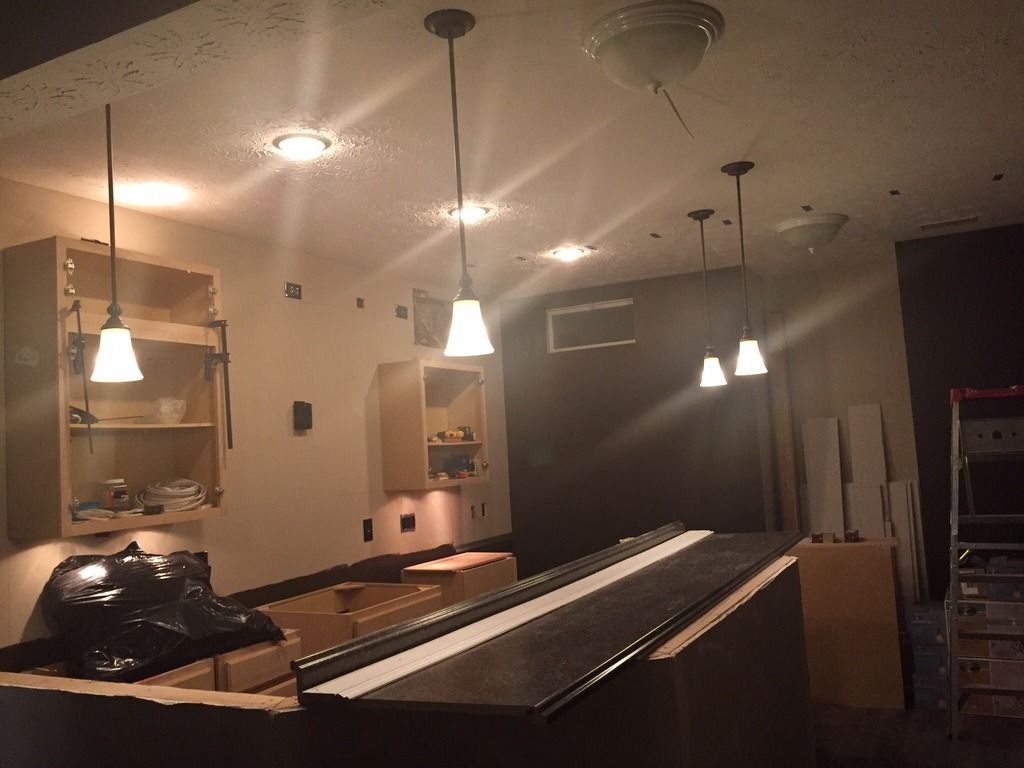
4 of 5 Pendants in. Can lights working and you can even see the Under/Over
cabinet lights working. That dome light is covering the 5th pendant light location.


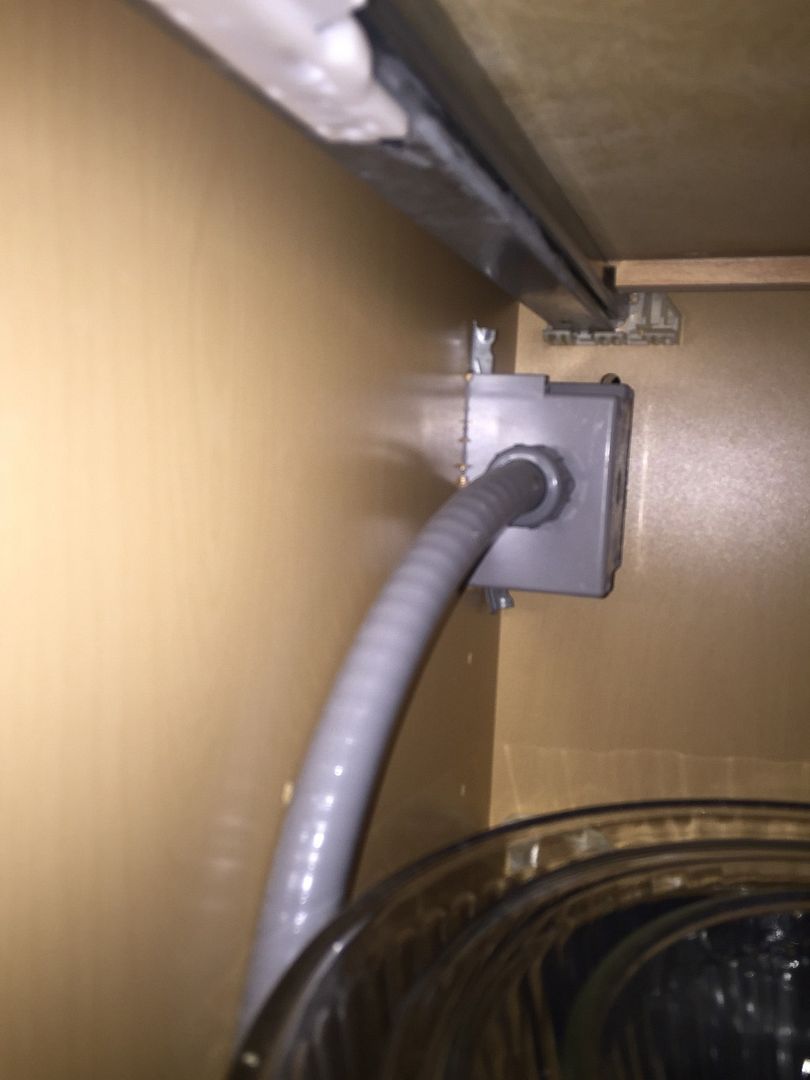
This is a pic of the electrical outlets in my kitchen island.
We will be installing something like this on either side
of the cabinets on the stub bar wall side because there
is only 1-2" of clearance between the backsplash and
bar sub-top.


In this pic you can see the Chandelier and New Semi-flush lights we installed.
On the wall is the locations for wall sconces. We have already cut the holes
for the boxes and starting opening the wall up to run the wires.
Again, used blue tape to locate studs and other wires.


Another shot and a better view of the new fixtures


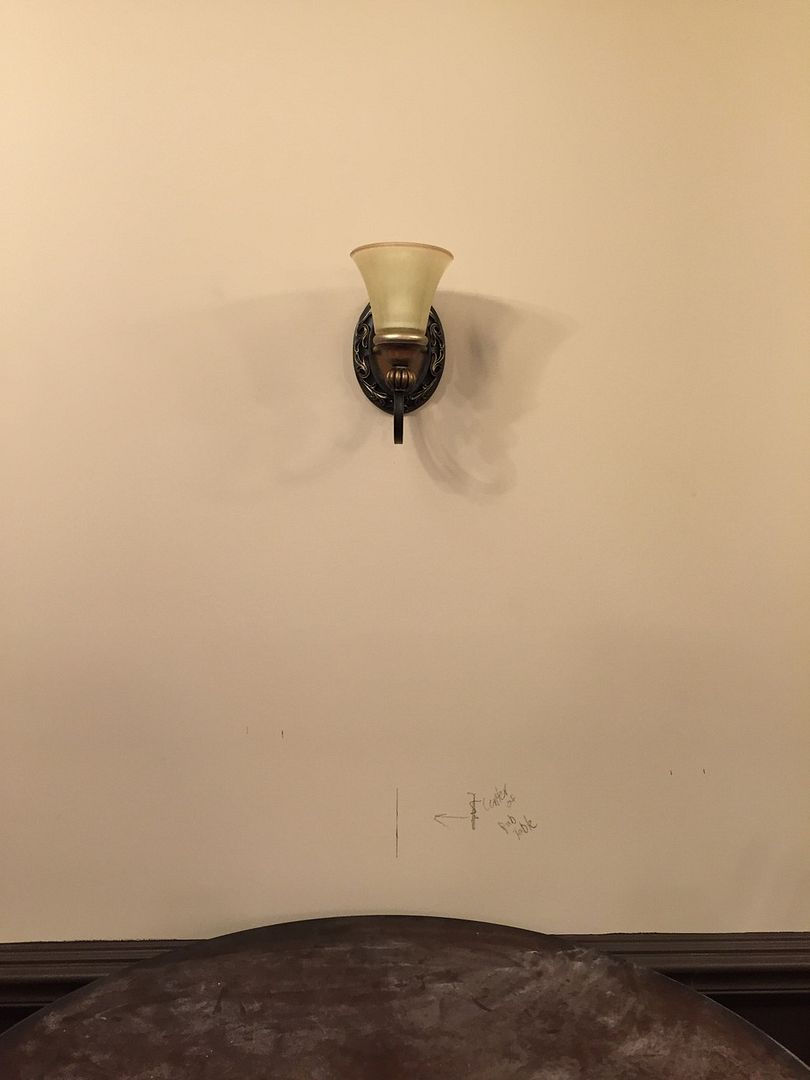
You can see the first sconce mounted on the left side of the pic. Also, the
hole cut in the sheetrock to drill and fish


Box for fixture placed 72" on center. We also put one
just above each Pub Table and one in what will be a
seating area in front of the TV


We're going to build a bridge over the bar back cabinets between the 2 uppers.
This is sort of what we are thinking about doing across the bridge and cabinets.

Bar Project Series #7: Bar Bathroom Decor & Update

A while back we made a post about painting part of the bar, the bathroom and setting a goal to be done with this project.  Well the bathroom décor was completed for the most part (Pics Below) but other progress has been slow.  Of course life tends to get in the way.  Still adjusting to retirement and new career.  We also had season tickets to our home town NFL football team which took up half our weekend and took a much needed vacation to Hawaii.  So, priorities... haha. We are back on the project and have made some pretty good progress.  The next post will highlight some of the progress we have made with electrical and lighting.

Things to do in bar bathroom:
- Finish installing flooring from bar into bathroom
- Swap out light switches, GFCI and plates for black ones
- Refinish or replace vanity base cabinet for a darker on
- Replace vanity mirror or purchase molding kit to go around it
- Possibly replace counter top with granite or other natural material
- Install and paint crown molding


Would like to refinish or replace that vanity and counter top


GFCI and plate needs to be replaced with a black one