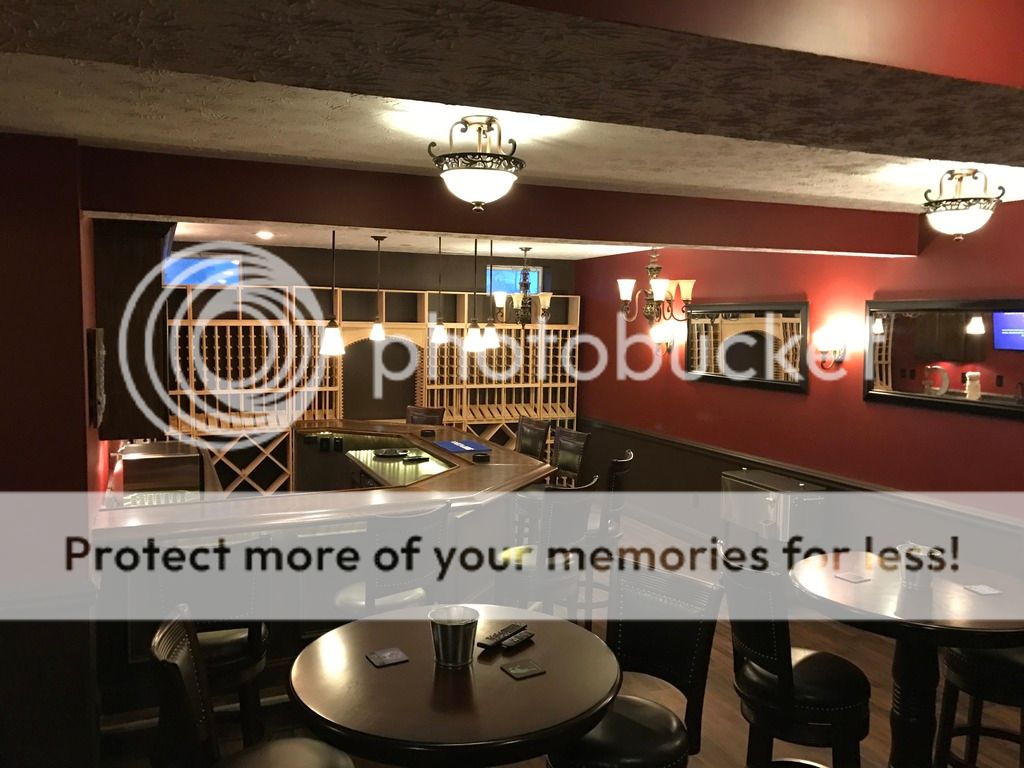
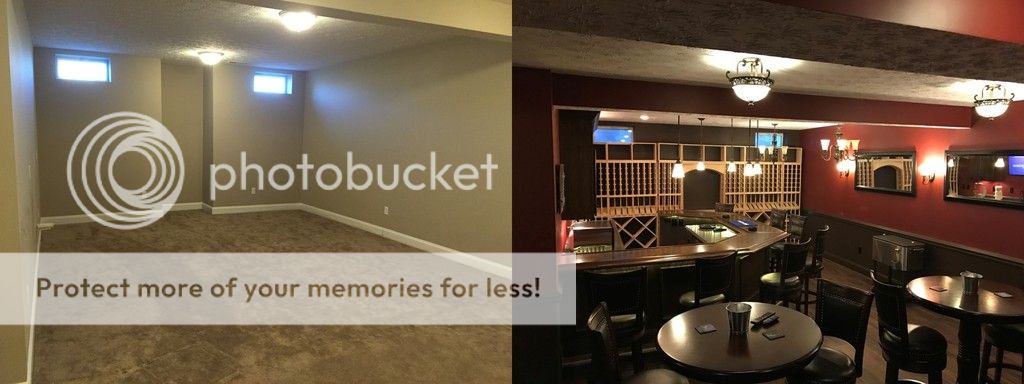
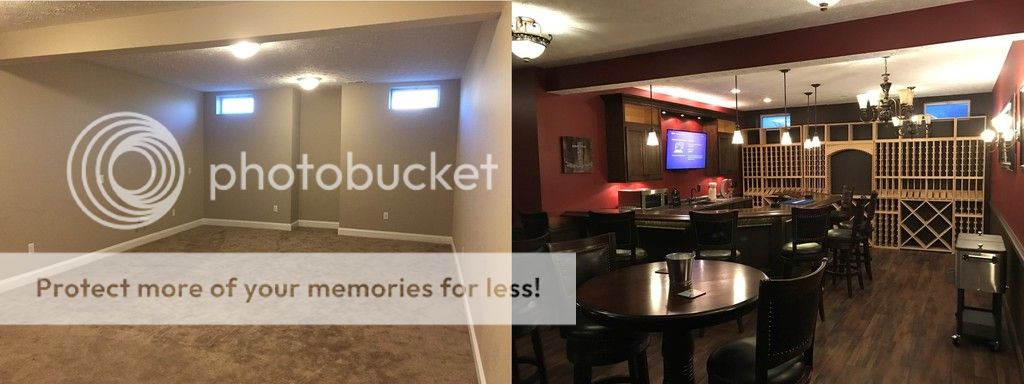
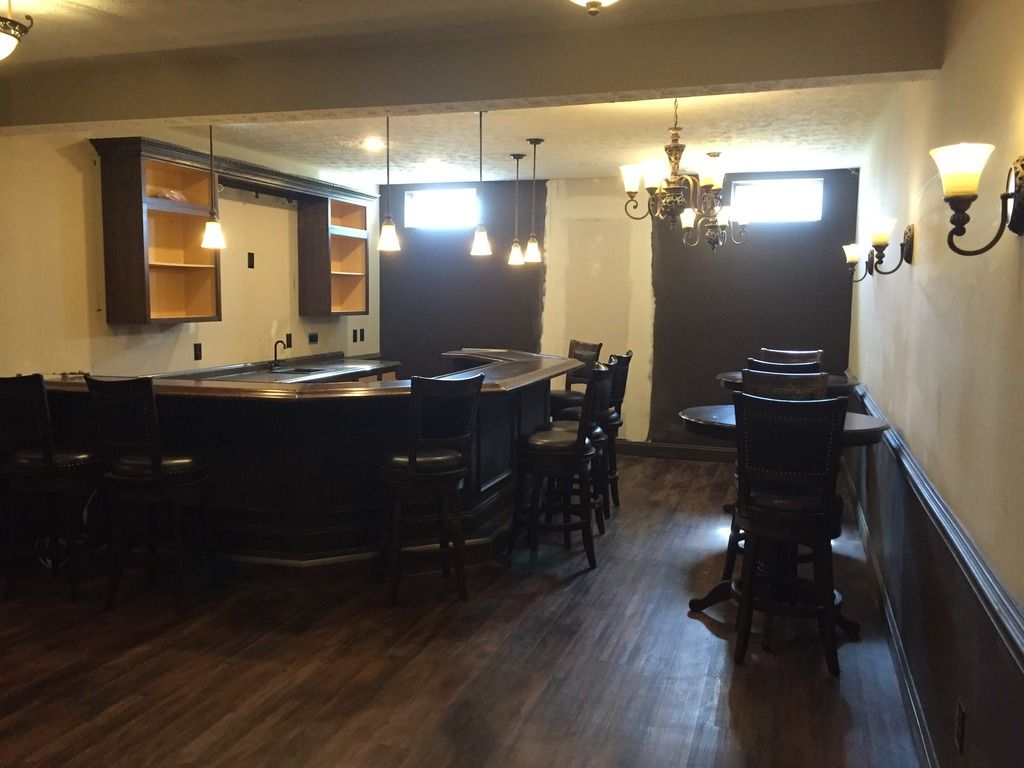
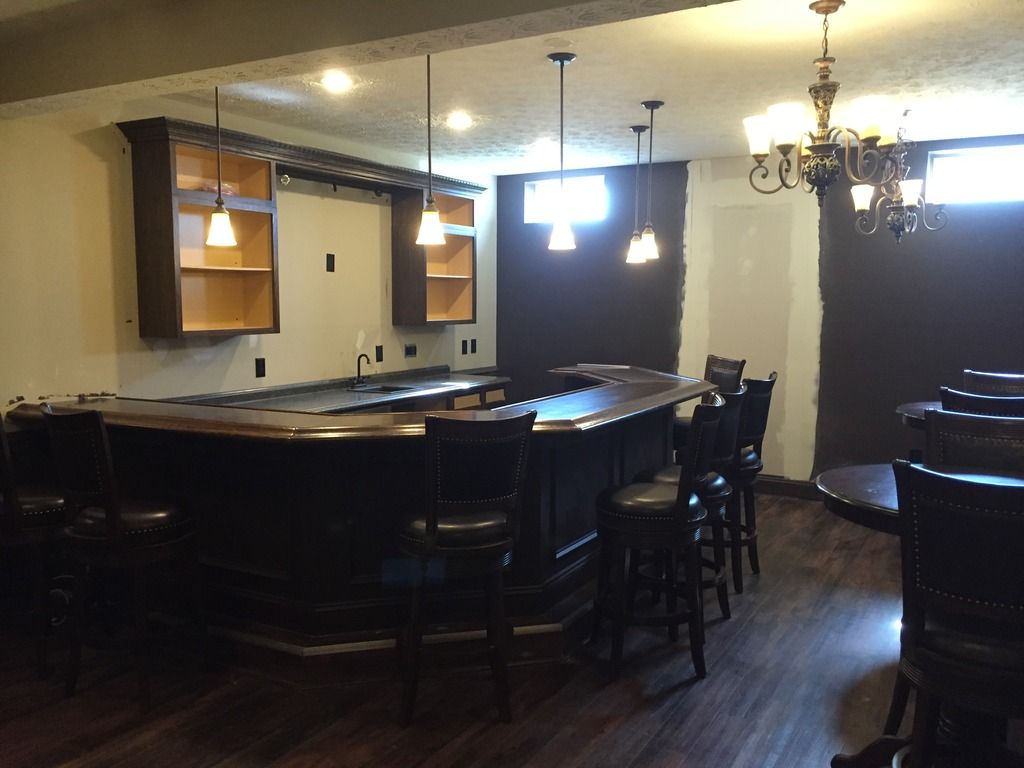
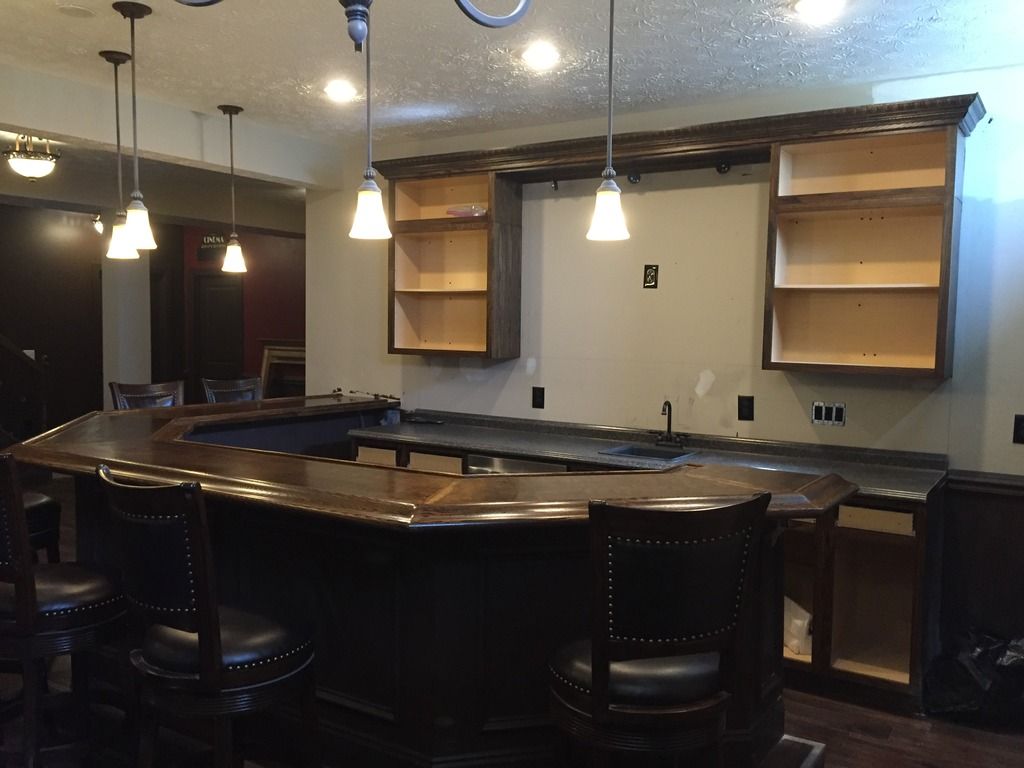
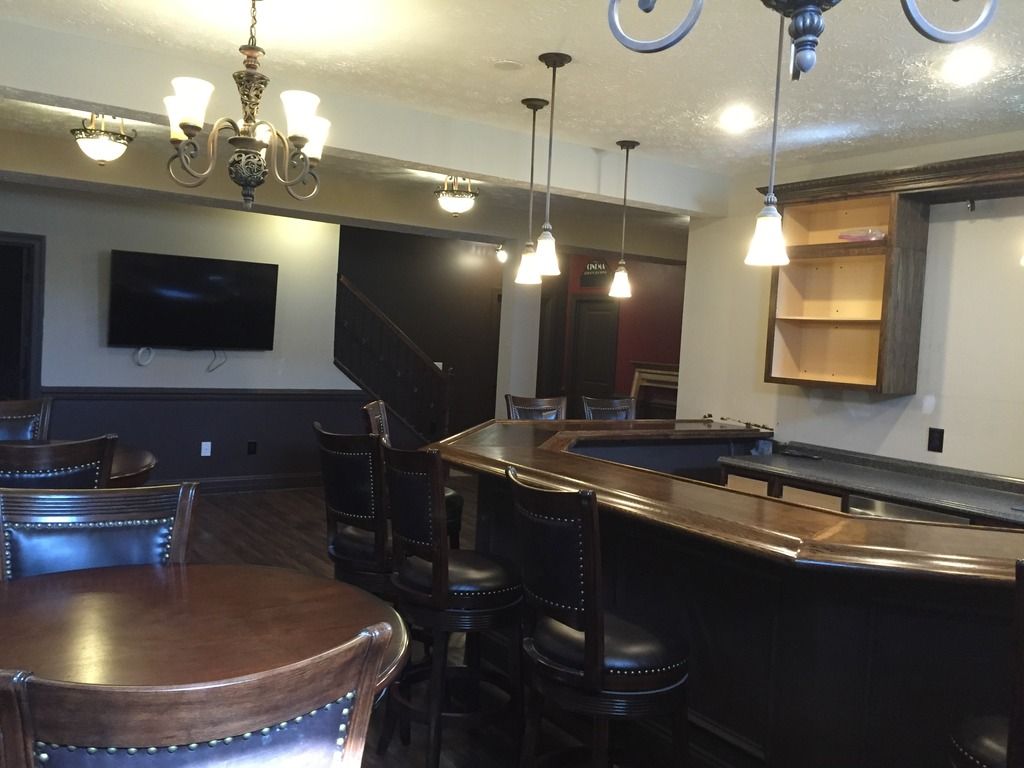
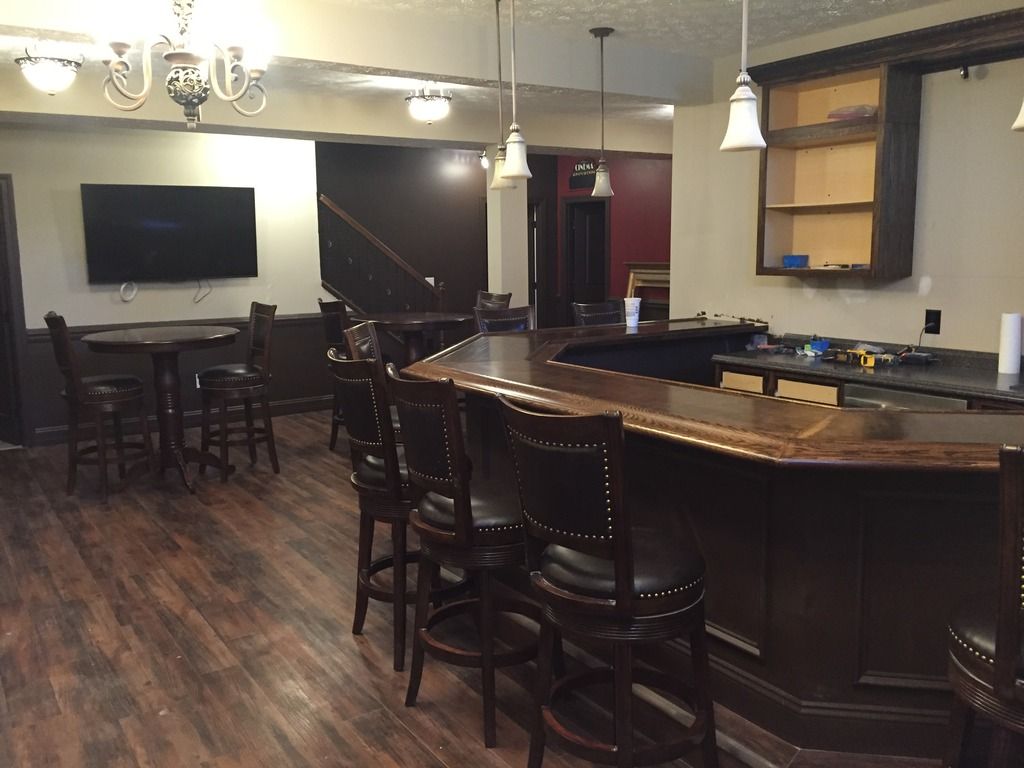
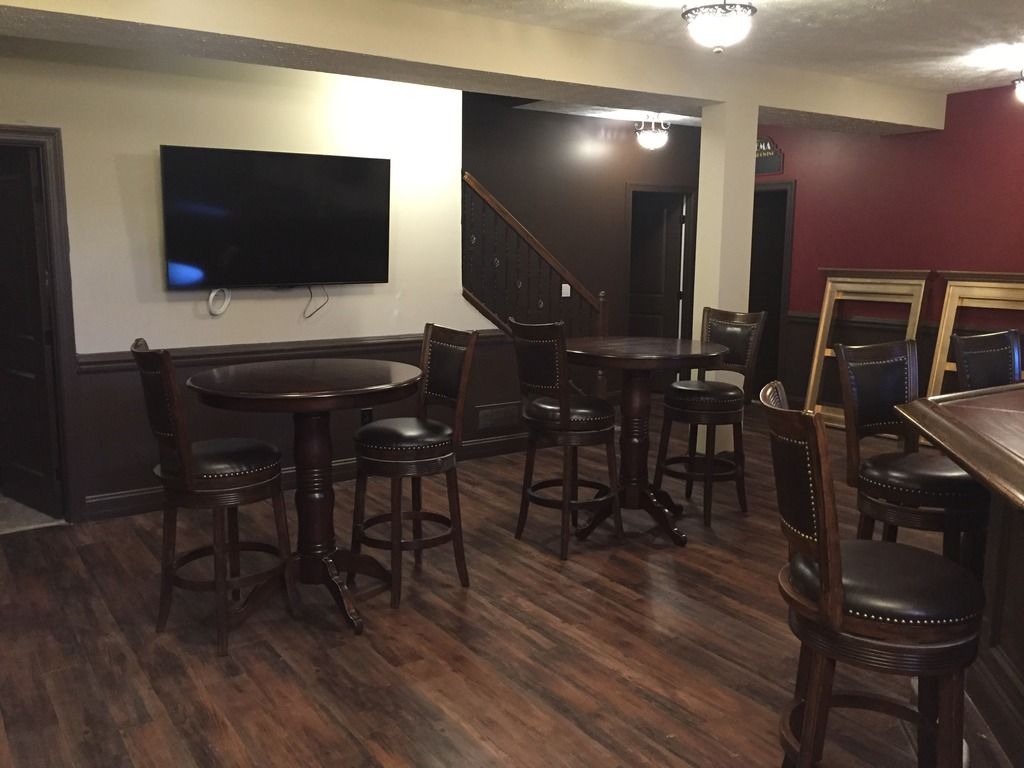
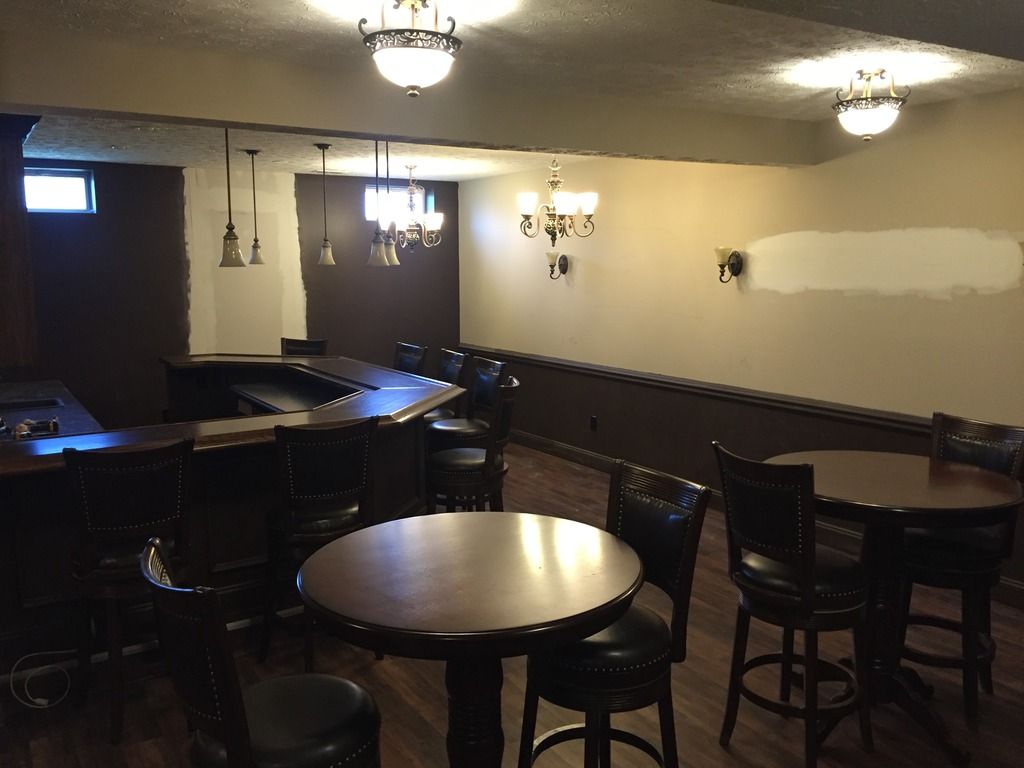
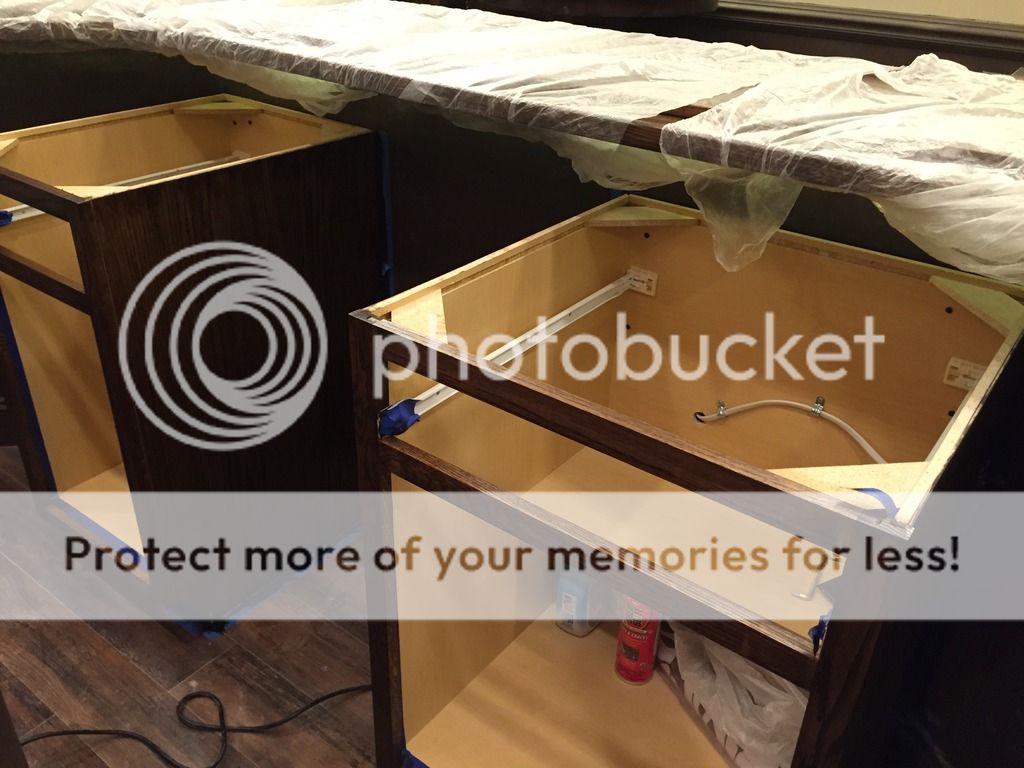
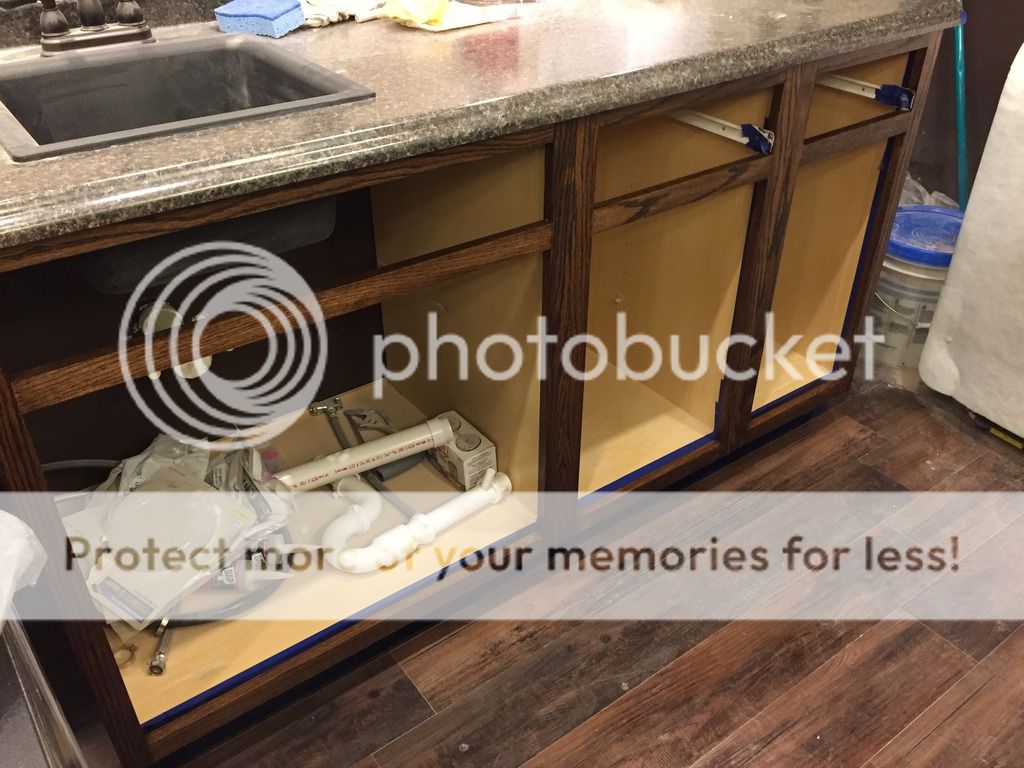
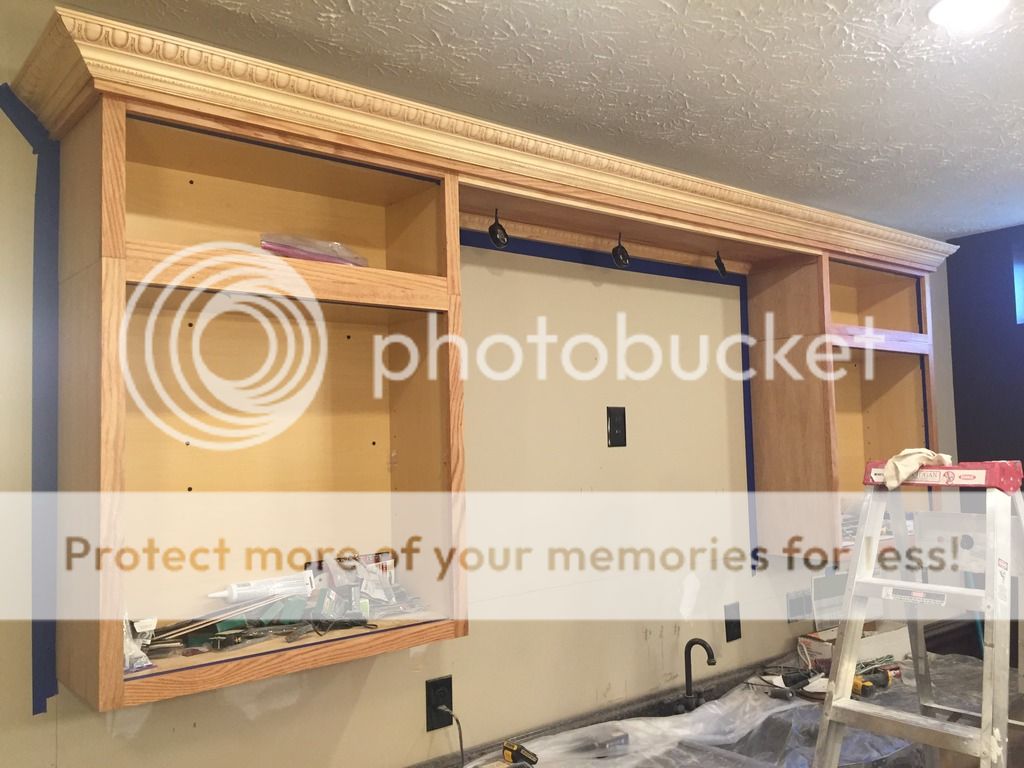
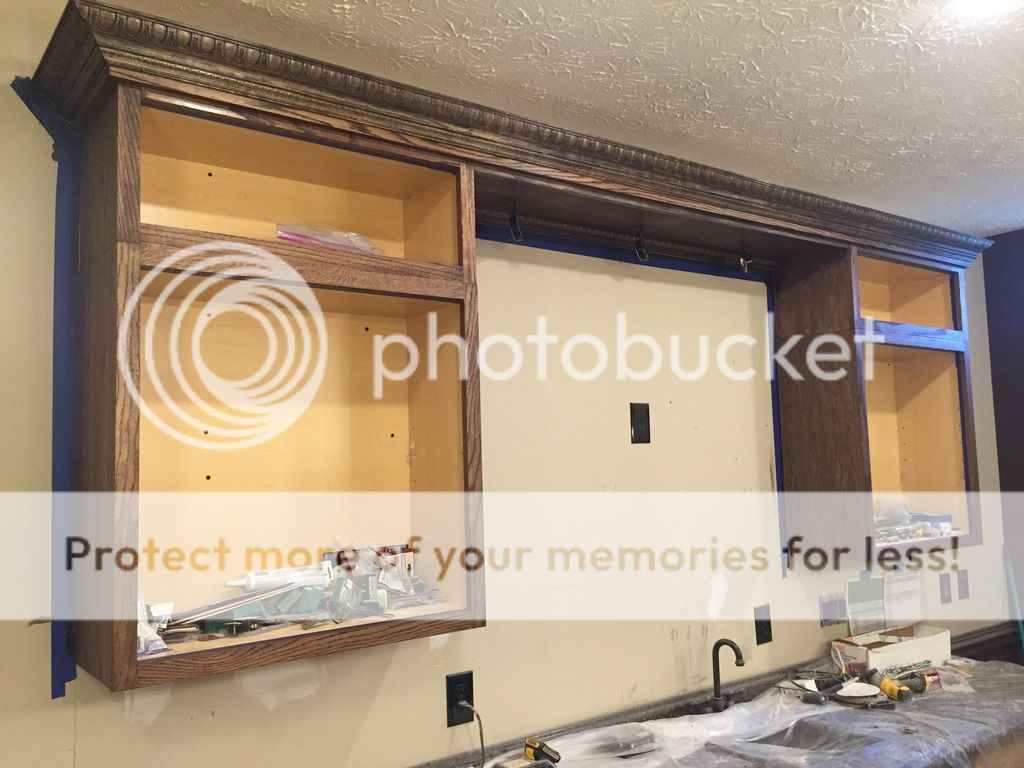
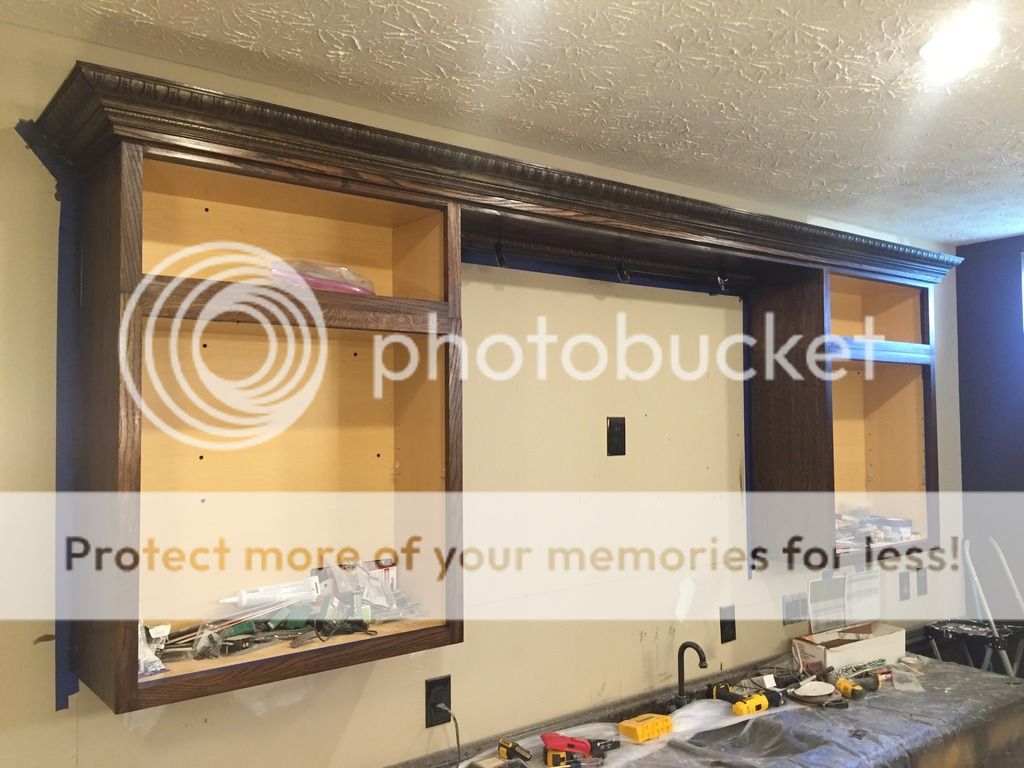
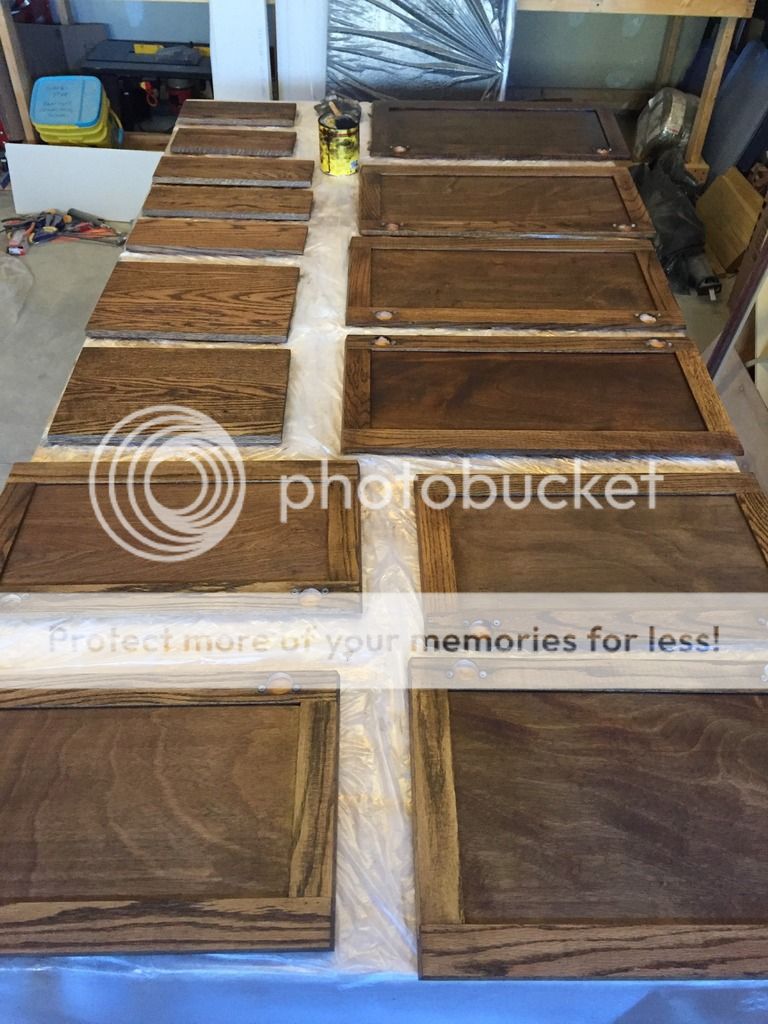
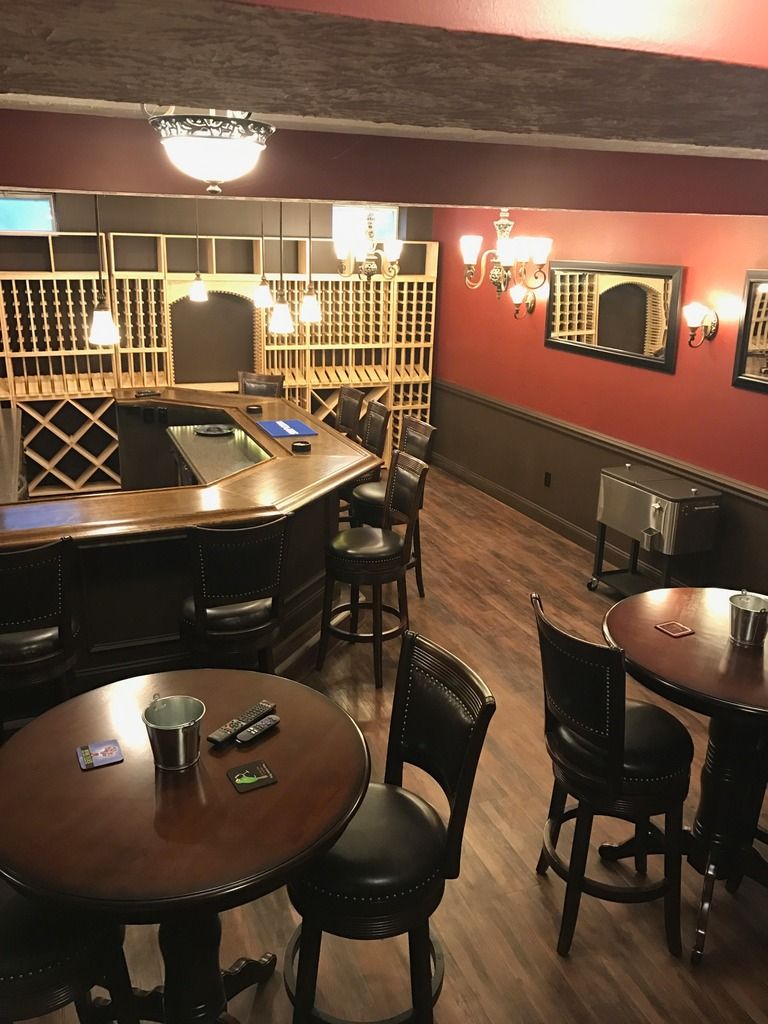
So this is something we have really been looking forward to. The bar top itself is the main piece of furniture, if you will, where people will gather. It's the thing that will be used and looked at the most. So it's appearance, size/design and durability are very important.
We would like to say that it turned out perfect but it didn't. Now, some would say the imperfections add character... but when you put so much time and effort into something, you really want it to be as perfect as possibly. Not to mention the point made above. People will be looking at this thing for years to come... and potentially home owners after us.
Lessons Learned:
- Build bar top independent of bar wall and level/install after the fact
- This would help alleviate the need to fill gaps... which leads to my next point
- The gap filler product left residual product deep within the grain that we could not see prior to staining. Although we sanded well, the Wood Filler product was resident in the grain and discolored the stain.
- Minimize the amount of glue that gets on surfaces you will later stain. Much like the wood filler, although we thoroughly sanded areas where wood glue had gotten, it left behind just enough in the grain to discolor the stain (or not allow the stain to soak into the wood).
- Pay closer attention to the amount of time the stain was soaking into the wood prior to wiping it off. We started staining on one end of the bar and when we got to the other side, we started wiping off the excess because it had been about 15-20 minutes. Although we did go back to the beginning to start whipping, the area we had just stained had only been sitting for maybe 3-5 minutes when we got to it and began whipping it down. This showed a clear difference in the coloring of the wood. So on the second coat, we set a timer and started on the opposite end of the bar so it would have a longer period of time allowing the stain to soak in. When the 15 minute timer went off, we whipped down about half of what we had stained, then set the timer again and kept going... repeating this a few times until we were done.
- Use Foam Brushes when applying the Poly from the start.. We started with a regular bristle brush and had 2 issues. First, it left more brush marks than the foam brushes did and second it was creating bubbles that would dry as bumps in the Poly. This also makes clean-up easier because you don't have to clean these inexpensive disposable brushes.
Items Accomplished:
- Sanded Bar Top with 120/150 and 220 grit
- Applied a Minwax Pre-Stain product to ensure even adhesion
- Applied 2 coats of Minwax Jacobean Stain (Oil Based Stain)
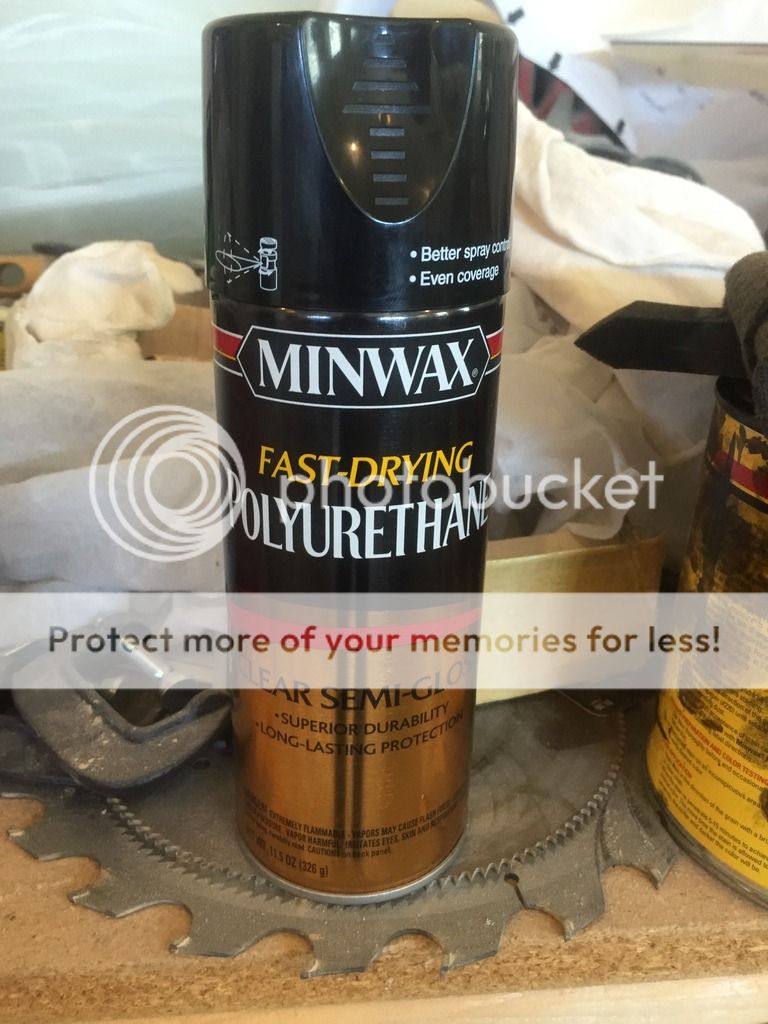
- Applied 3 coats of Minwax Polyurethane (Oil Based Poly)
- Note: We applied 1 coat of Satin, didn't like it and then added 2 coats of Semi-Gloss... it seemed to work out well and didn't look cloudy or discolored.
 |
| Applying Minwax Pre-Stain |
 |
| Pre-Stain all Applied |
 |
In this pic you can see the areas where the stain didn't take all the way
Reference our Lessons Learned above :( |
 |
| Second coat of stain added... still drying here |
 |
| 2 Coats of Stain... All Dried |
 |
| Adding first coat of Satin Polyurethane |
 |
First Coat of Poly... Still Wet. This was the Satin, so
it was not nearly this shiny when it dried |
 |
| First Coat of Poly all done but still drying |
 |
| First coat of Satin Stain Dried... we didn't like the sheen. Not shiny enough |
 |
| Lightly sanding with 220 to add second coat of Poly (Semi-gloss this time) |
 |
3rd Coat of Semi-Gloss Poly Dry. This is the final sheen...
Will have to get better pics without glare :-) |
+Cleaning+041.JPG)
+Landscaping+Day+2+035.JPG)


+PreSettlement+Walkthru+001.JPG)

