Wow!!! Way over due for an update... :-(
This work was actually done back in March/April but we hadn't posted the progress or pics. Sadly we haven't done any work down there since then. We have worked on a few other projects but have been trying to enjoy the summer while we can. So lots of time at the pool and a few trips. :-)
Worked Accomplished:
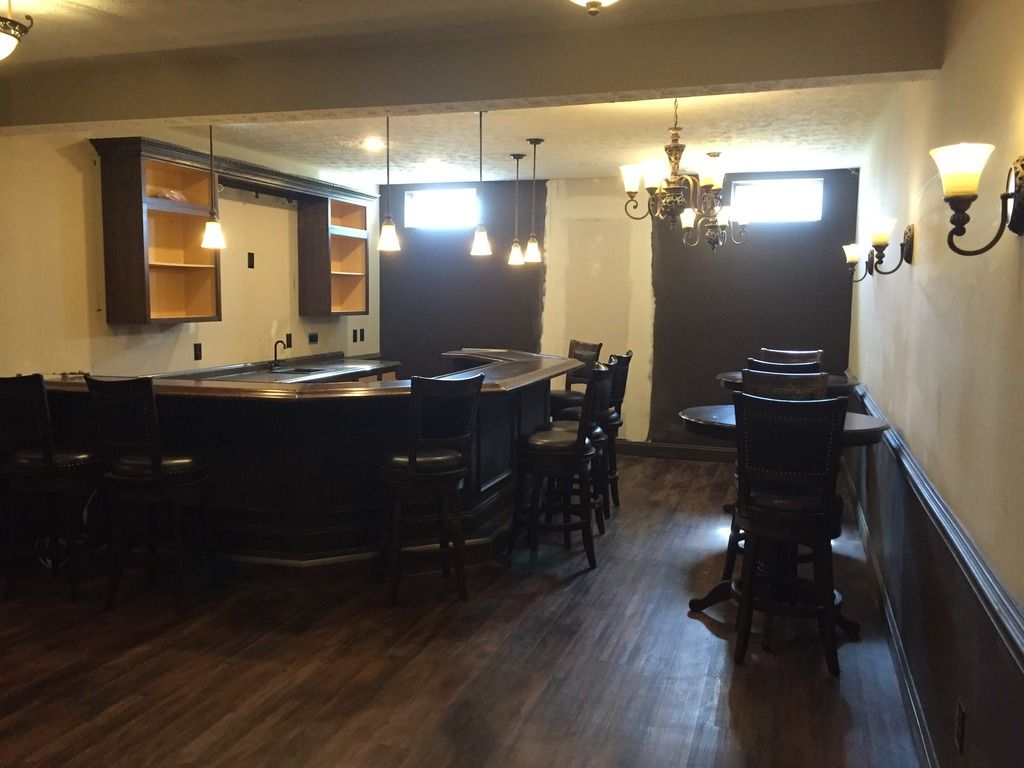
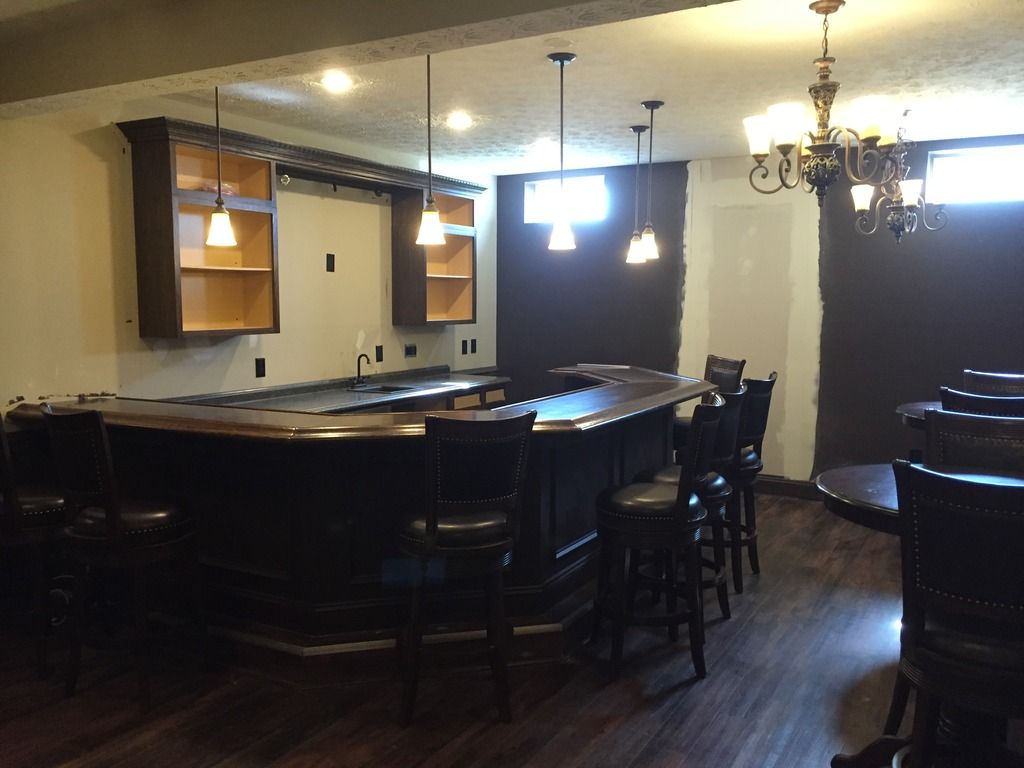
Lower Cabinets
-Sanded Lower Cabinets
-Applied Pre-stain Conditioner
-Stained with 2 Coats of MinWax Jacobean Stain
-Added 2 Coats of Semi-Gloss Poly
Upper Cabinets
-Sanded Upper Cabinets and Bridge
-Applied Pre-stain Conditioner
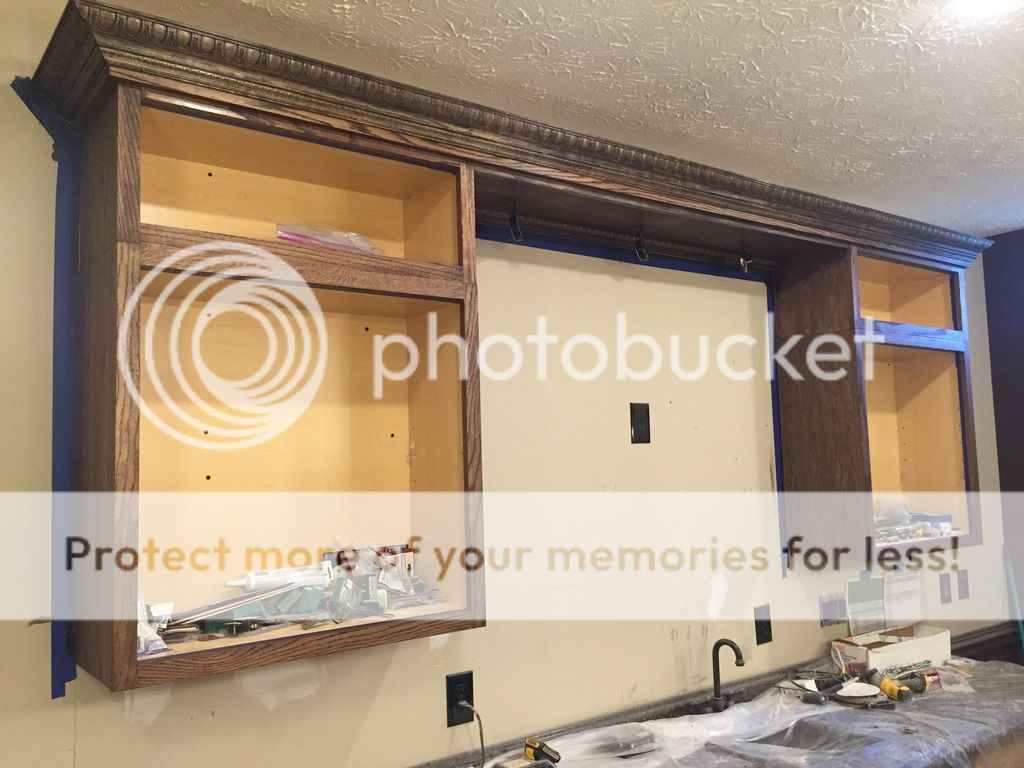
-Stained with 2 Coats of MinWax Jacobean Stain
-Added 2 Coats of Semi-Gloss Poly (Purchased the Spray Can Version... Worked Really Well, especially being up on the wall and having to balance on a ladder and get in all the grooves on the bridge crown molding)
Door and Drawer Fronts
-Sanded Cabinets Doors and Drawers
-Applied Pre-stain Conditioner
-Stained with 2 Coats of MinWax Jacobean Stain
-Added 2 Coats of Semi-Gloss Poly (Used Spray on Poly)
-Added Pulls to drawers and doors
*Purchased the rubber bumpers to go inside doors and drawers but haven't put them on yet
** Full Disclosure: We have 8 more to do because we couldn't fit all the doors and drawers on our temporary work surface (an 4x8 sheet of plywood on saw horses)
Lessons Learned:
-While staining the doors and drawers on a flat surface it was tough not getting some drips and a bit of discoloration on the edges of the doors and drawers. Will need to look up some solutions for this but for the most part you can't see the imperfections.
-Although we really liked the spray on poly, it seemed as if we had more of an issue with bumps and debris getting on the surface. Going to research and see if it can be buffed smooth without scratching the poly. We may just have to sand it down and add another coat.
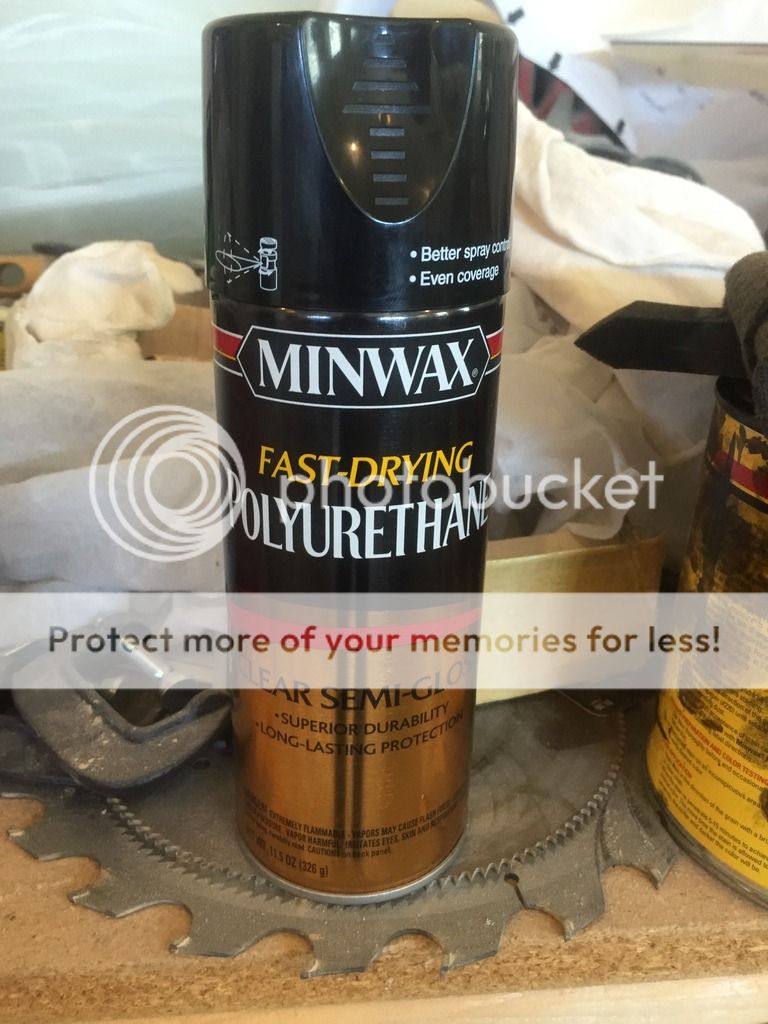 |
| This is the Spray Poly we used on uppers and doors |
 |
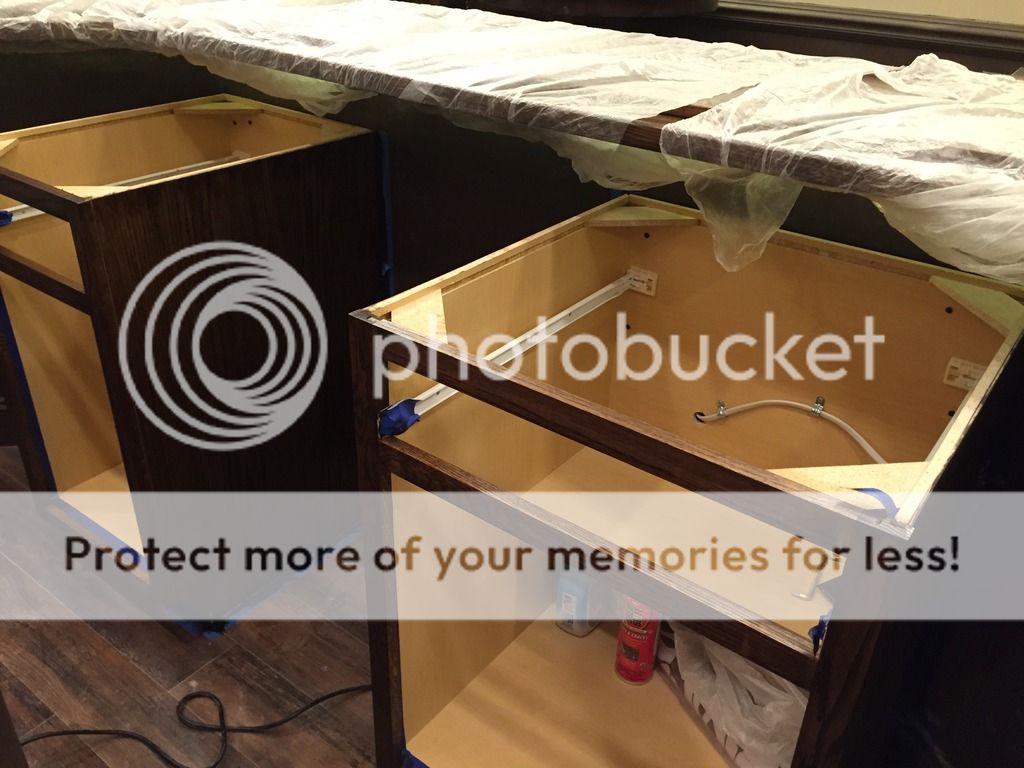
| Starting Staining Lower Cabinets |
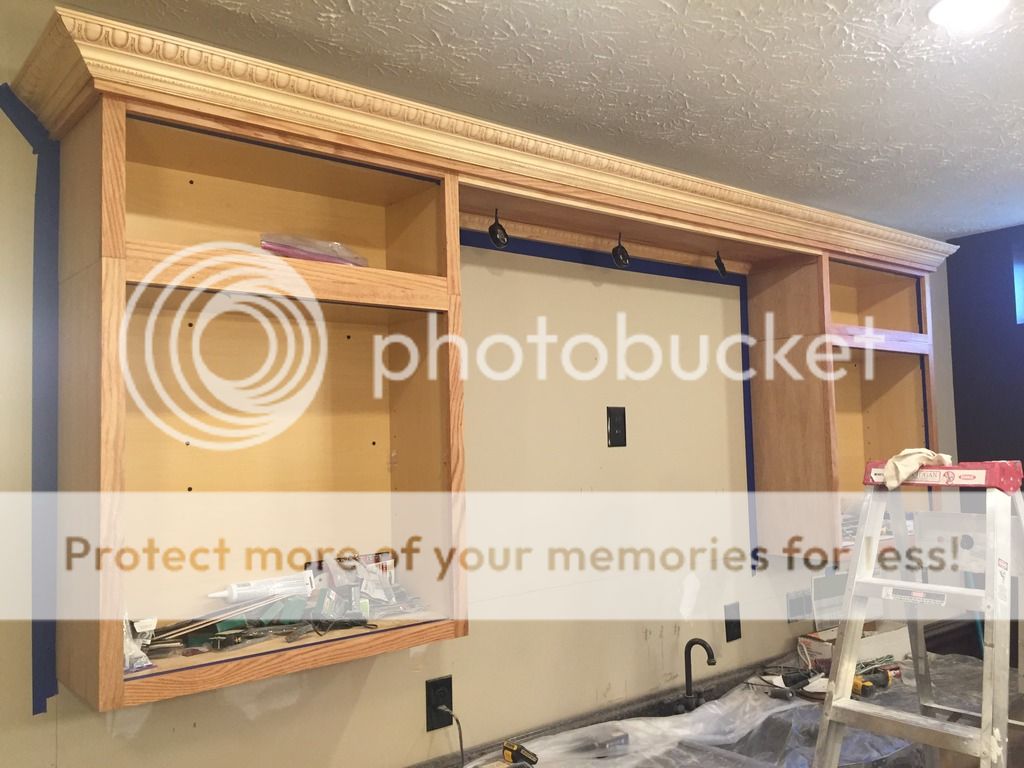 |
| Added Pre-stain Conditioner to Uppers |
 |
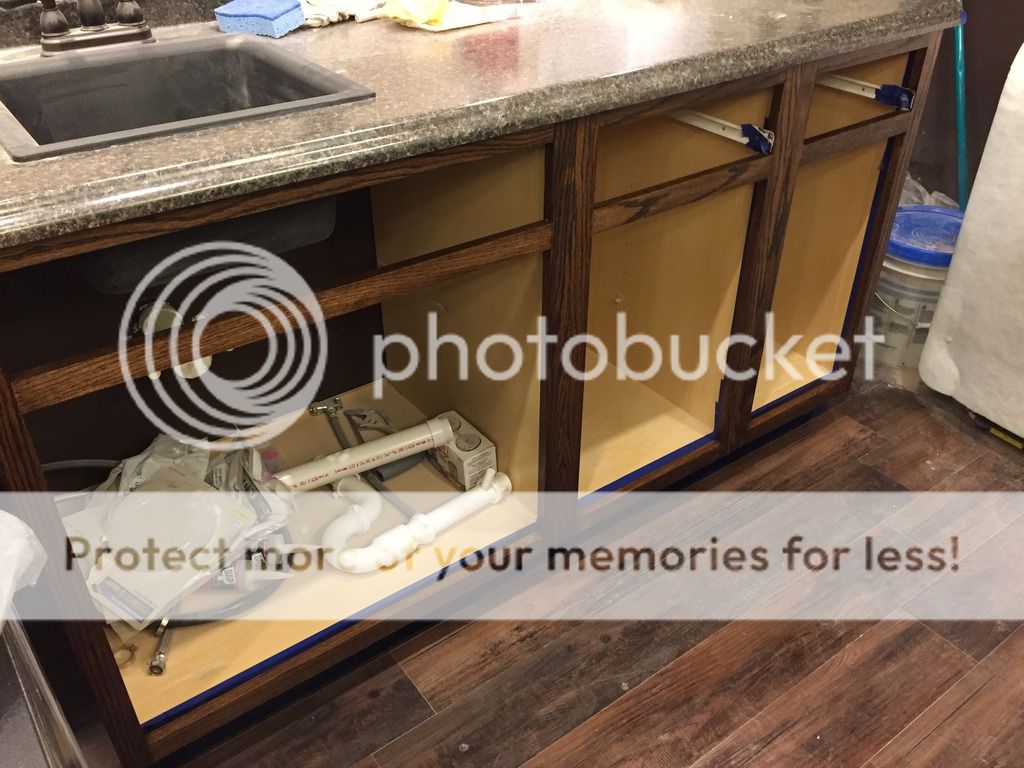
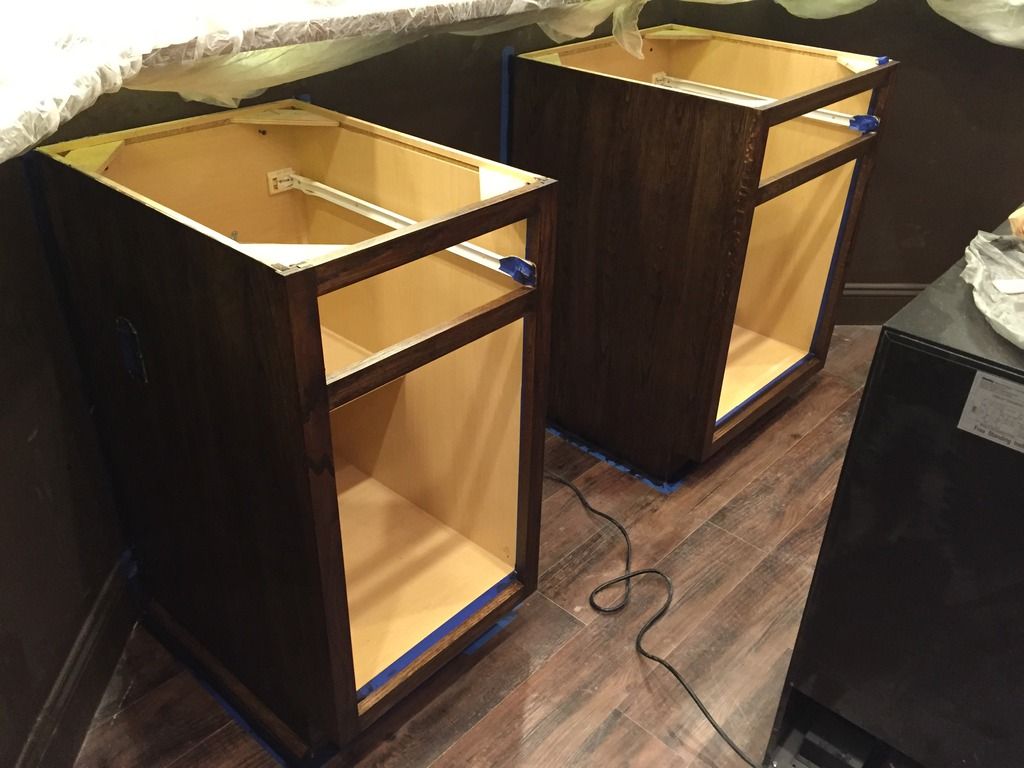
| After First Coat of Stain |
 |
| After 2 Coats of Stain and 1 Coat Poly (Still Wet) |
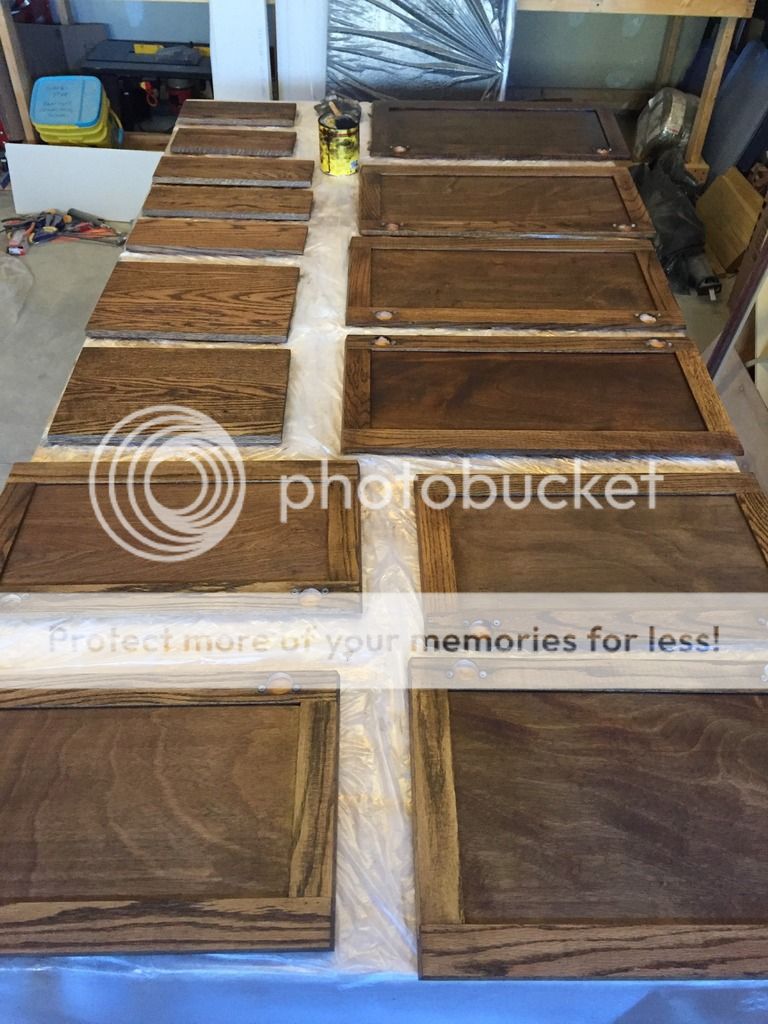 |
| Applying first coat of stain on doors |
+Cleaning+041.JPG)
+Landscaping+Day+2+035.JPG)


+PreSettlement+Walkthru+001.JPG)
+Granite+Countertops+001.JPG)