+Cleaning+041.JPG)
+Landscaping+Day+2+035.JPG)


+PreSettlement+Walkthru+001.JPG)


After we got the bedroom sheet-rocked and partially mudded we started framing the Storage Room, Exercise Room and Media Room at the same time. The idea was that we would get all rooms to the same stage and work the tasks at the same time (e.g. framing, electrical, sheet-rock, tape and mud, paint, trim, etc.). While this was good in theory, everything took longer than we expected and the project seemed to take forever. This is partially why it took so long to finish the bedroom. In all fairness, the total finished square footage for all these spaces was over 1,000sqft (Haven't actually calculated the total, just a rough estimate). This project was like building a small house.
Of the three rooms we tried to finish up by Christmas, this one was the last priority, so we spent the least amount of time on it and therefore it has the most amount of unfinished work. We had ordered baseboards, casings, doors and knobs from Ryan and did not have enough baseboard so we have a few walls without baseboard. We have since got more but haven't installed it. The trim hasn't been spackled, caulked or painted yet and we still need to do something with the big ugly pole in the middle of the room. We will probably paint it white at some point. We still need to bring in the rest of our equipment, rubber mats and install some mirrors... along with a lengthy punch-out list but it is usable for now.
Here are some pictures of the journey.
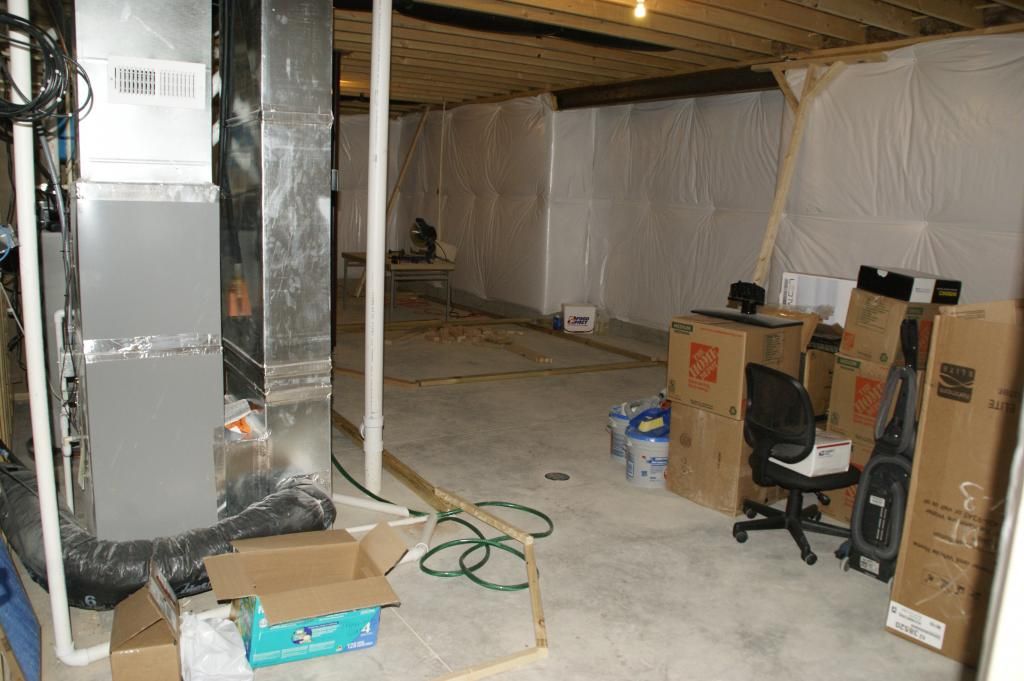 |
| Laying out some scrap wood to figure out a layout for the room. |
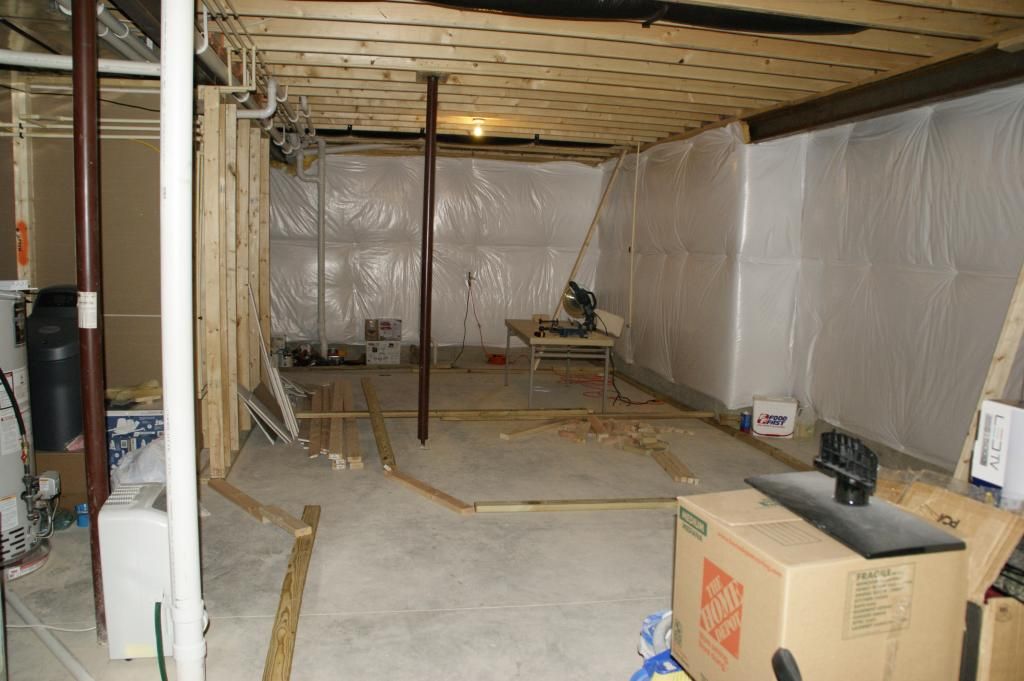 |
| Original idea was to create a little workshop with a hall leading into a storage area in the back. This would have made for a very small exercise room. |
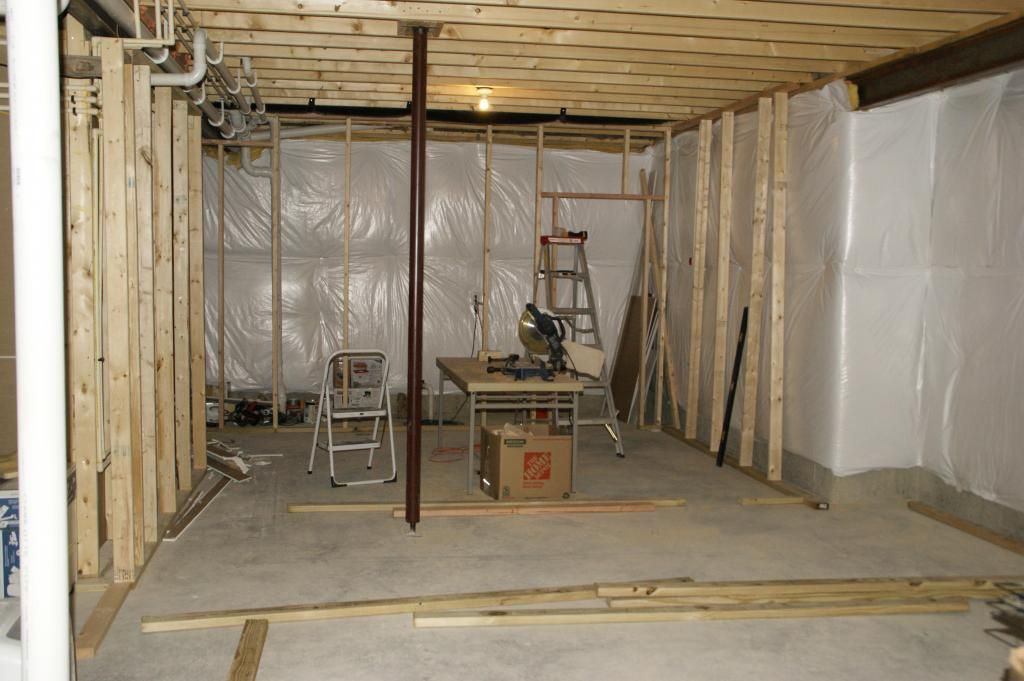 |
| With the plan finalized, we began framing. That back wall creates a 3' x 15' room that has the sump pump equipment and a sewage clean out. |
 |
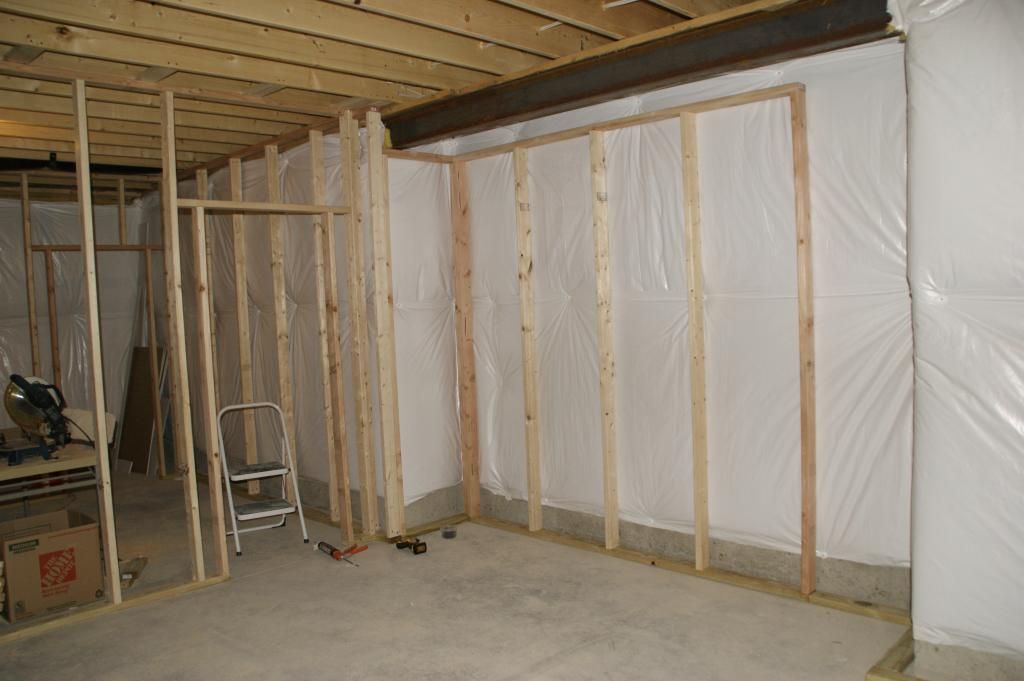
| Storage room wall up, defining the space for the exercise room. |
 |
| Exercise room framing continues. Originally we were looking at putting a little weight bench here and some mirrors. We were also considering putting some lower cabinets in for extra storage. Still not sure what we are going to do. |
 |
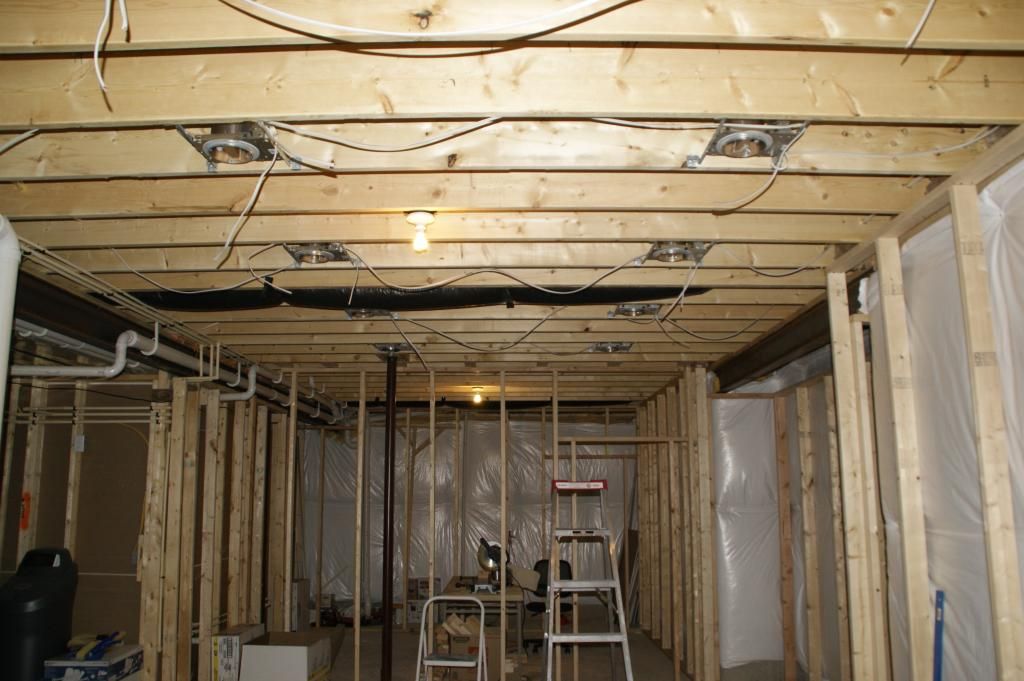
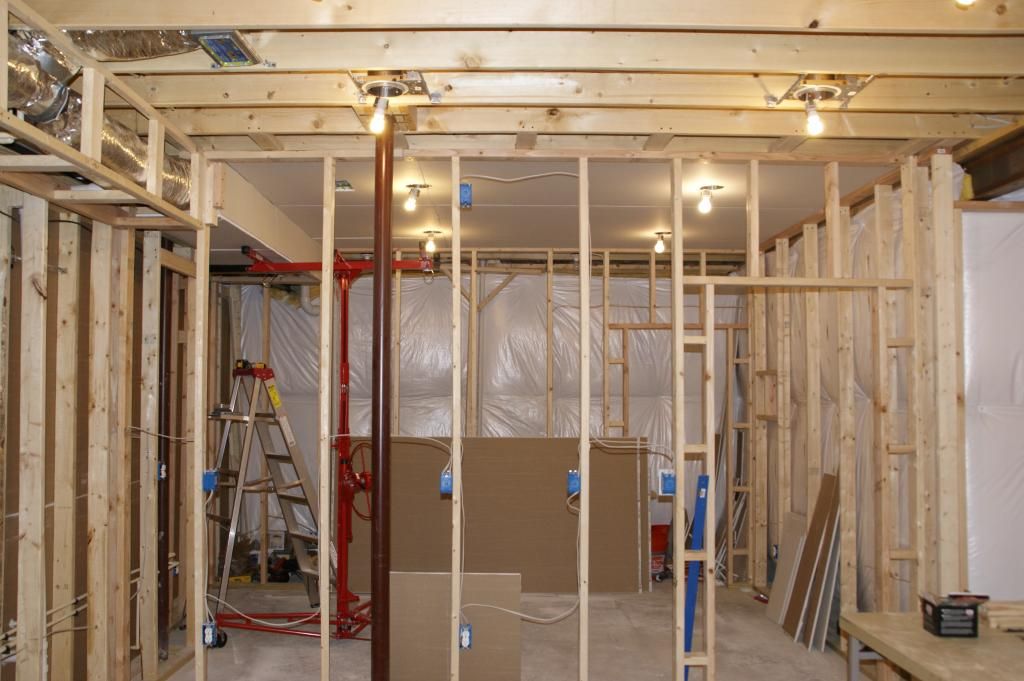
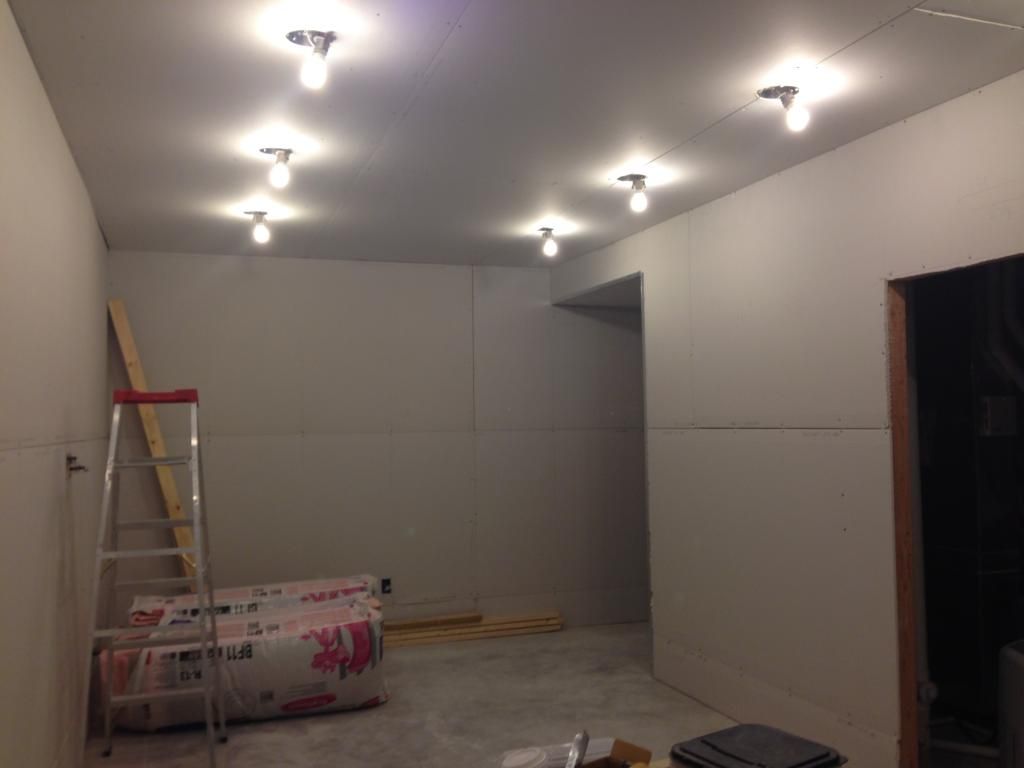
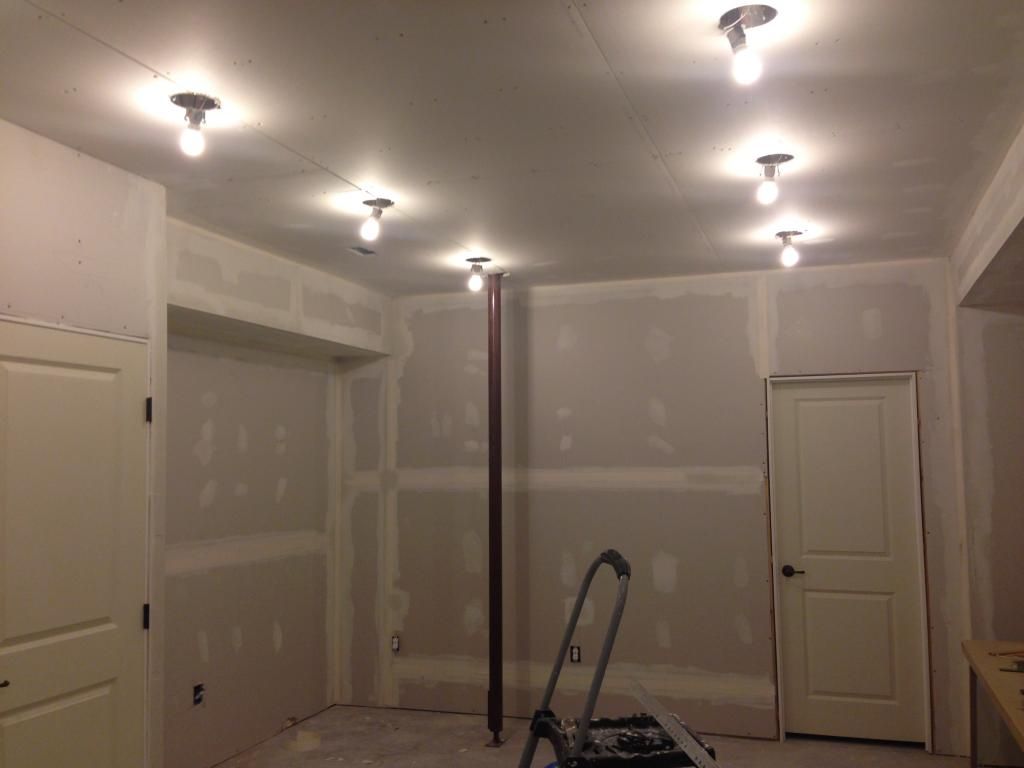
| All the framing except the furnace room is complete. Had to run the electrical to this room before we could finish the Media Room... and it was tough working in the dark. So we started with wiring up all the Can Lights. |
 |
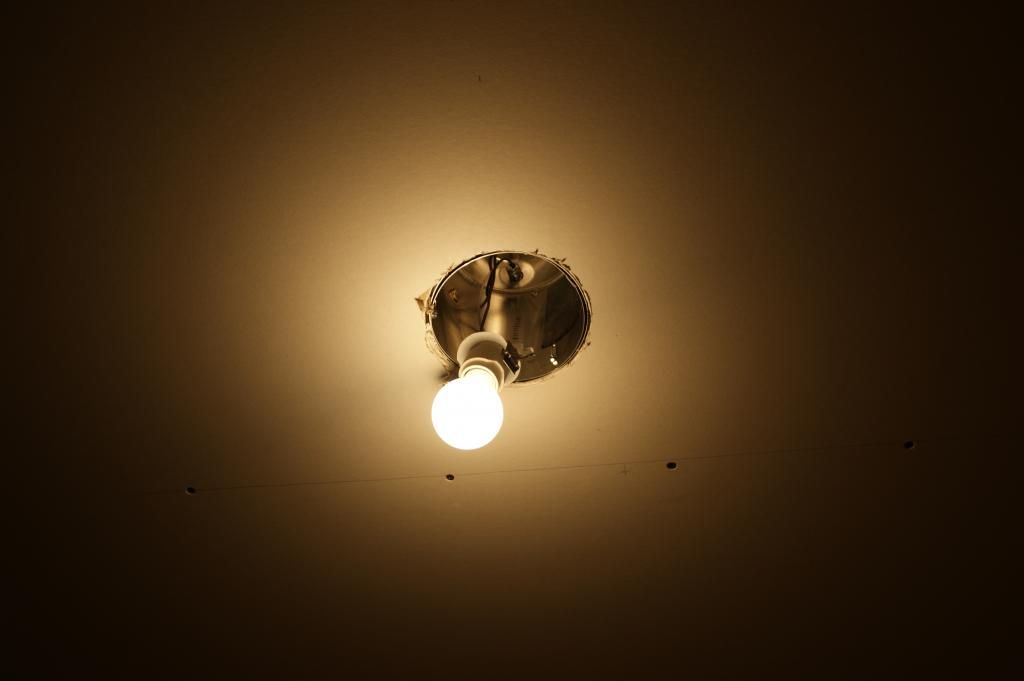
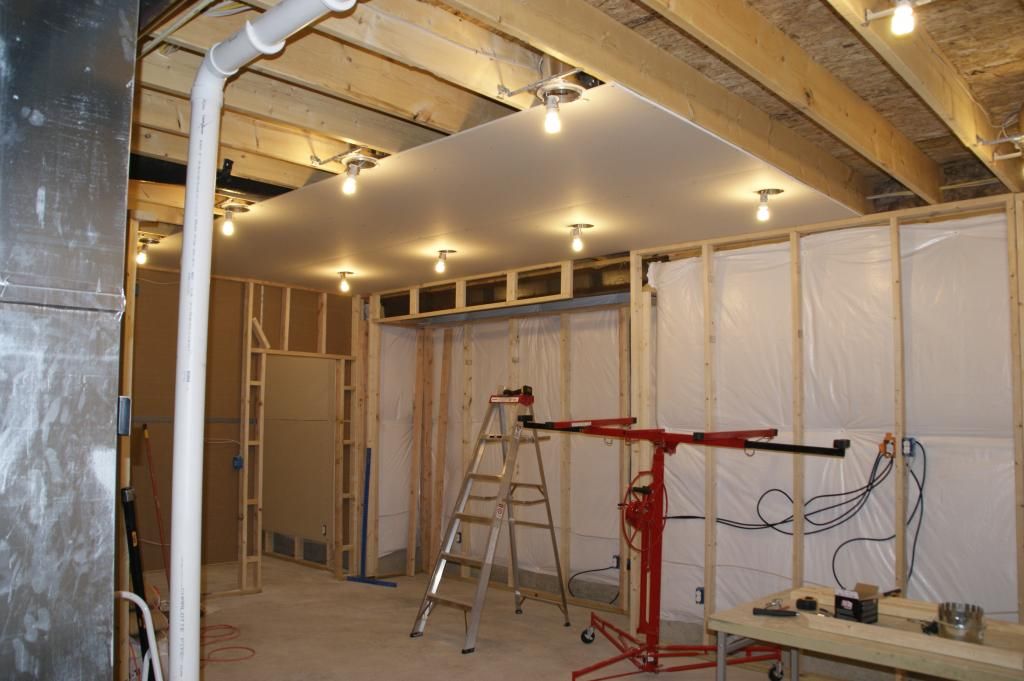
| Can Lights hung, ready to be wired. |
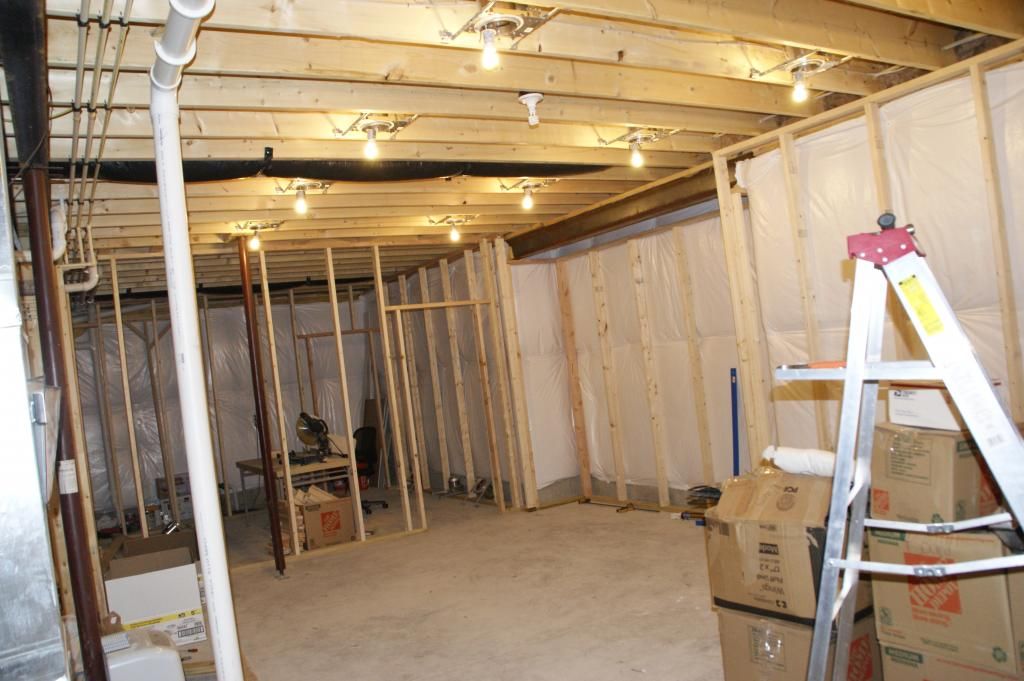 |
| Wow, did this light up the room. Wish we would have started with the lights then the framing. Would have been much easier than working in the dark. |
 |
| Ran and wired all the electrical outlets and put in low voltage boxes. |
 |
| Outlets installed in storage/workshop area |
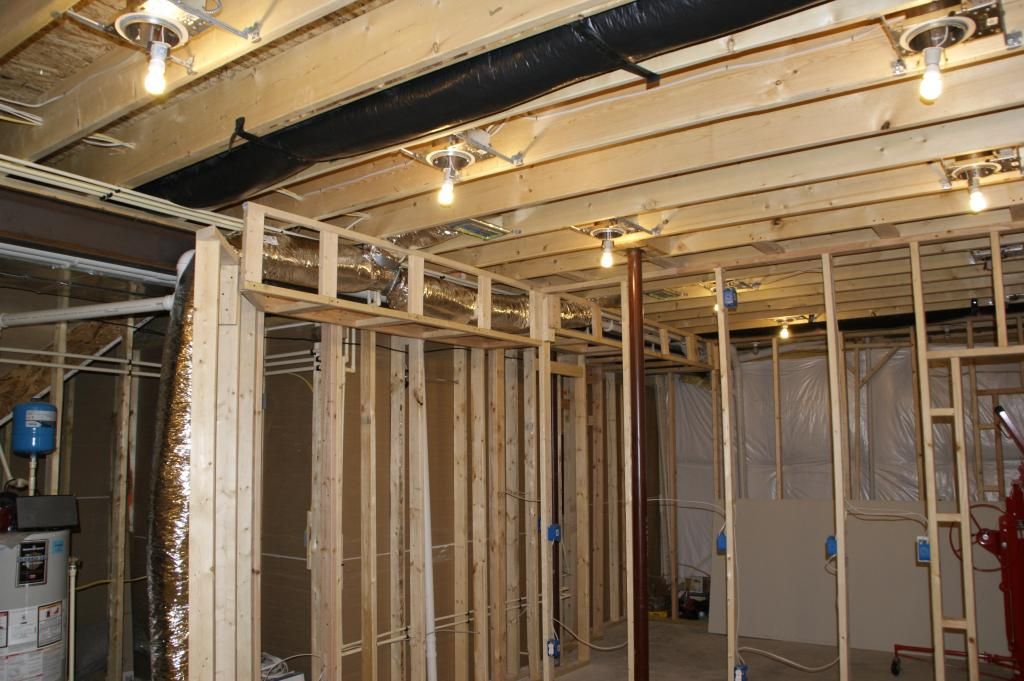 |
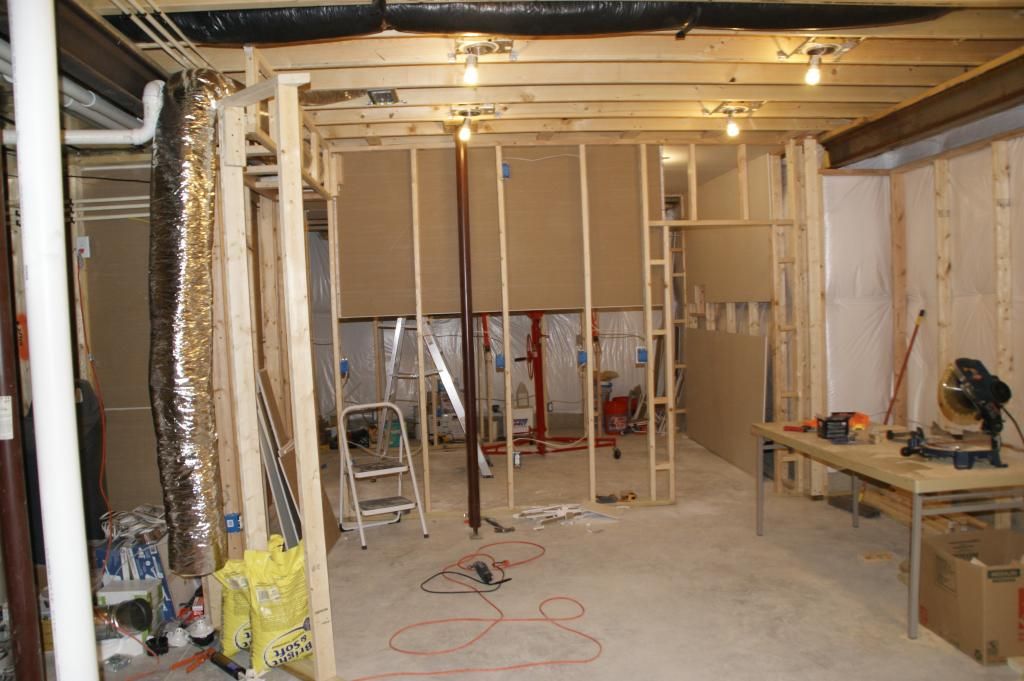
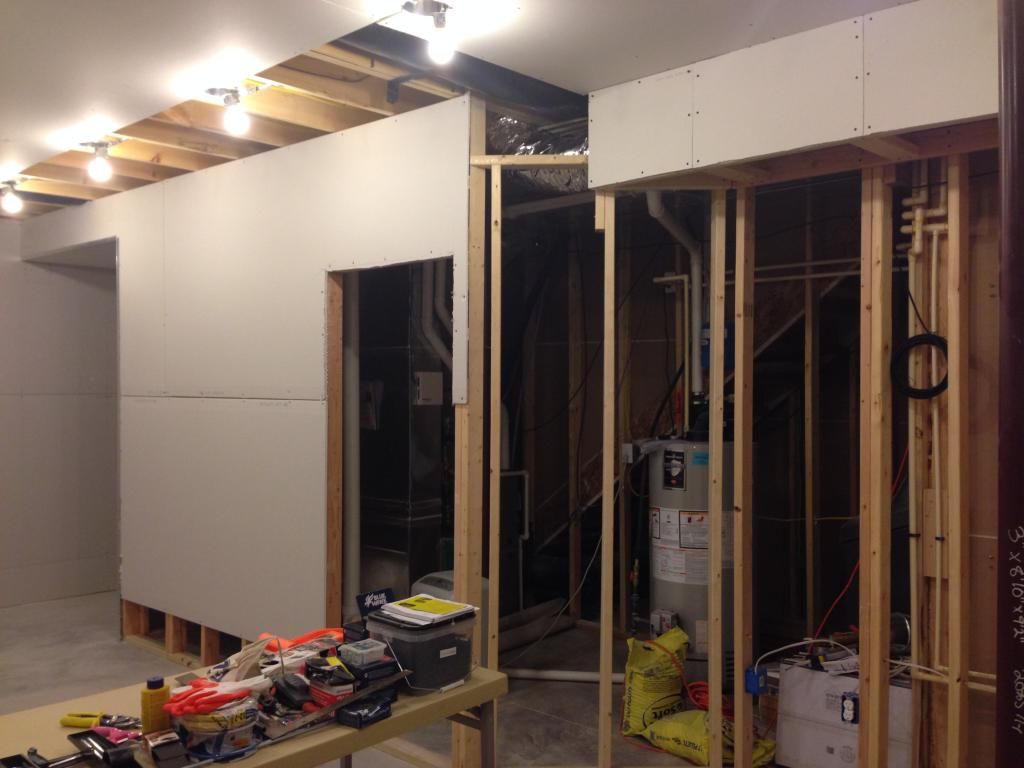
| Framed a soffit for the HVAC Supply lines and installed vents. |
 |
| Drywall installation has begun |
 |
| The holes aren't really pretty but they will work. |
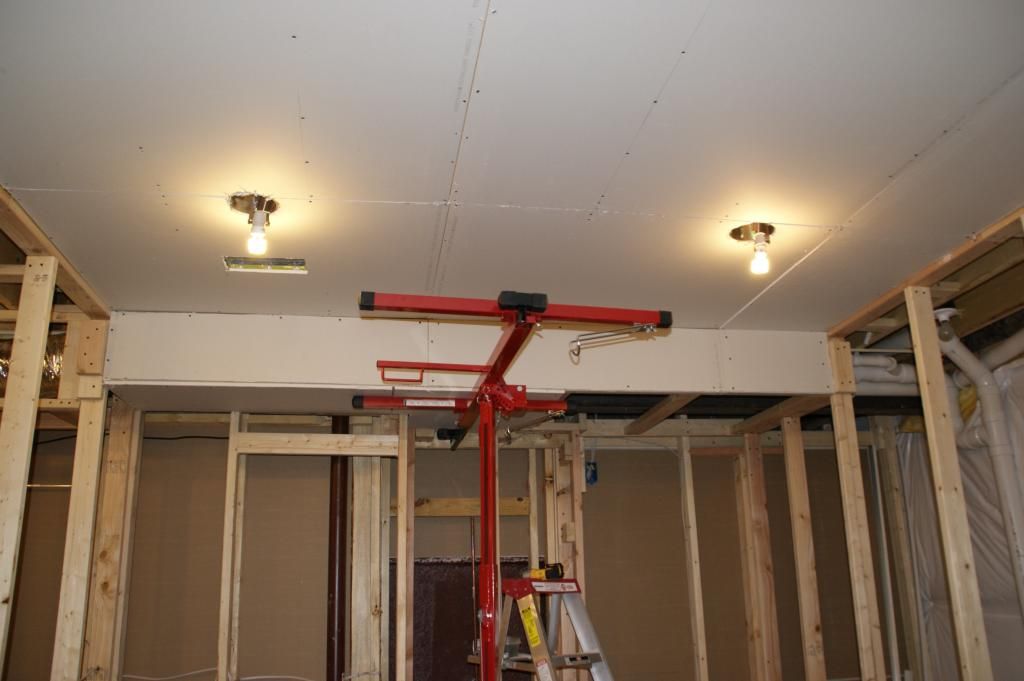 |
| This panel lift made this a one person job. We purchased it at Harbor Freight for $199 on sale. Home Depot rents them for $65 a day... Not a great value to rent. We decided to buy one and Craigslist it when we are done. |
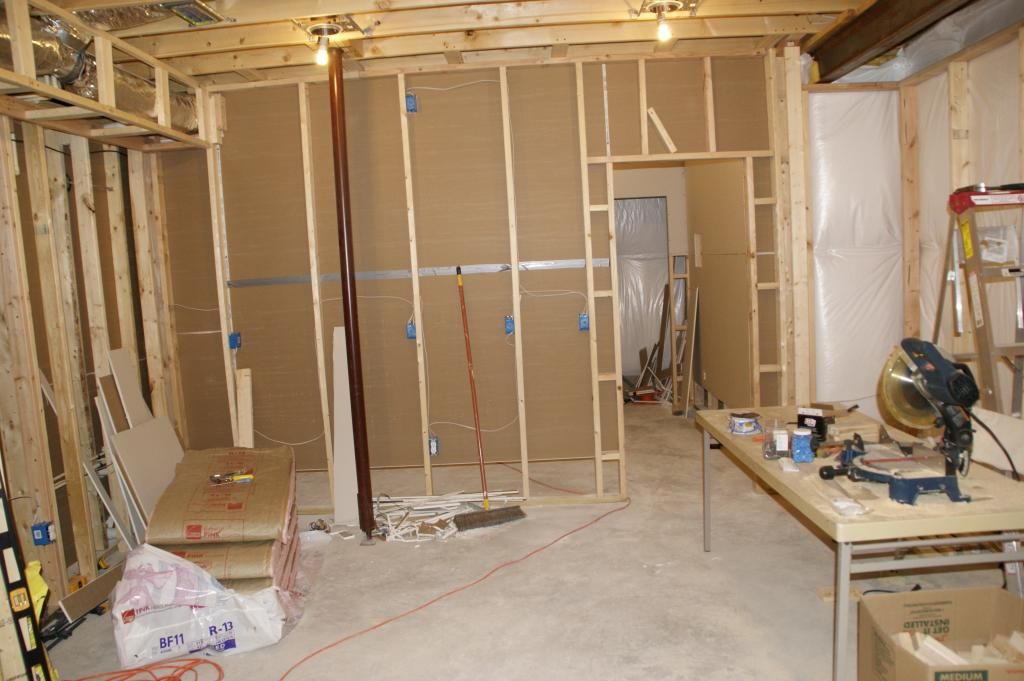 |
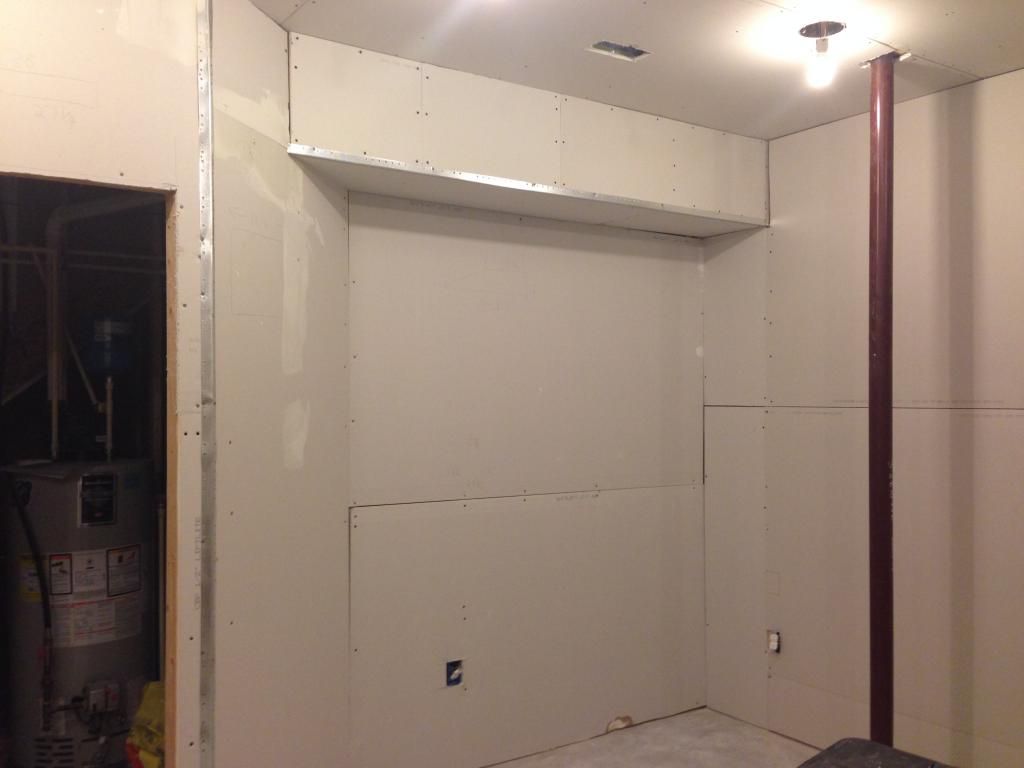
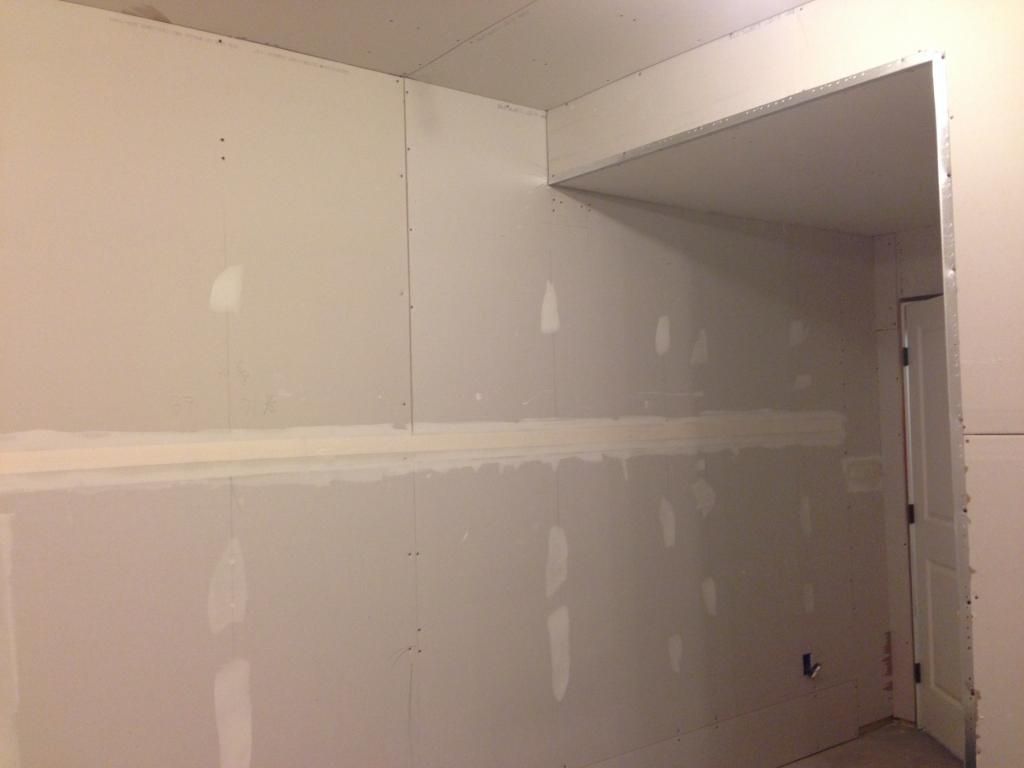
| Storage room pretty much done being sheet-rocked. |
 |
| You can see a 12"x12" cut out half way up the wall on the right. That is our main water cut-off. We are going to install an access door over it. |
 |
| We ran 2 HDMI cables back behind the wall and over to the little niche. If we up cabinets in there, then we can put in AV components and hook them up to the TV mounted on the wall. |
 |
| Sheet-rock continues in the Exercise Room |
 |
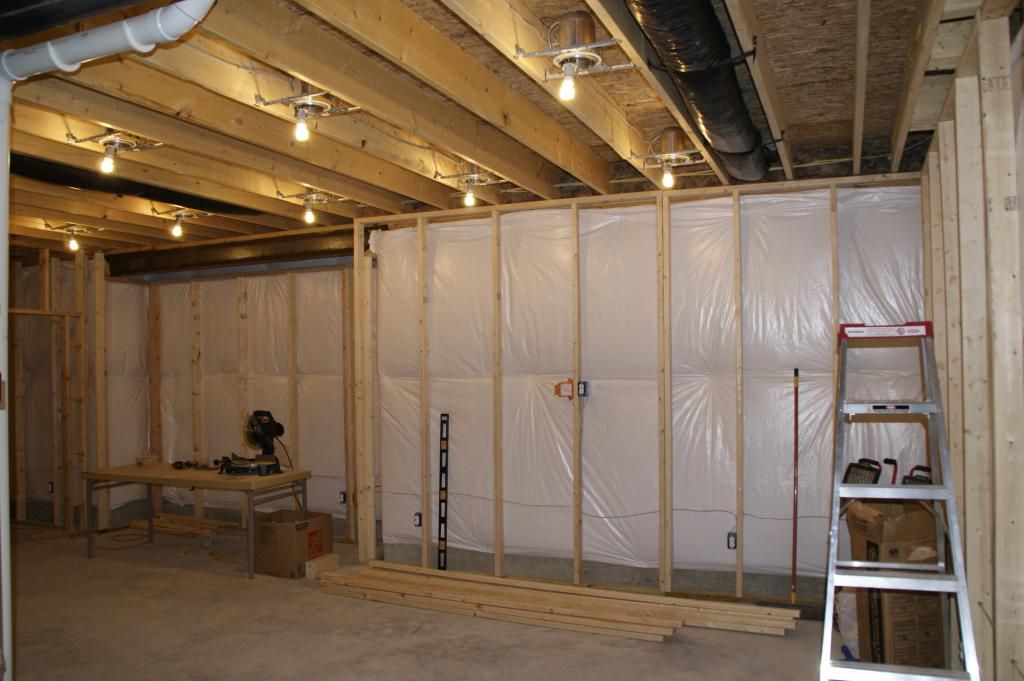
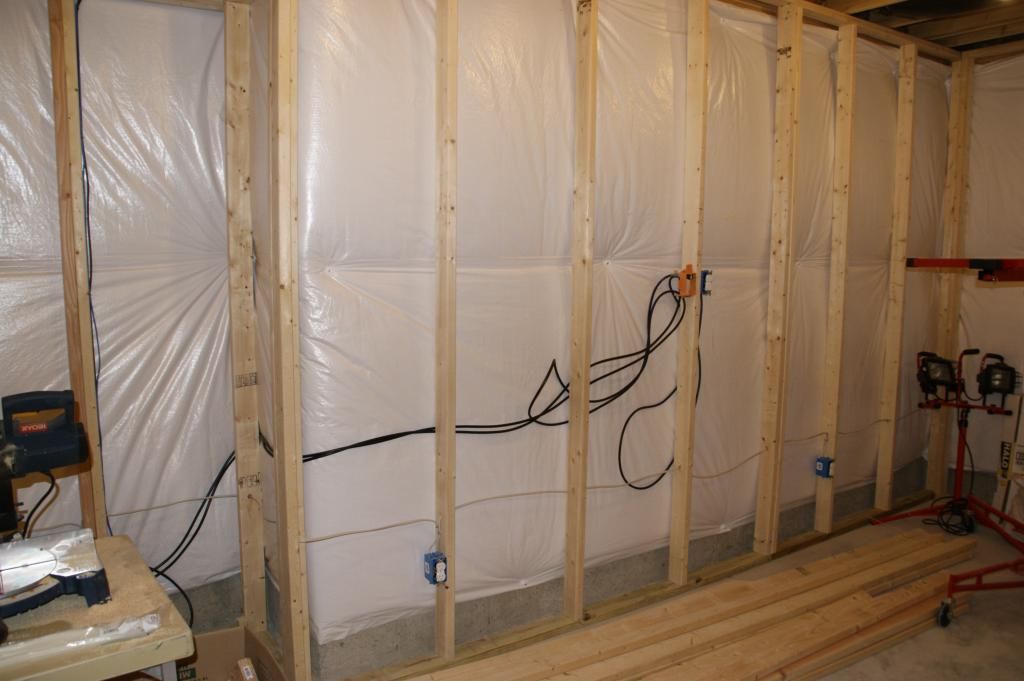
| We added insulation between many of the walls to help with sound dampening. |
 |
| Equipment room wall finished and sheet rock going up. |
 |
| Door coming into Exercise Room from bottom of stairs |
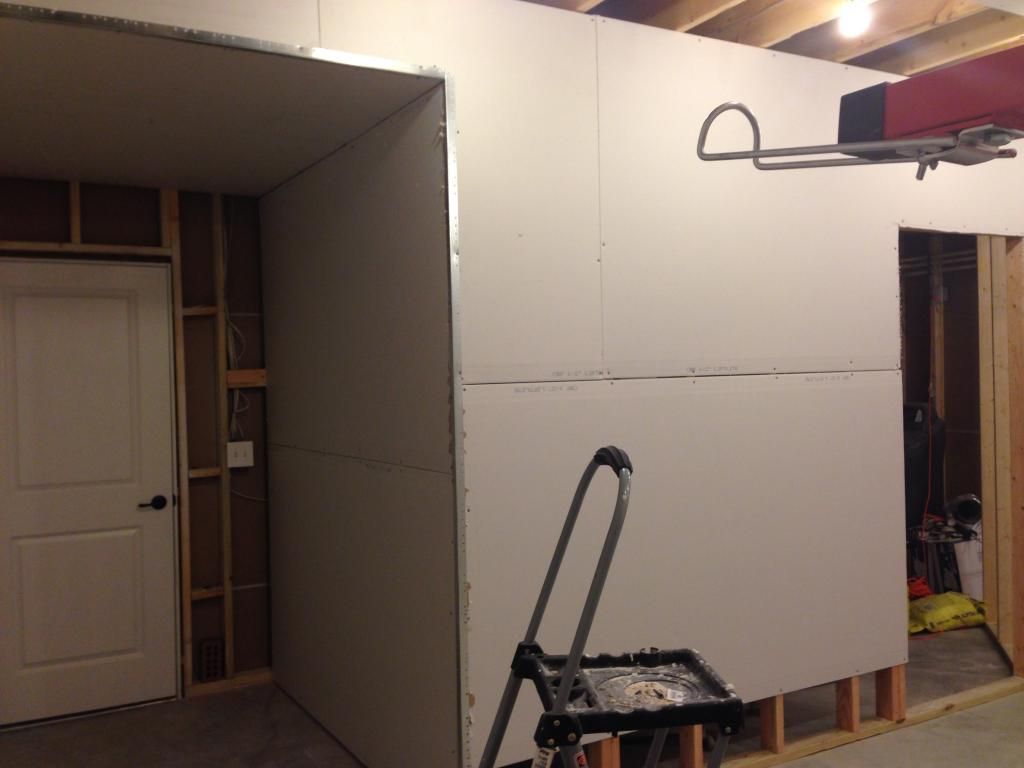 |
| Furnace, Water Heater, etc is behind this wall. |
 |
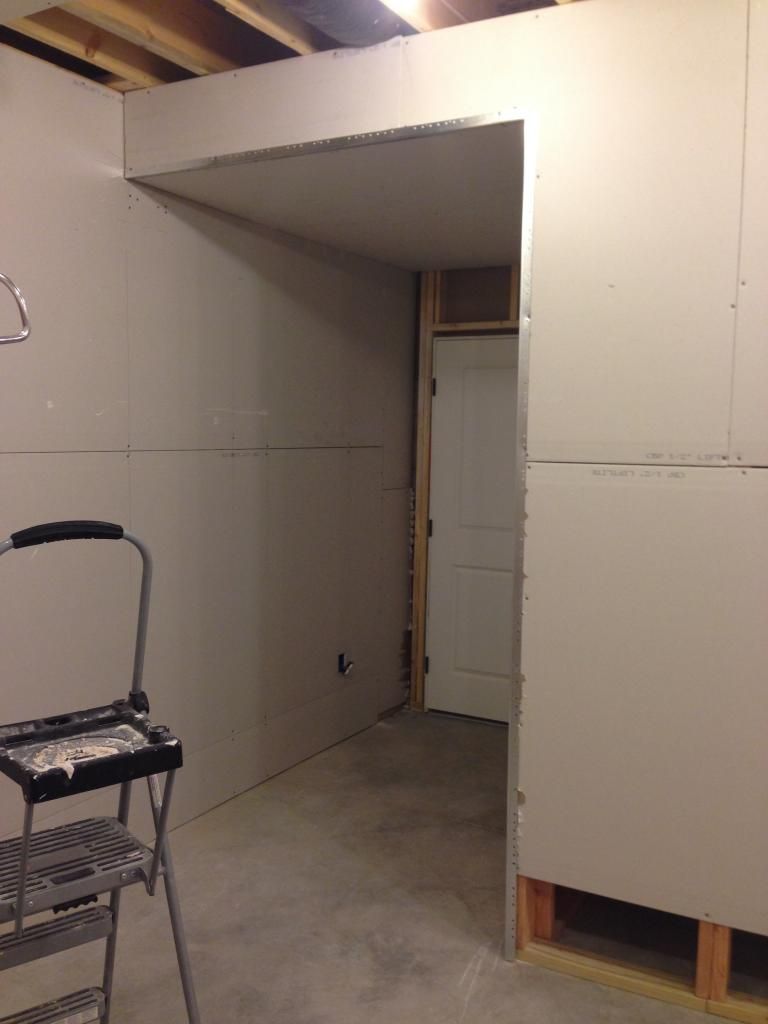
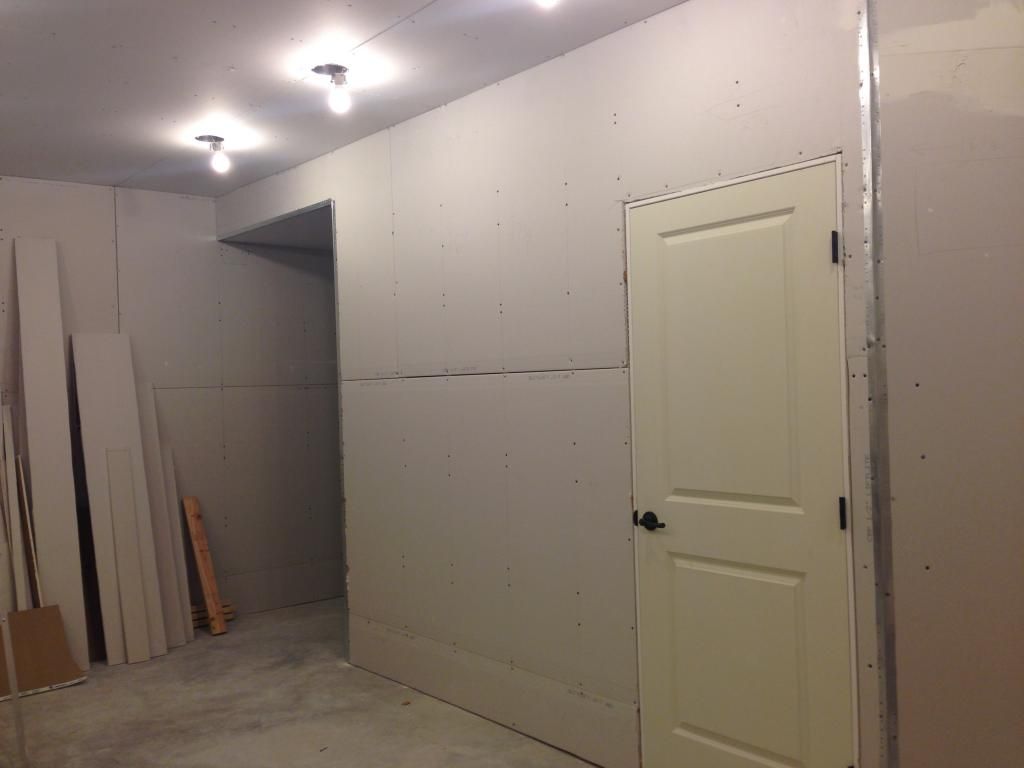
| Sheet-rock complete, corner bead installed... ready for mudding. View from storage room, looking toward entrance. |
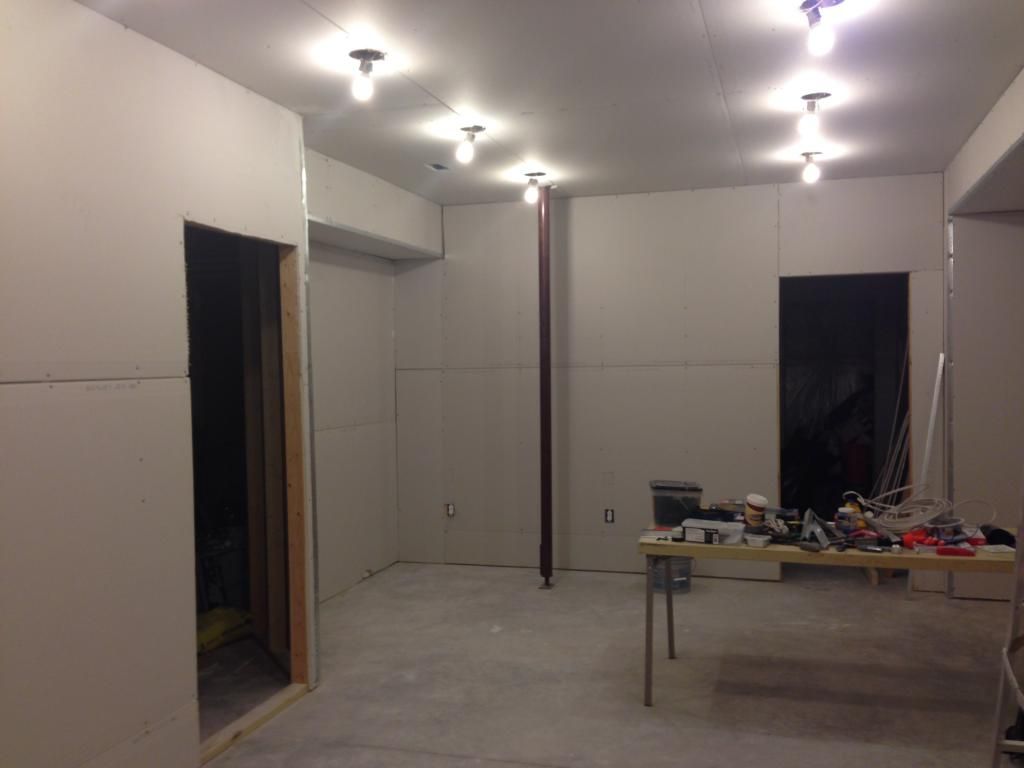 |
| View after entering the room, looking toward storage room and sump pump. |

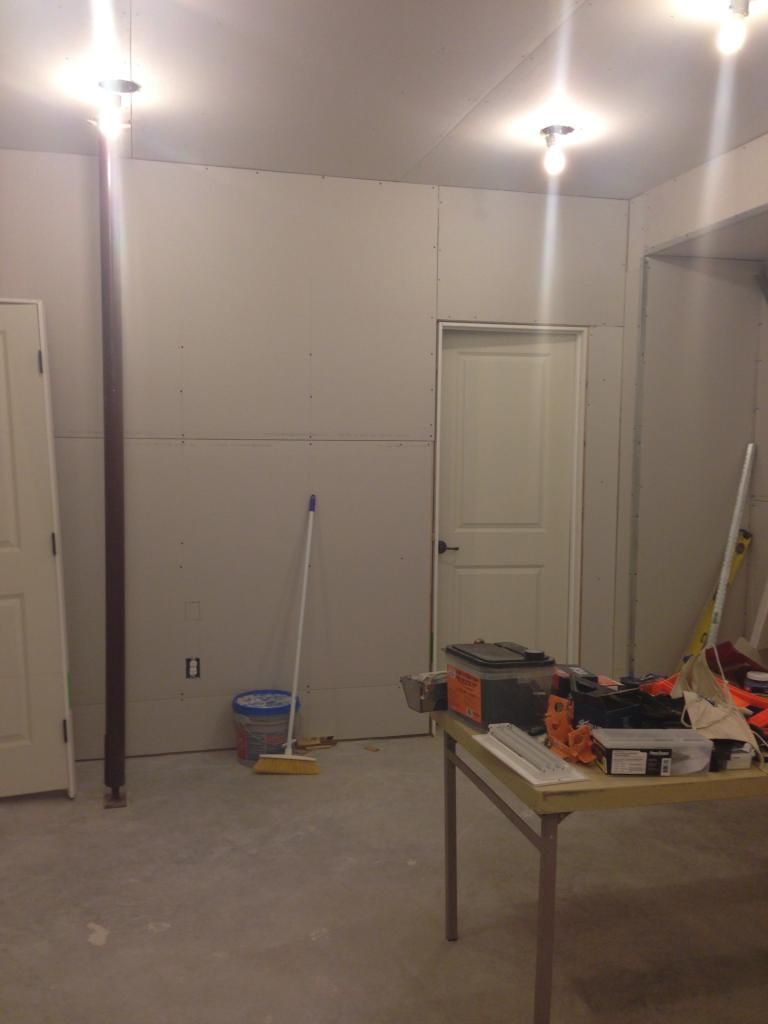 |
| New doors going in. Ordered them through Ryan to match rest of house. They were much cheaper than special ordering them through the big box retailers. Door to storage room. |
 |
| Door to furnace room. This is a 34" door vice a 30" door we put everywhere else. We will also have to add some louvers to the door to help vent for the gas burning furnace and water heater. We also have our dehumidifier in there. |
 |
| Taping and mudding have begun |
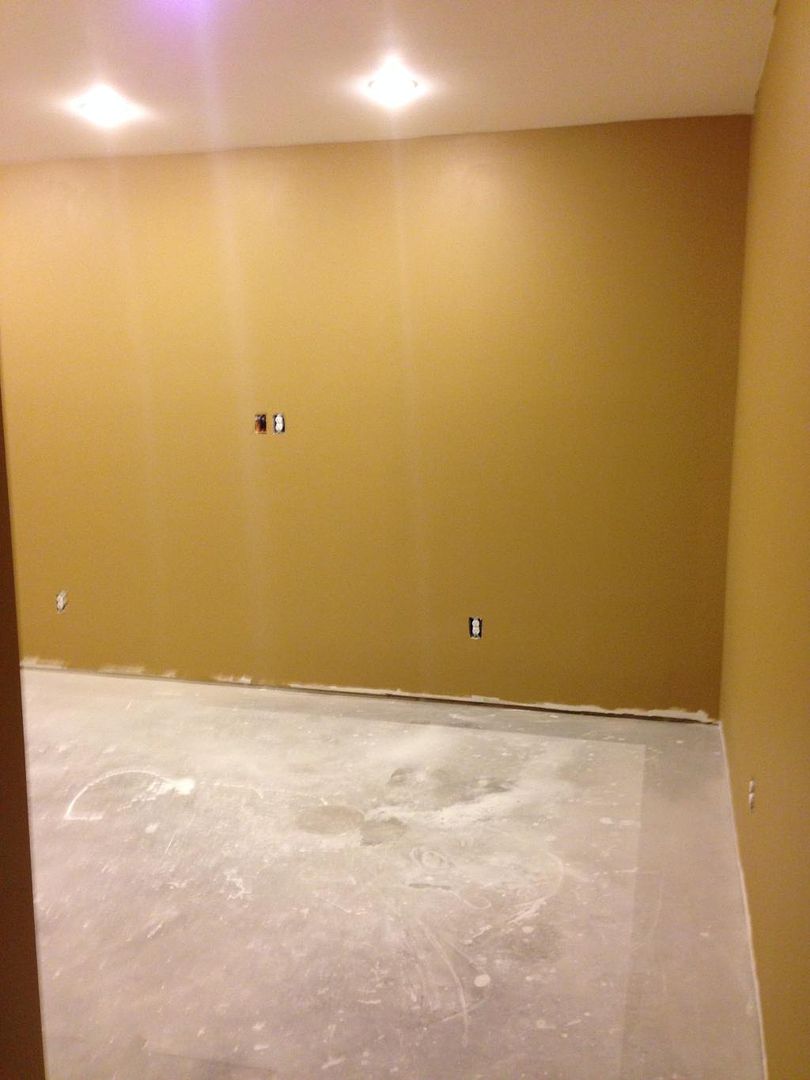 |
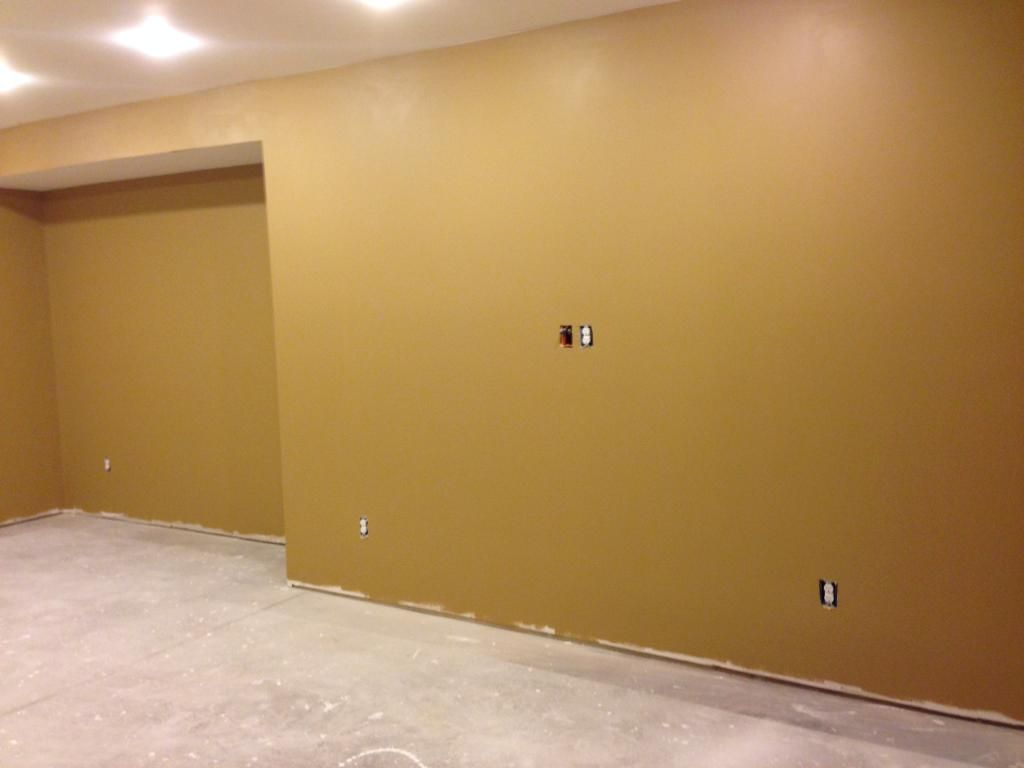
| Fast forward past the sanding, mudding, sanding, mudding... to the fun stuff... Paint and Color. This is Sherwin Williams Baguette. We use the Duration Matte finish and it looks really good. We used this color in our formal living room (will post later) and really liked it. It is a bit darker and not as bright down here so we could possibly change the color at some point. At $50+ a gallon on sale, it will have to do for now. Not to mention the amount of work it takes. |
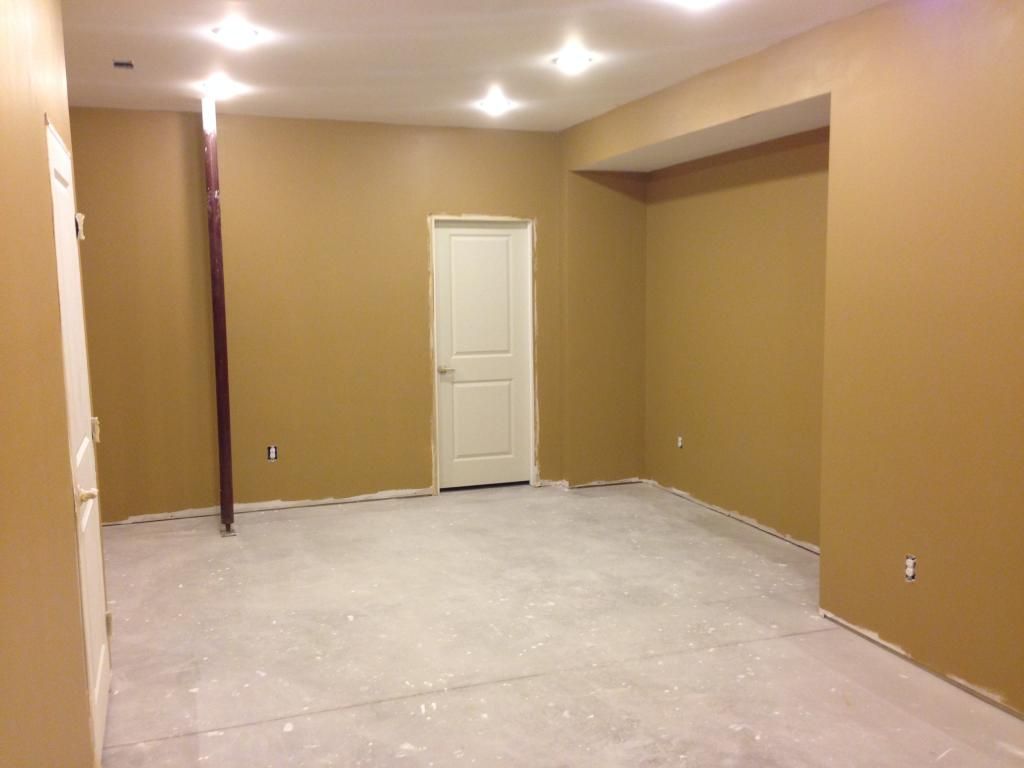 |
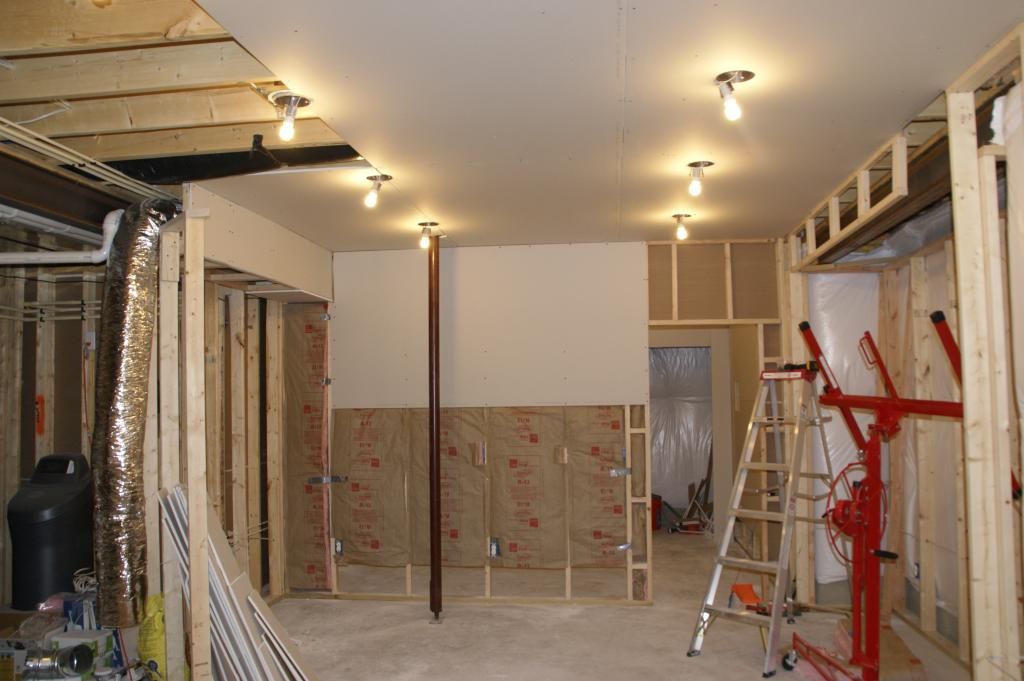
| We just primed and painted the ceilings. They are not textured, mostly due to time and cost. We may see if we can have them textured at a future date. |

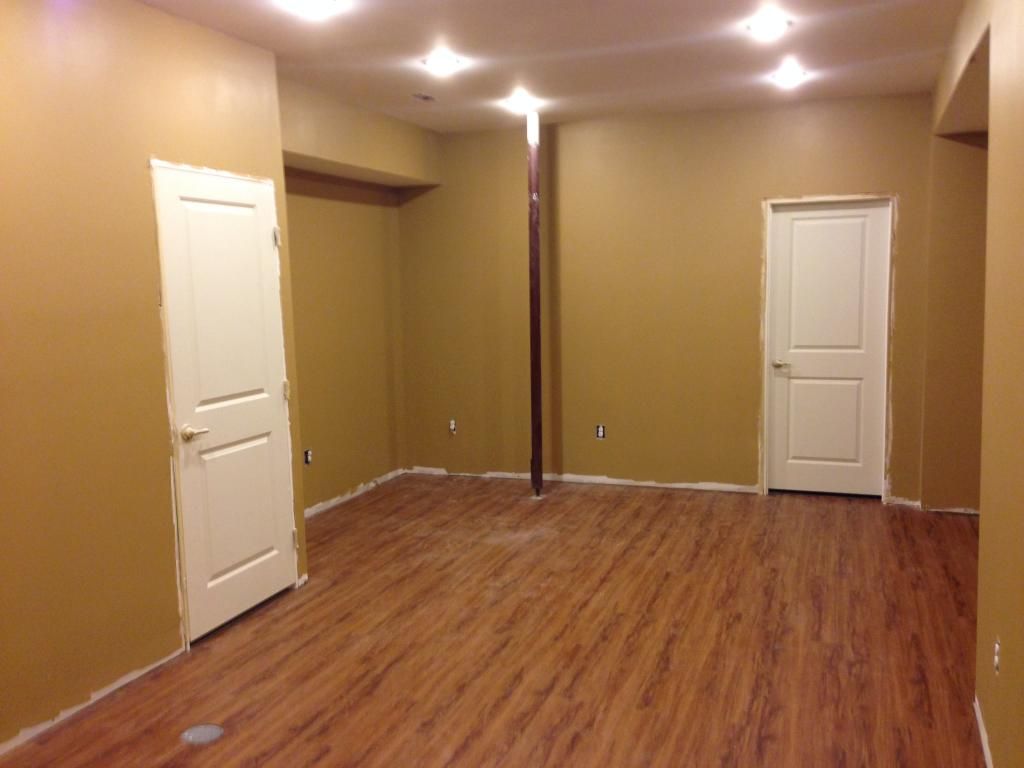 |
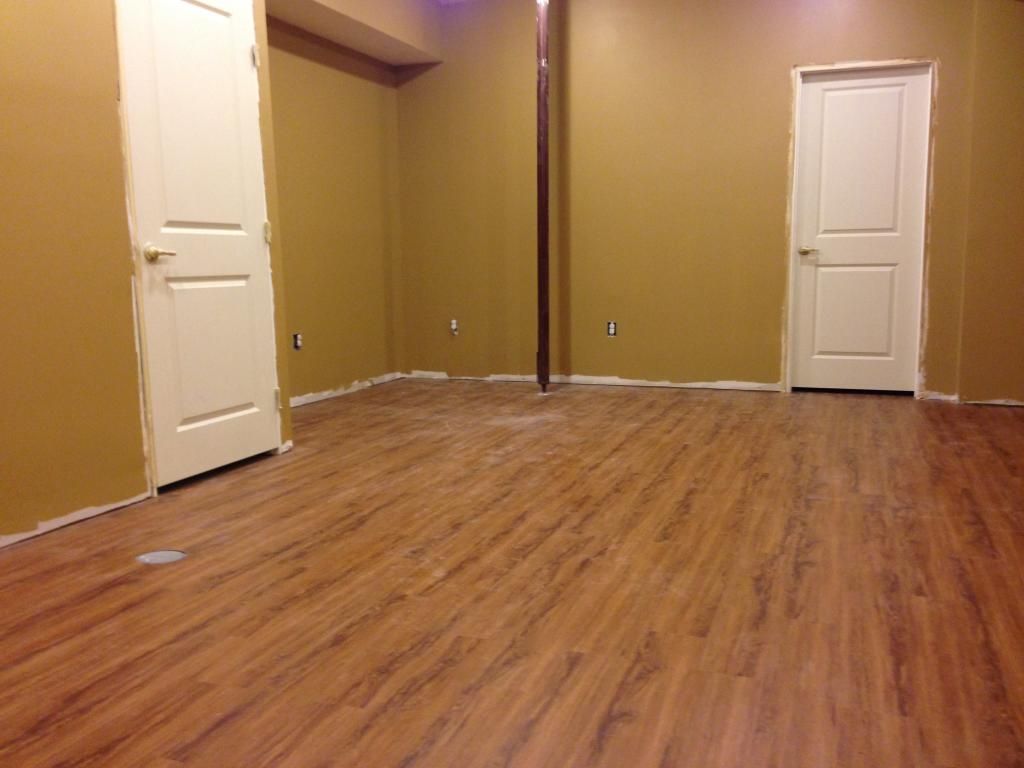
| And flooring. This is the same vinyl product we used in the bedroom. It was less than $5 a sqft installed. There is no padding or glue, so the cost is very low. A very pretty and durable product up close. We were very surprised how resilient the product is. |
 |
| Entering the Exercise Room. Baseboards installed but not spackled, caulked or painted. Also, please forgive the grainy pics, we will try to take better ones soon. We might wait until we actually finish the room and do an update then. |
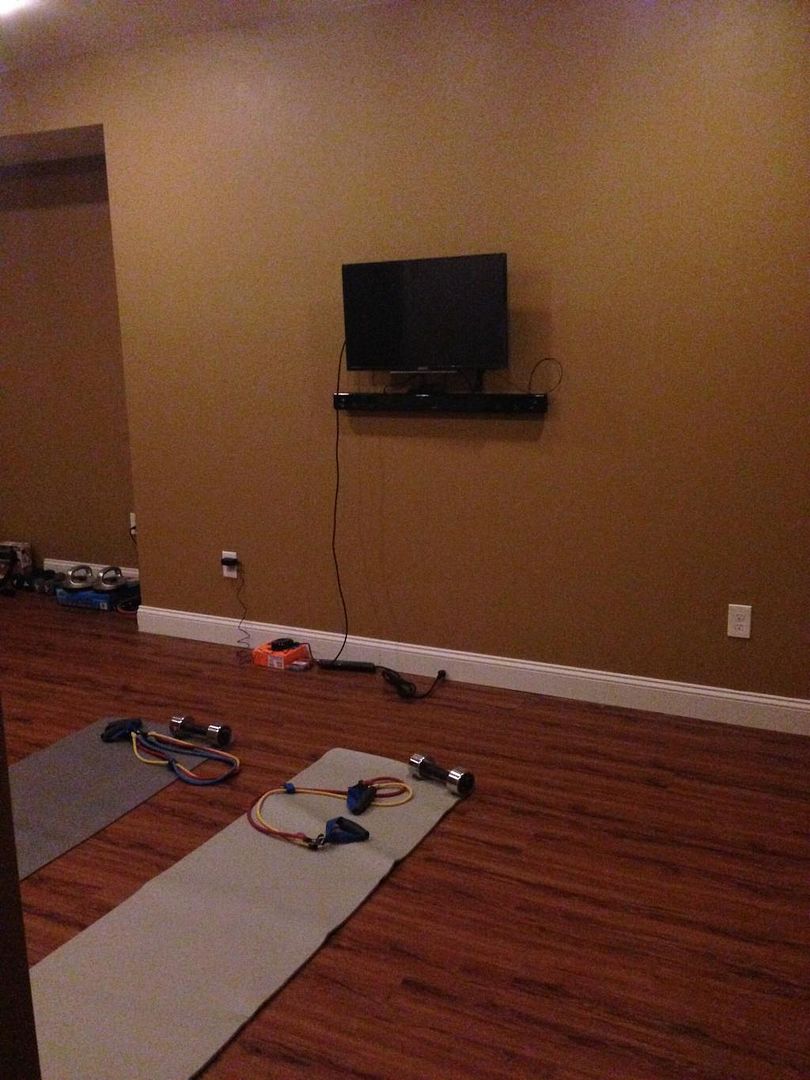 |
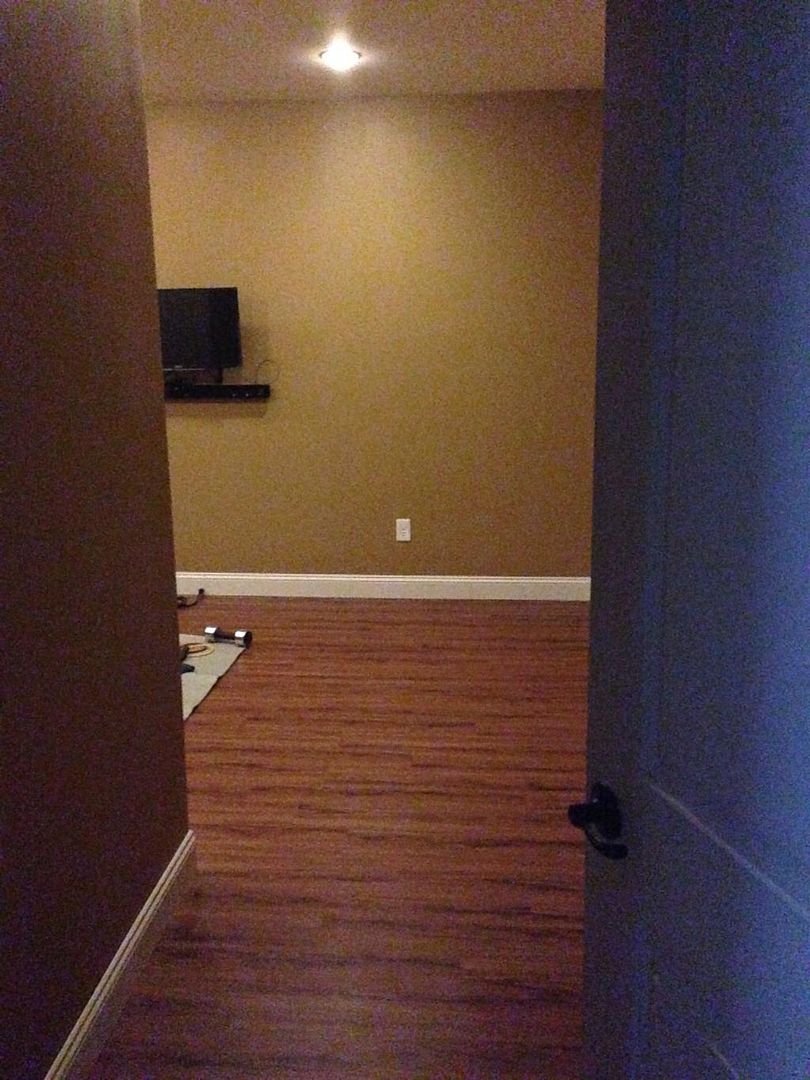
| TV and Bluetooth Soundbar installed. The wires have to be zip tied up behind the TV and the Roku mounted. We did the Roku versus paying for another cable box. We have systematically replaced all but 2 cable boxes in our house with Roku's... We are much happier with the options and performance than the Time Warner Boxes that lock up and have to be rebooted every other day. |
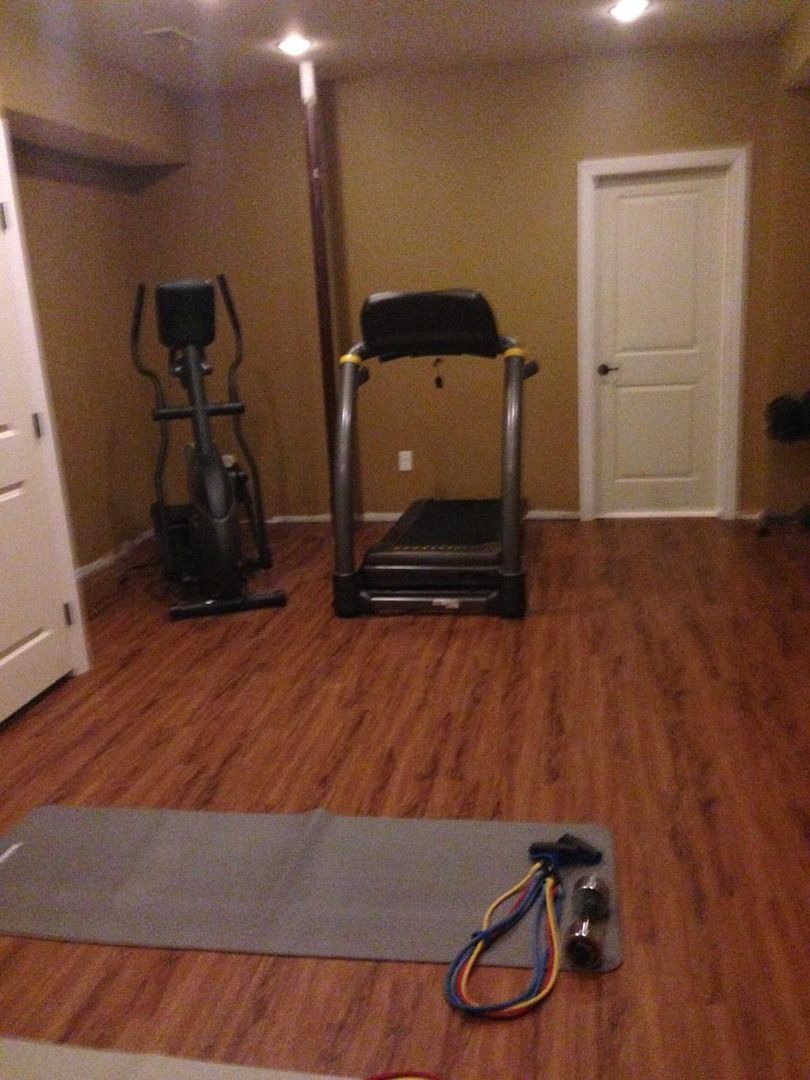 |
| Awww, and some of the equipment installed. Notice the big ugly pole that has to be painted. |
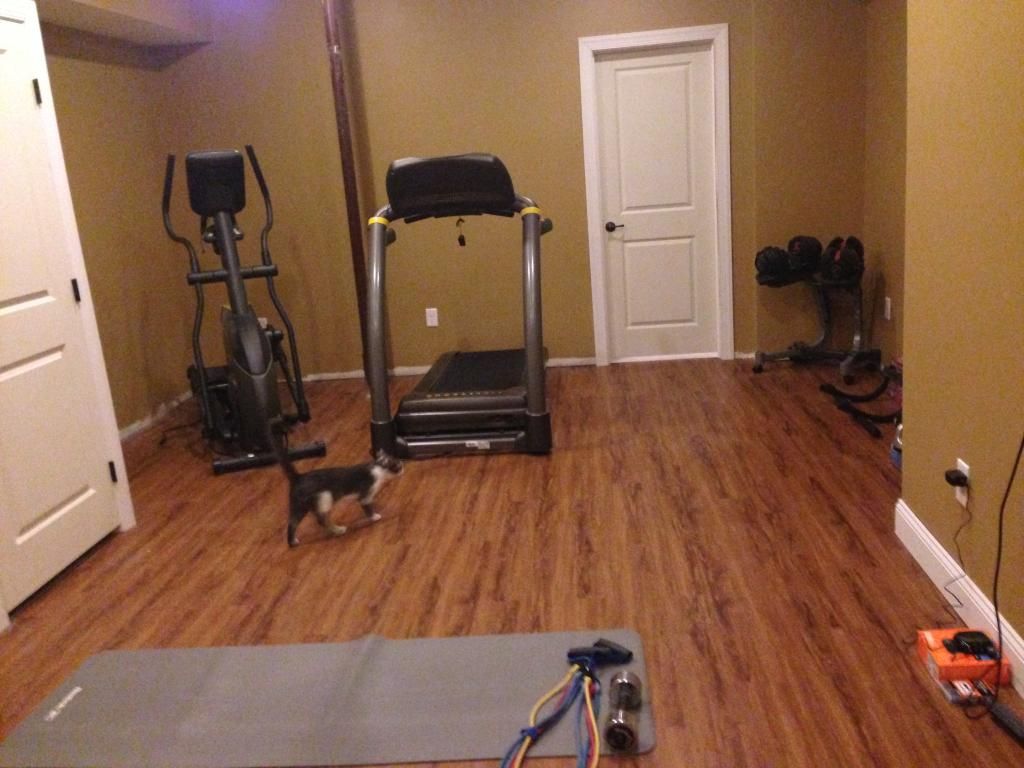 |
| Still need to run baseboards on the back wall. Looks like the cat is ready to work out. |
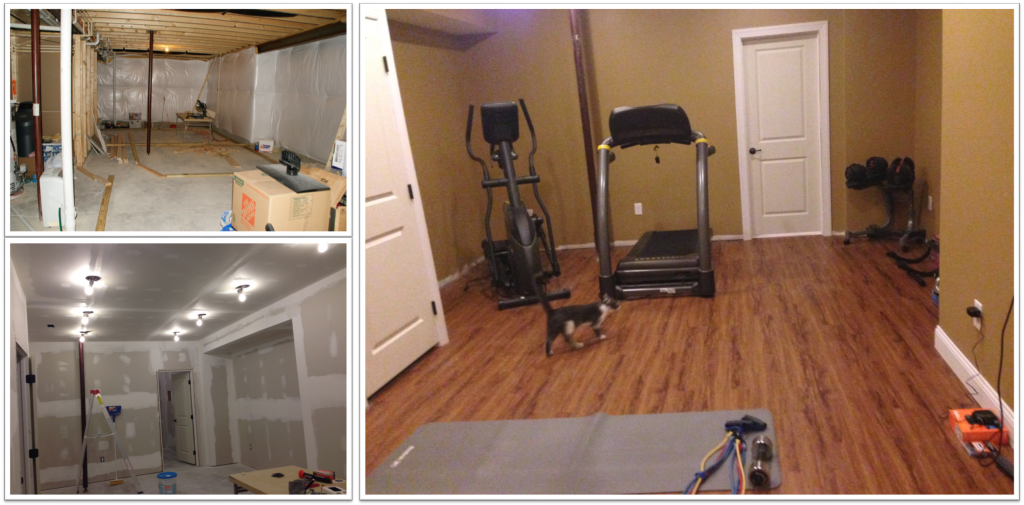 |
| Hard to believe this is the same space... |
Another fine job! Are those 9' ceilings in your basement? Never thought of ordering materials thru Ryan. How did you go about that? Thru your PM? I would like to use the 2-panel doors in my basement as well so everything matches.
ReplyDeleteYes they are 9' ceilings. It was standard with the Highgrove. They recently just started offering it as a option again with other models. They used to and then stopped for some reason. My PM got promoted to the area service manager, so I contacted him and he got in touch with the factory and ordered the stuff for me. It was COD. When the doors and trim came in, I just wrote them a check for it.
DeleteNice! That's funny my PM is now the service manager in my area! Maybe I will reach out to him and see about ordering some materials. My local Lowes actually stocks the molding, but the doors are a special order item. Seems like the big boxes around here are still pushing the 6-panel doors.
Delete