I saved the best for last (At least until our Bar and Game Room is done). The Media Room (or "My Movie Room" as our 5 year old calls it) turned out better than we could have ever expected. It's been done for a few weeks and we still sit in the room in amazement that this space is in our house. Of all the new rooms in our house, this one has improved our quality of life the most. In many ways it has brought our family closer and has certainly given us a truly fun place to entertain friends (both for the kids and adults). Recently got to watch Ohio State play the game of their lives against Alabama... what an exciting game and a perfect venue to watch it in.
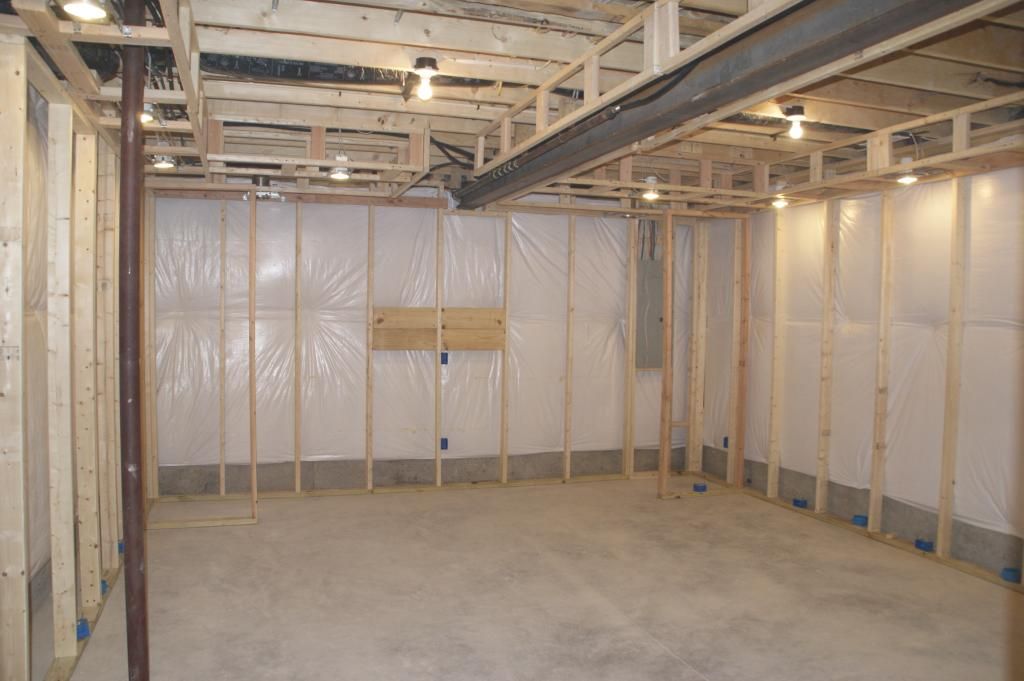
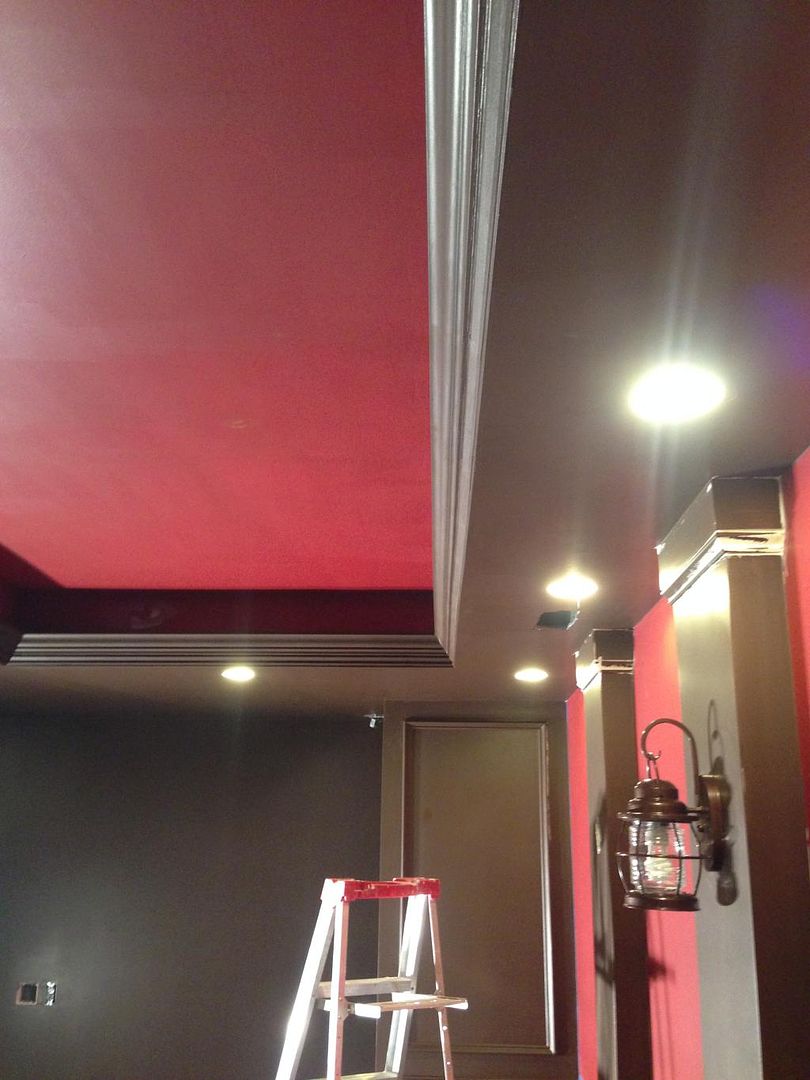
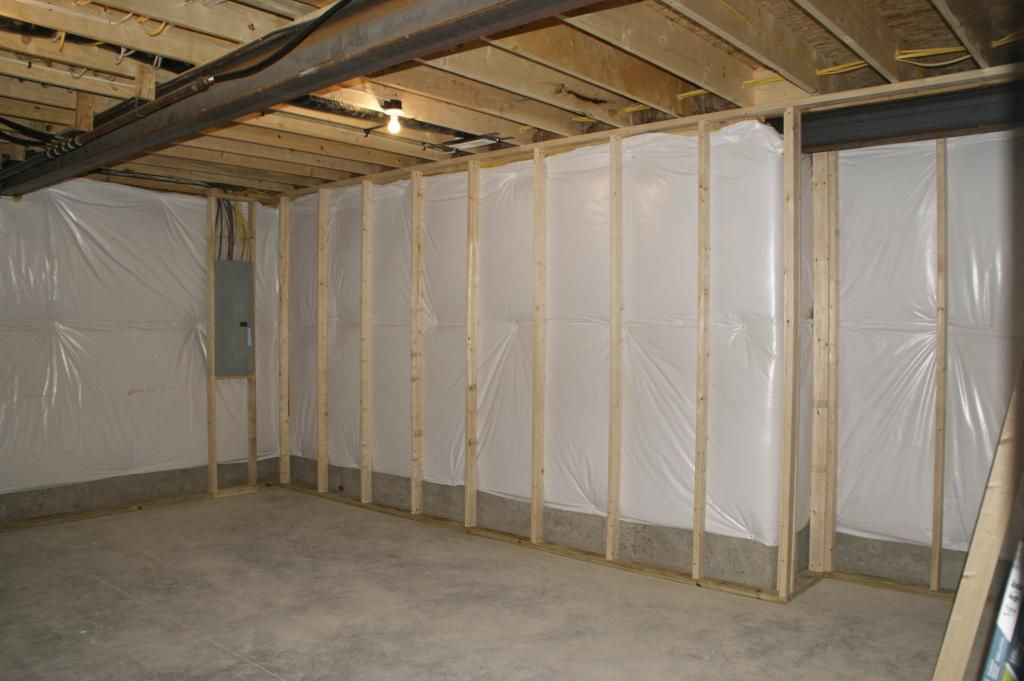
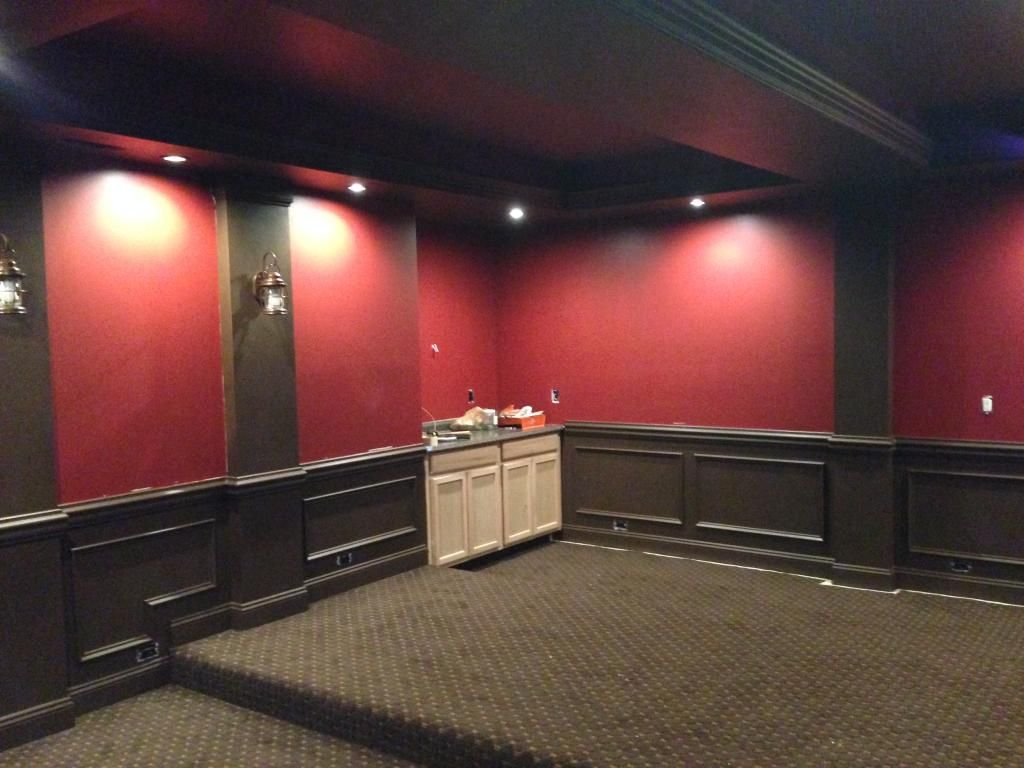
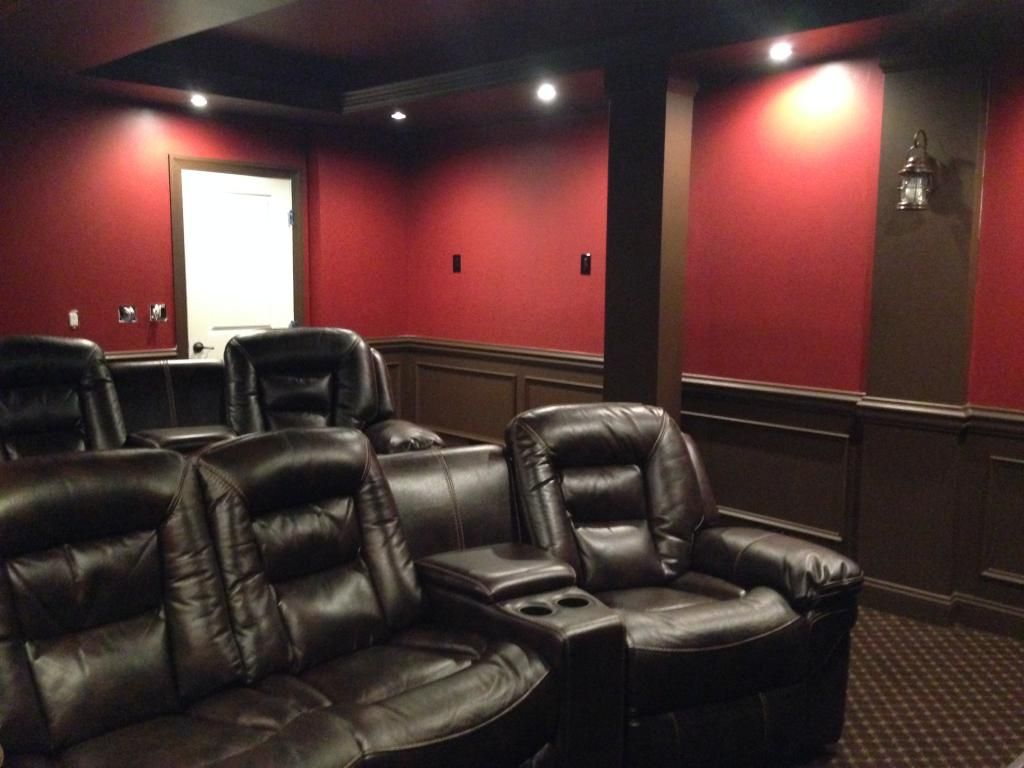
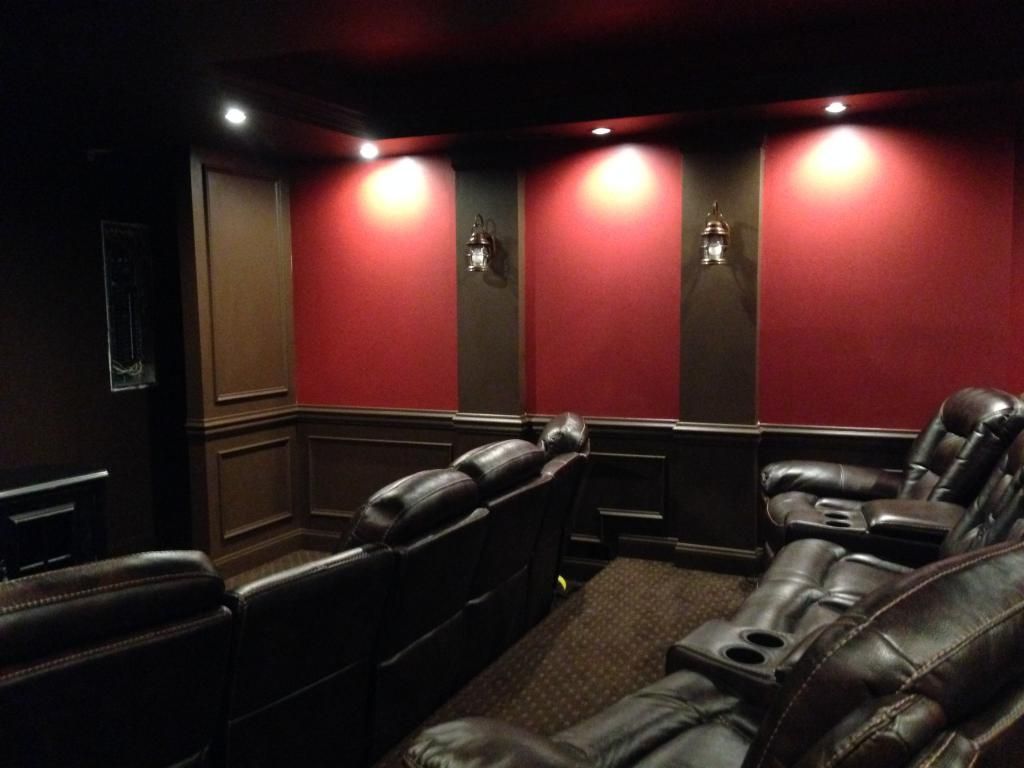
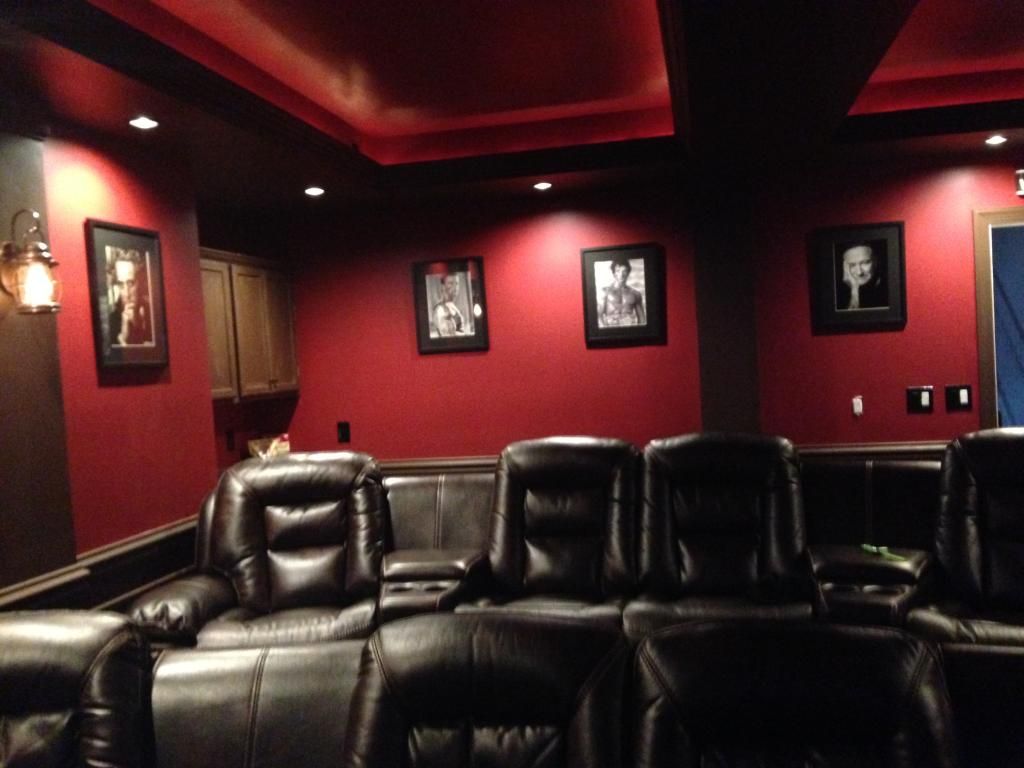
Lots of work and challenges in this room. Due to the number and location of the pipes, vents, beams and wires running through the room, the ceiling was the toughest part to figure out. We didn't want some random soffits running through the room, so we decided to create a symmetrical soffit all the way around the room and widen the soffit in the middle of the room, so it appeared centered (because the beam was offset over 24"). This effectively created two tray's in the ceiling. We really enjoy having the rope lights in our Master Bedroom for watching TV at night, so the idea was to create something similar. Finally, we were looking for more of a classic movie theater design with the darker colors and deep rich reds.
I eluded to this in a previous post but I brought my uncle out to help with the trim work. The craftsmanship is simply amazing and truly made this room the nicest room in our house. Hopefully the pictures below, capture all the hard work he put into this space. It was absolutely the best Christmas present I have ever received... Thanks again Steve for what you did for my family... we will use this gift for years to come!
 |
| First of many piles of 2x4x10's... and it begins. |
 |
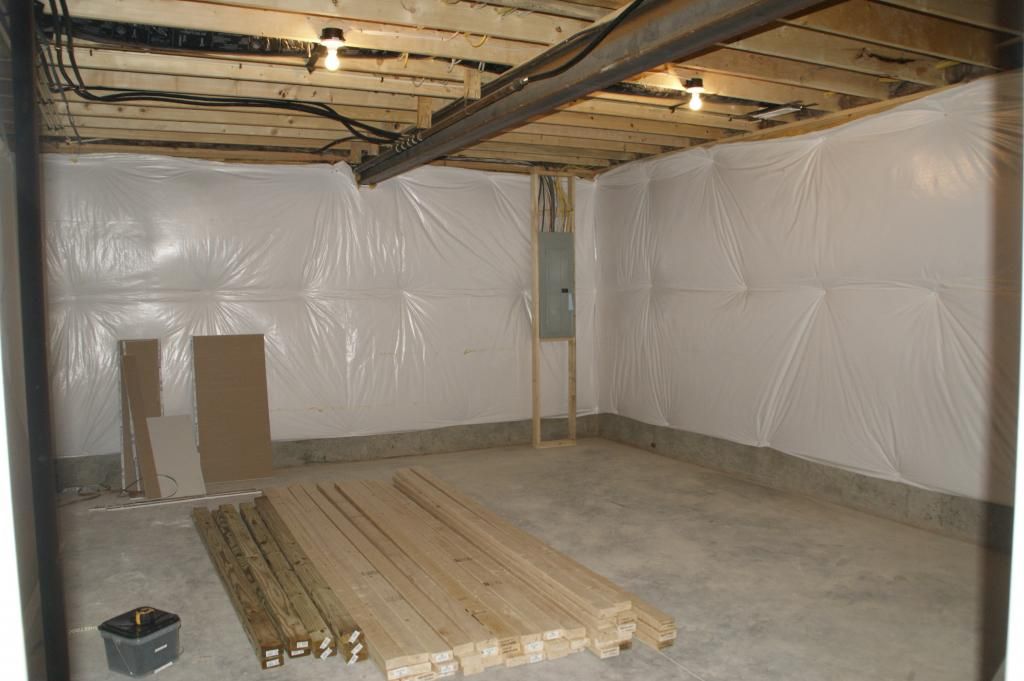
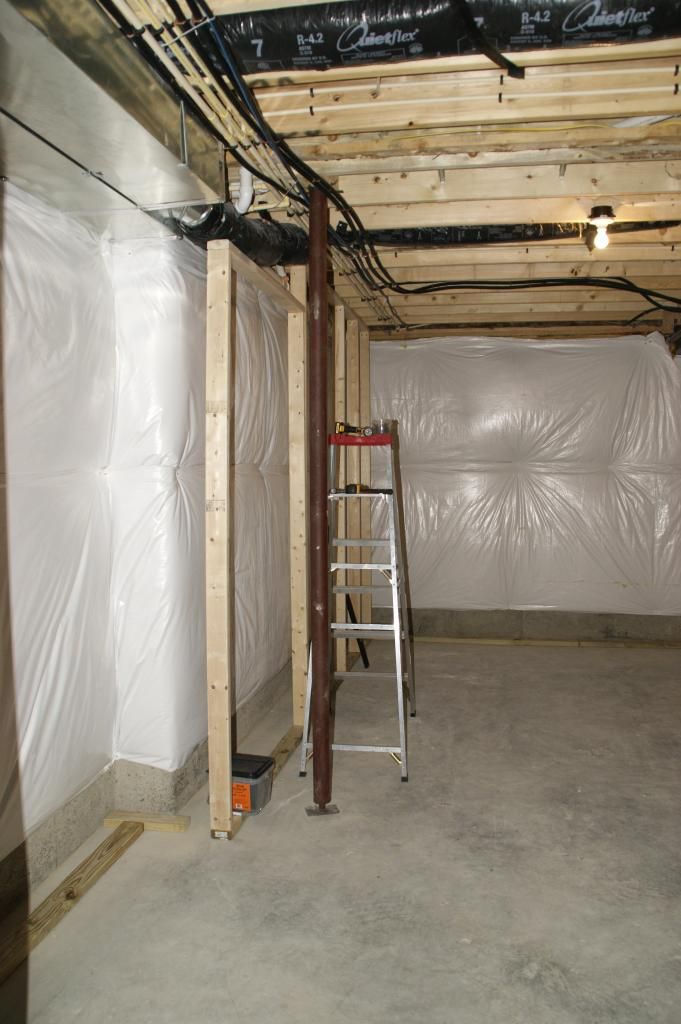
| Just a blank canvas at this point. |
 |
| First few sticks going in... notice the T-Frame helping hold up the top plate. |
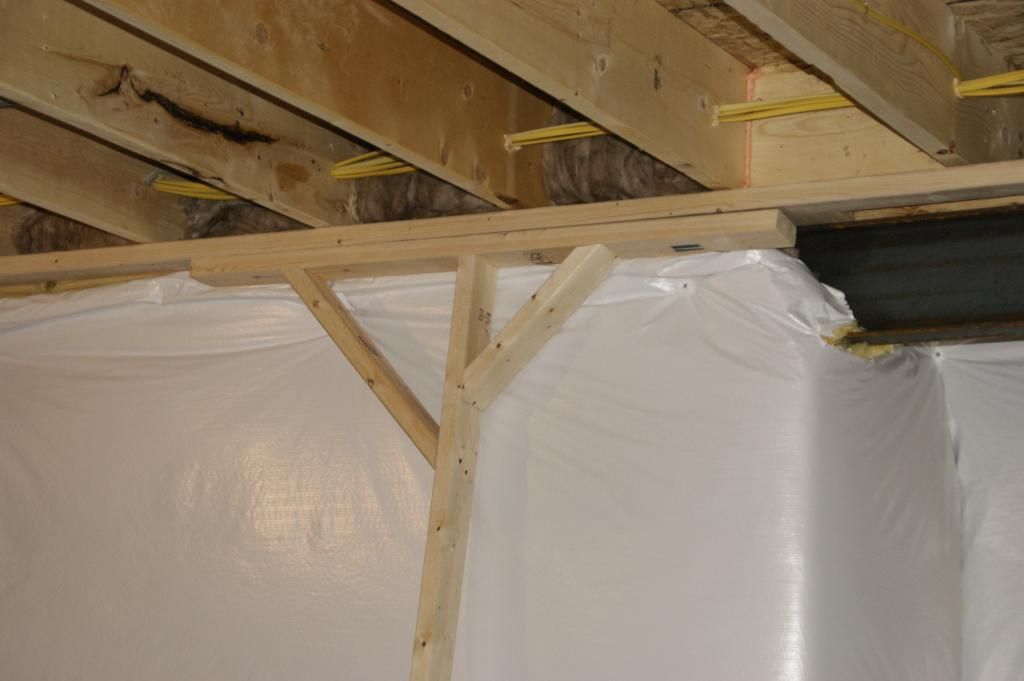 |
| Close up of T-Frame. |
 |
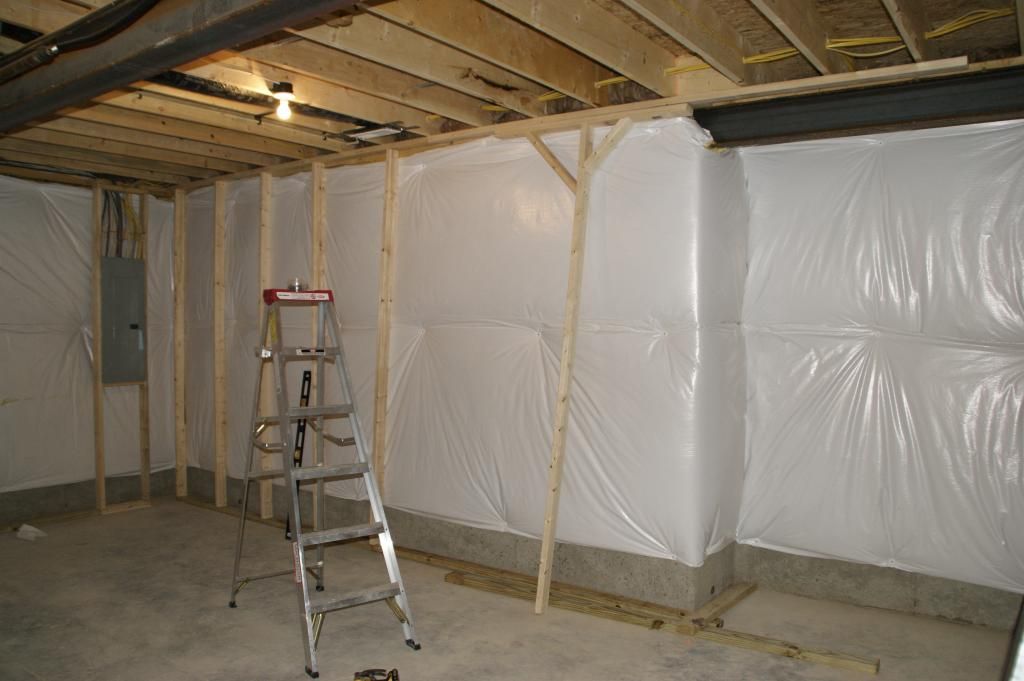
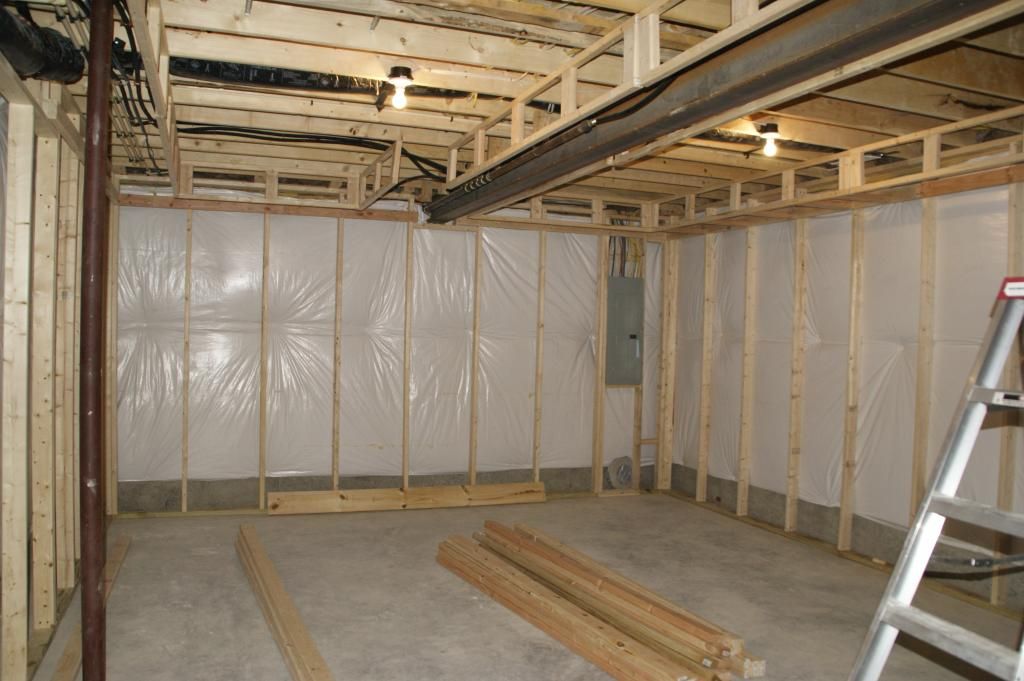
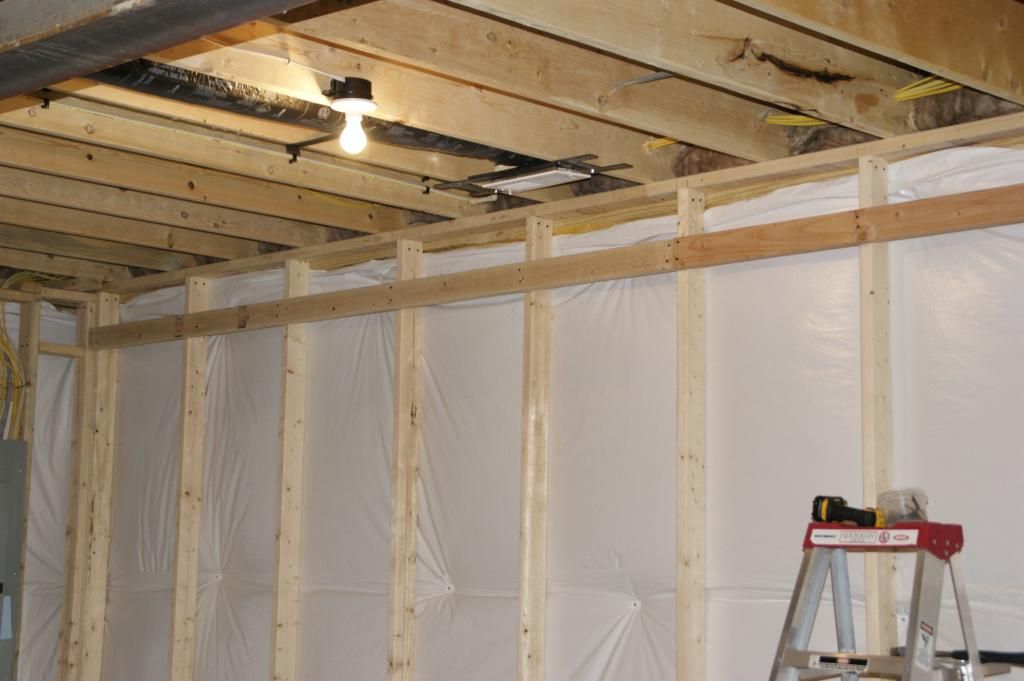
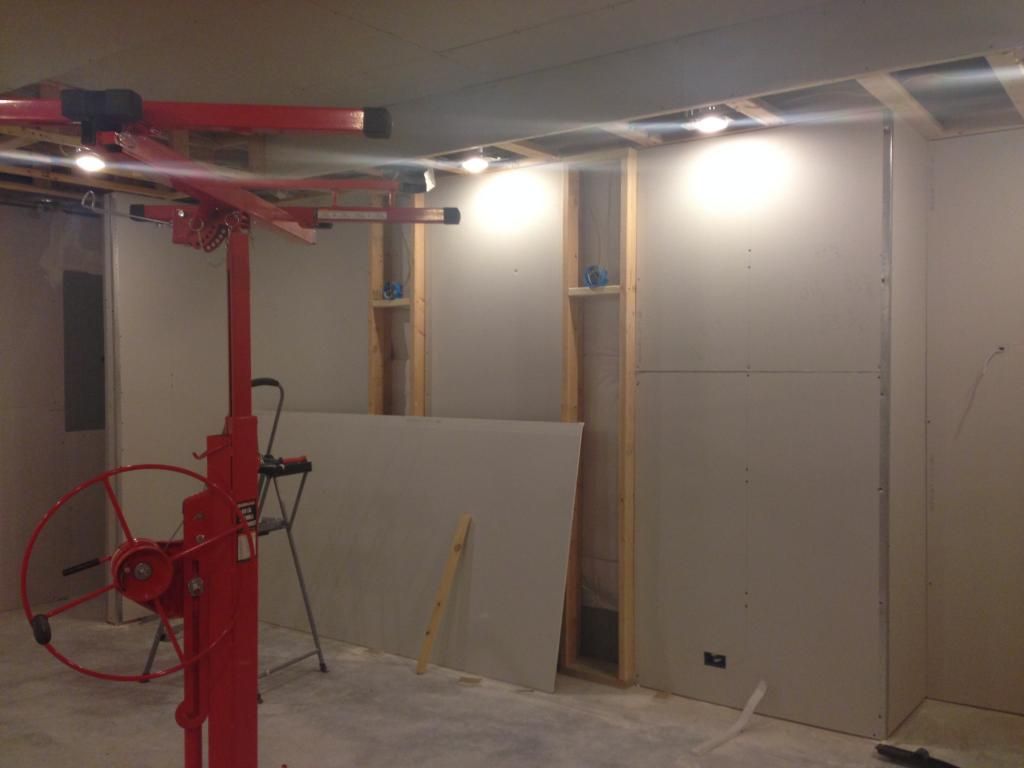
Framing the other side of the room. Notice all the
pipes, wires and ducts on this side. This was the
issue I was talking about. |
 |
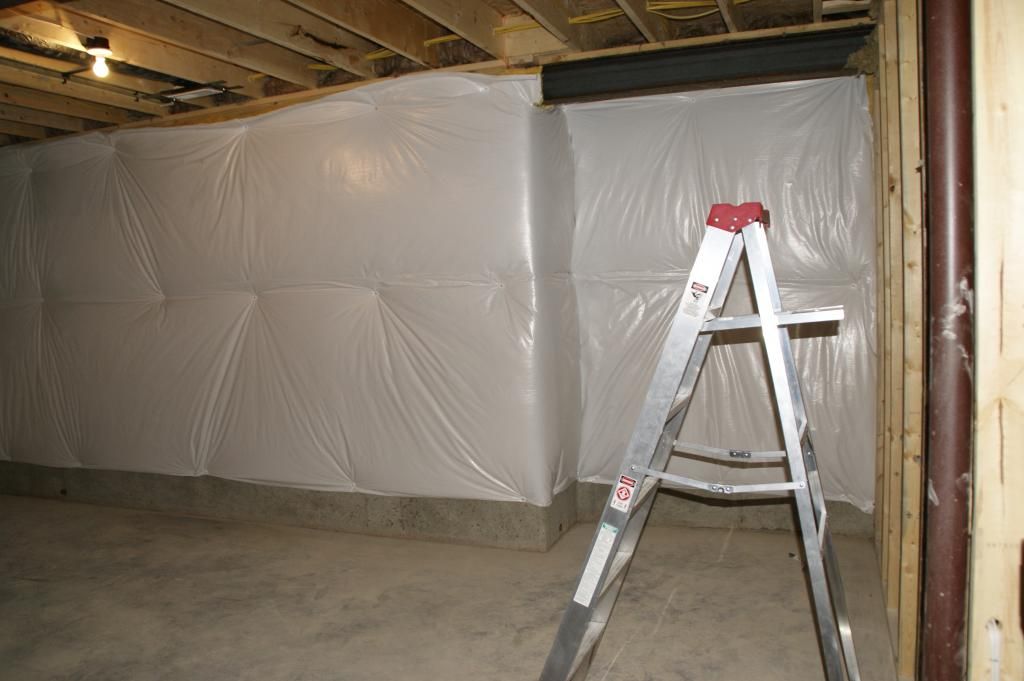
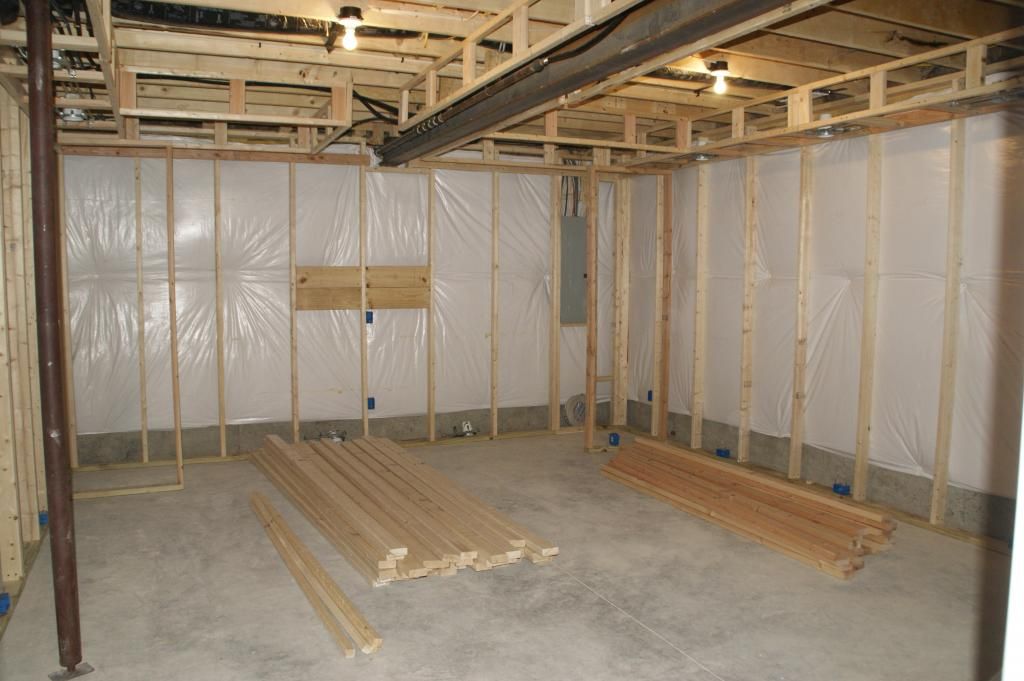
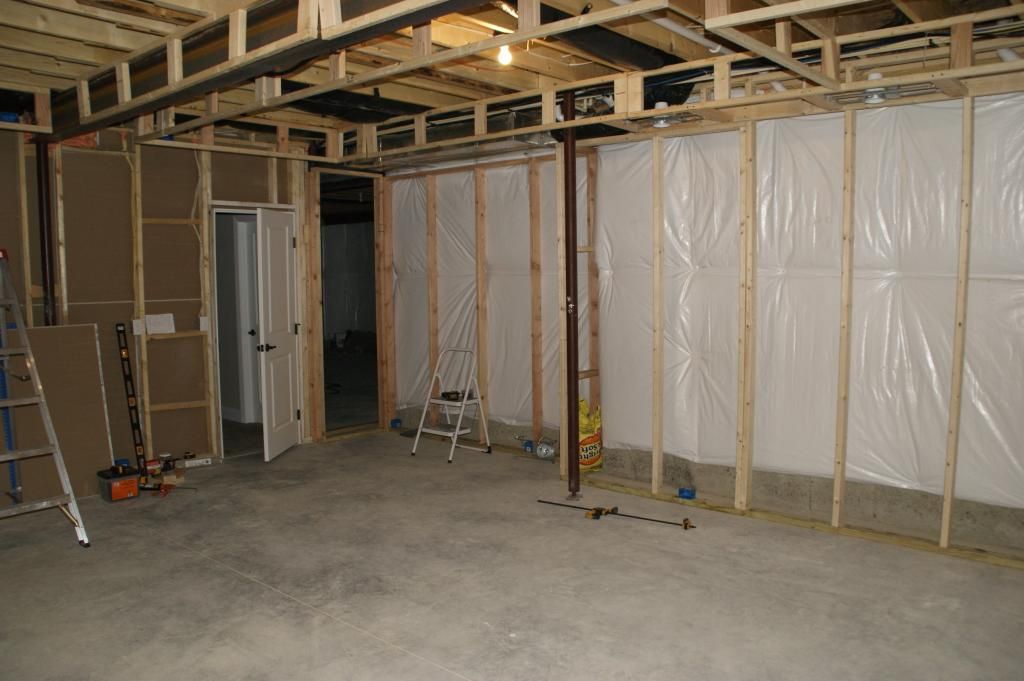
| Preparing the frame the last wall. |
 |
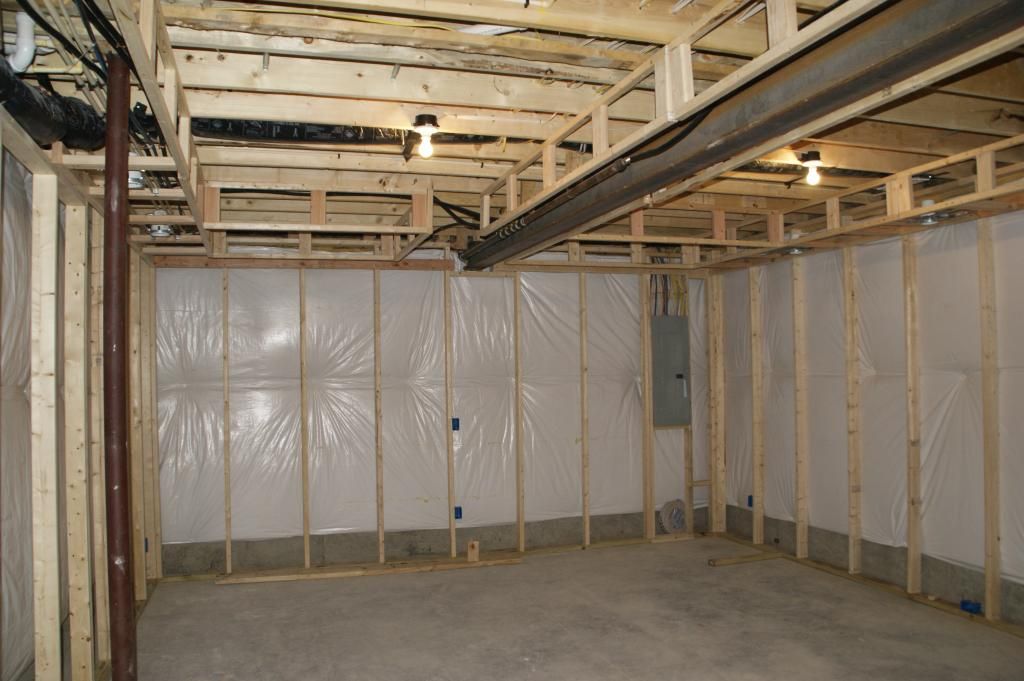
| Walls framed, now on to the ceiling. |
 |
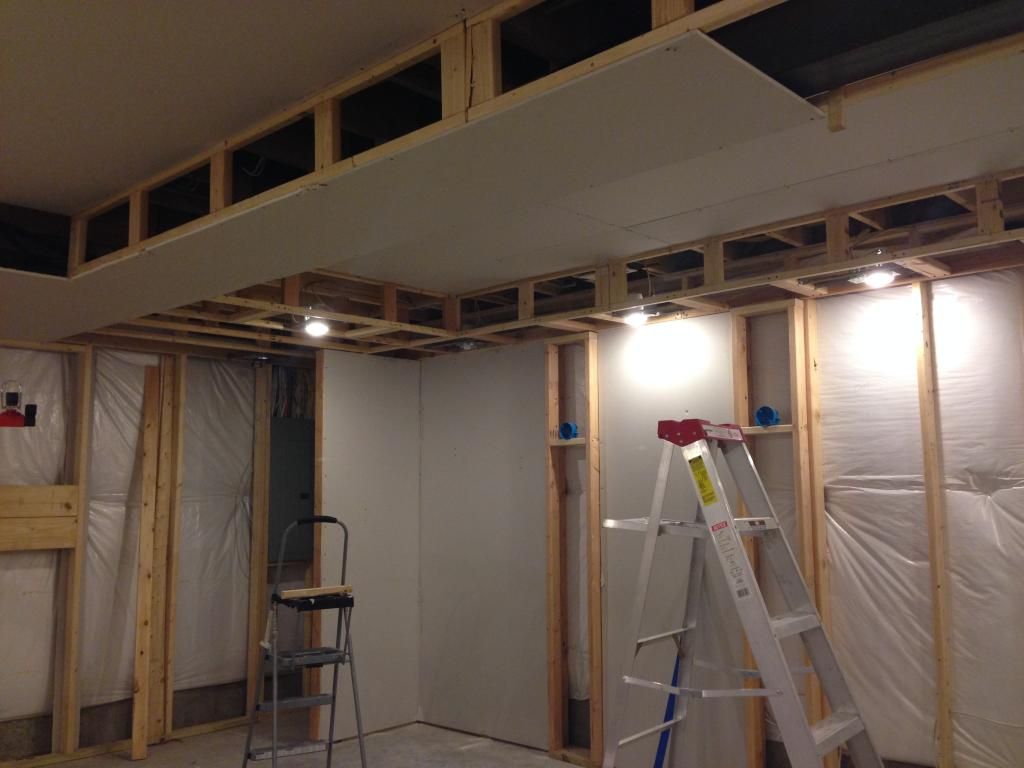
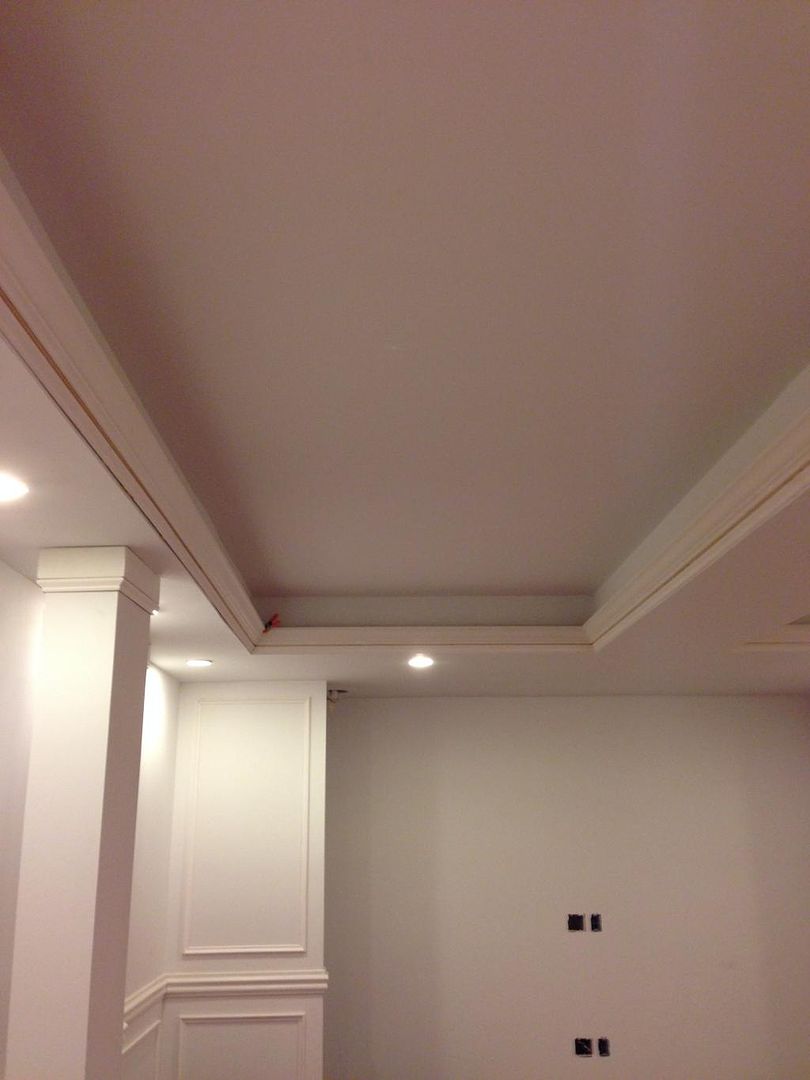
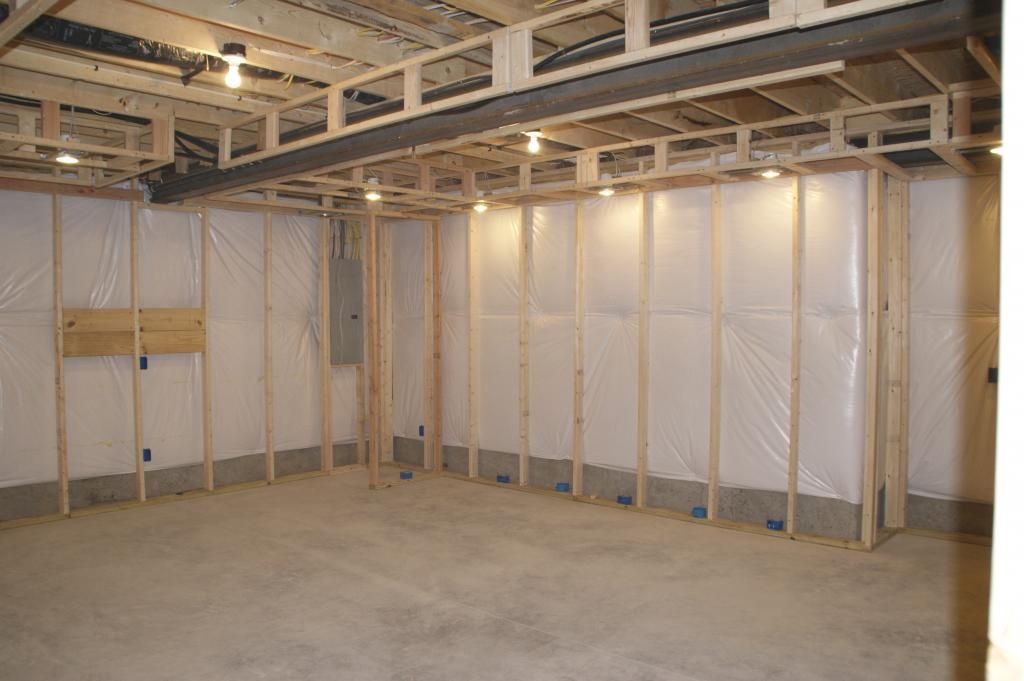
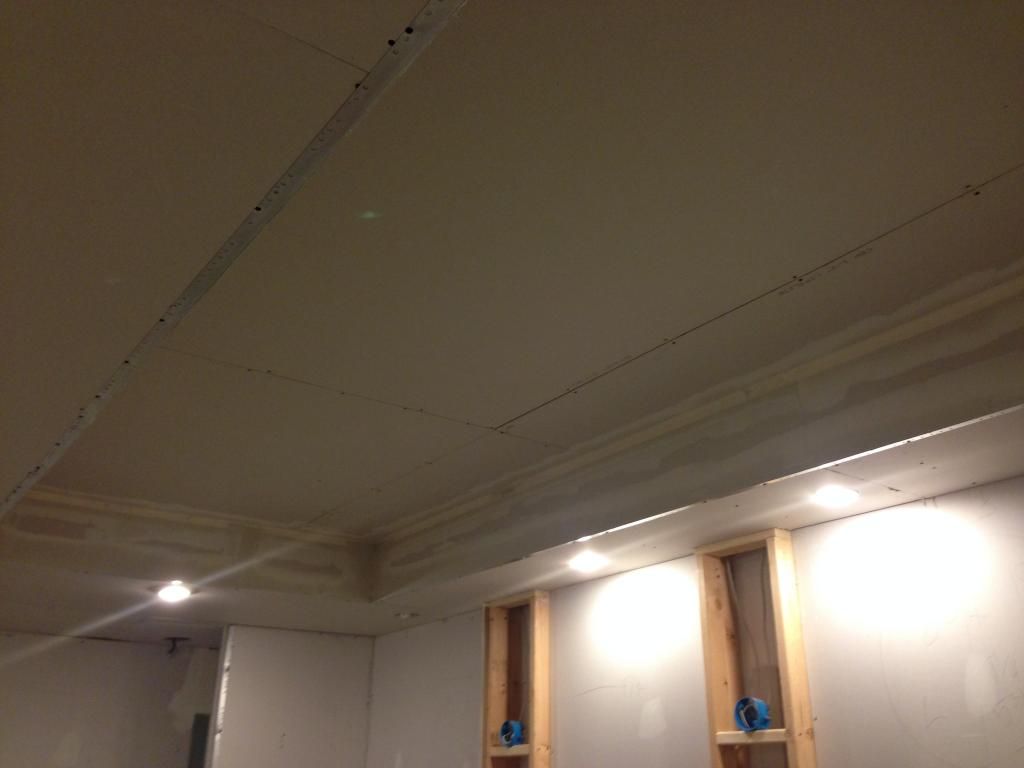
Notice the ledger board on the top of the right wall. This serves as part of the soffit
that will be running around the room. The Ceiling is where this project really
slowed down. This was just rough tedious work. Lots of measuring, head scratching,
cutting, fitting, cutting again and so on and so on. |
 |
We pre-built the soffits and then screwed them into
place. If we did this again, we would find 2x3's, or
make 2x3's versus using 2x2's. The warping and twisting
of the 2x2's was just horrible. |
 |
| Soffits nearly finished. just need to do some blocking to make everything straight. |
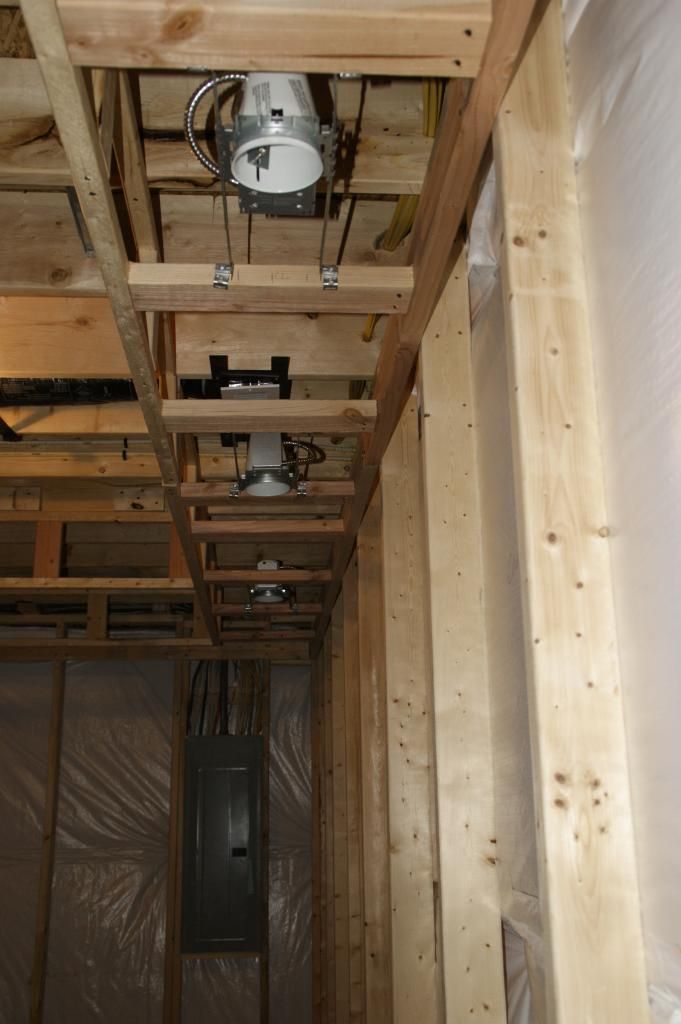 |
| 4" Commercial Electric Can Lights Going In. |
 |
| Can Lights Done, on to Other Electrical. |
 |
| Electrical boxes being located and installed. |
 |
| Note Blocking for TV Mount... |
 |
| Boxes for Switched Outlets in Tray Ceiling. Will install LED Rope Lights up there. |
 |
| Can Lights Wired and Working. |
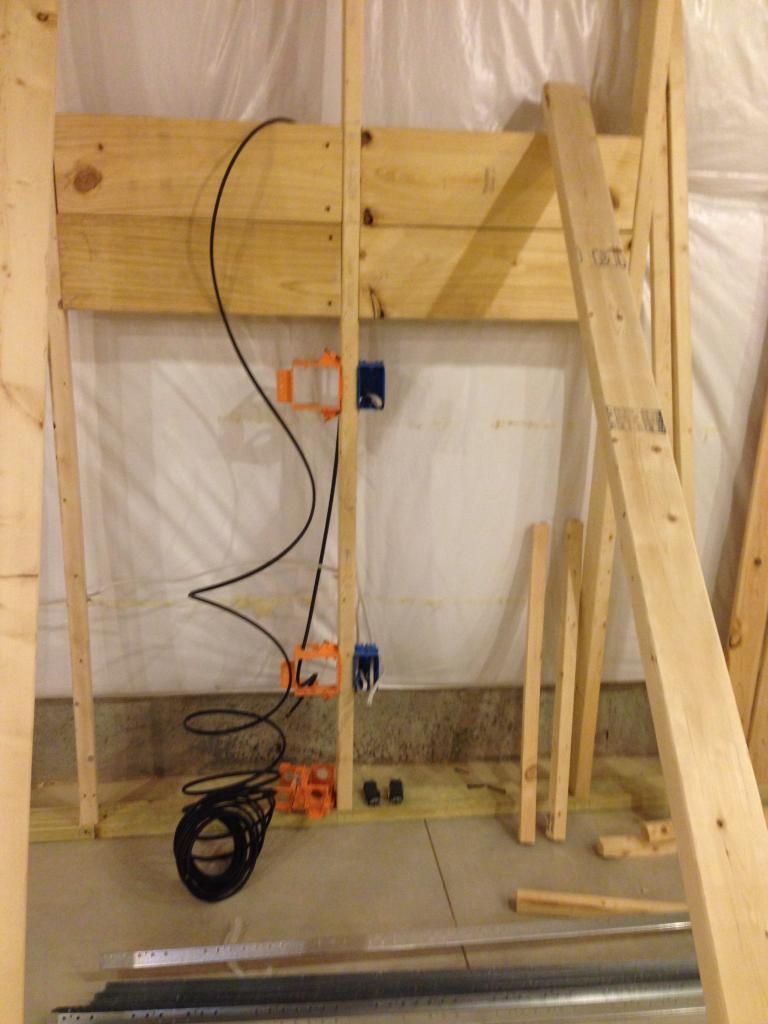 |
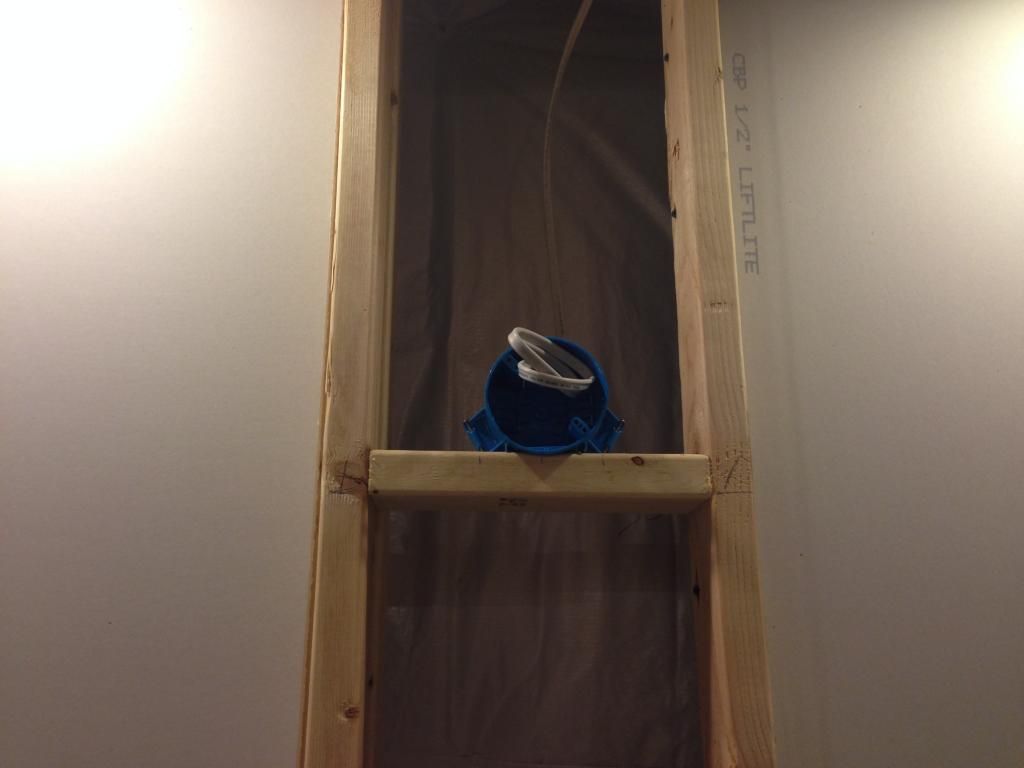
| Pulling wires and cable. |
 |
This eventually goes somewhere honest. Note blocking
for sideways electrical boxes that will land just below the
paneling on the walls. Also, the two outlets higher on the
wall are switched outlets for lit posters (eventually). |
 |
| Sheet-rocking begins... |
 |
Note the two rectangles on the far wall with the blue round electrical boxes.
Those will be faux columns with sconces. |
 |
| Close up shot of column with junction box for sconce light. |
 |
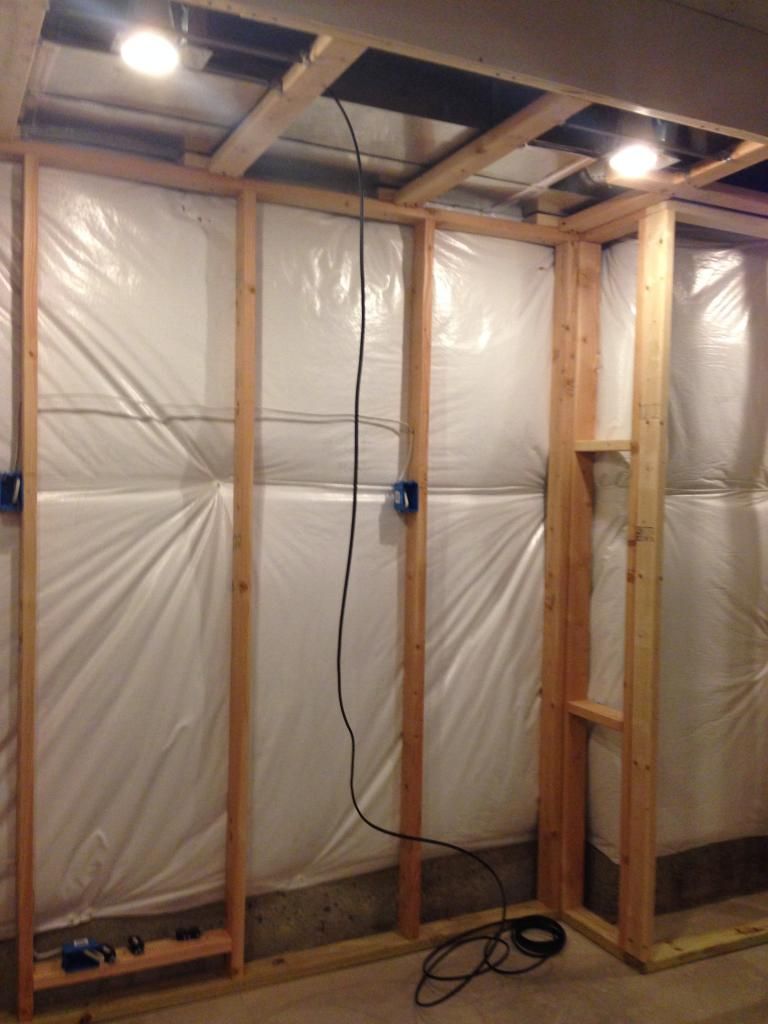
| Insulation being cut to go in the wall adjoining the future site of the Bar/Game Room |
 |
| Insulation going in... wires still need to be cleaned up. |
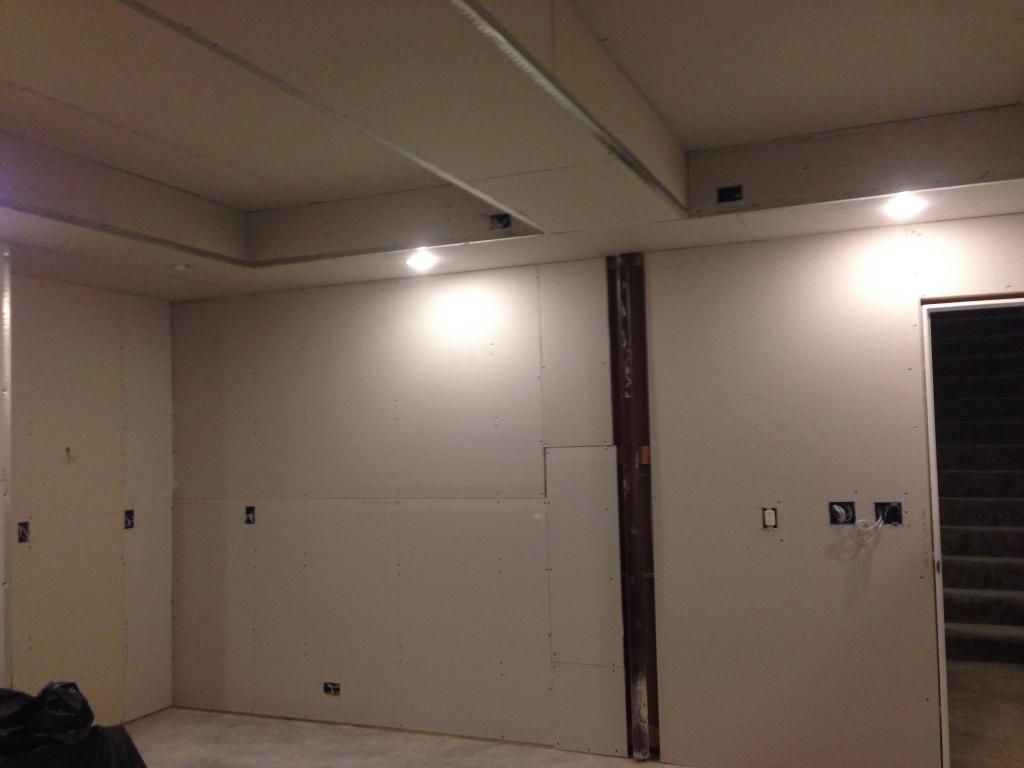 |
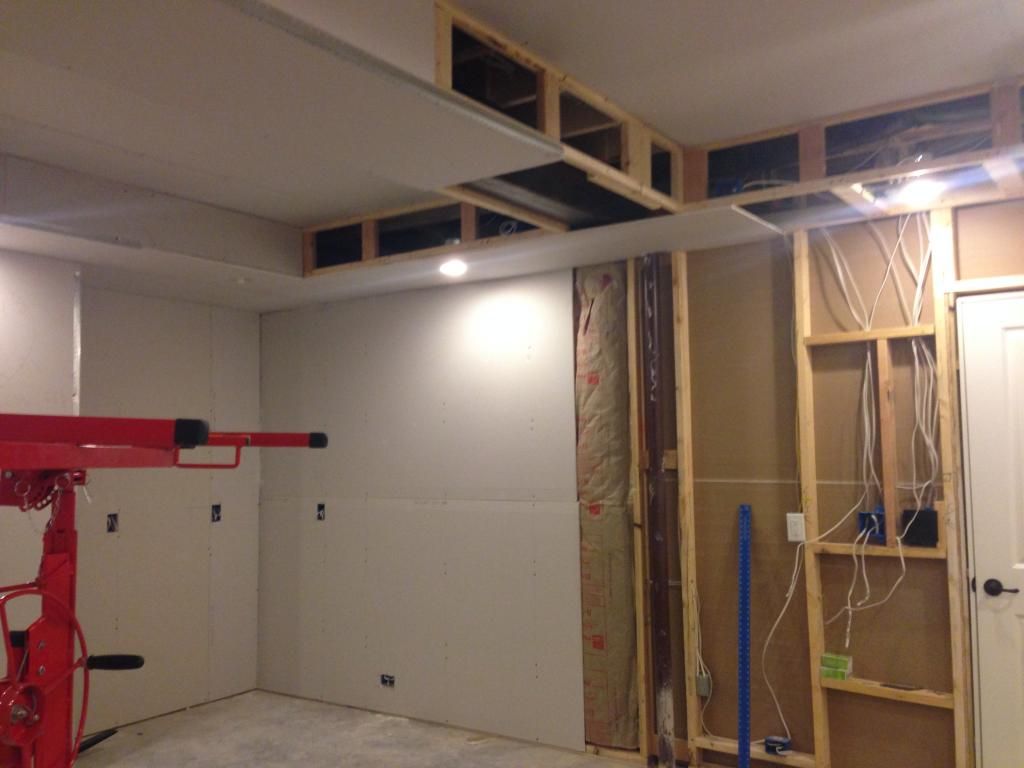
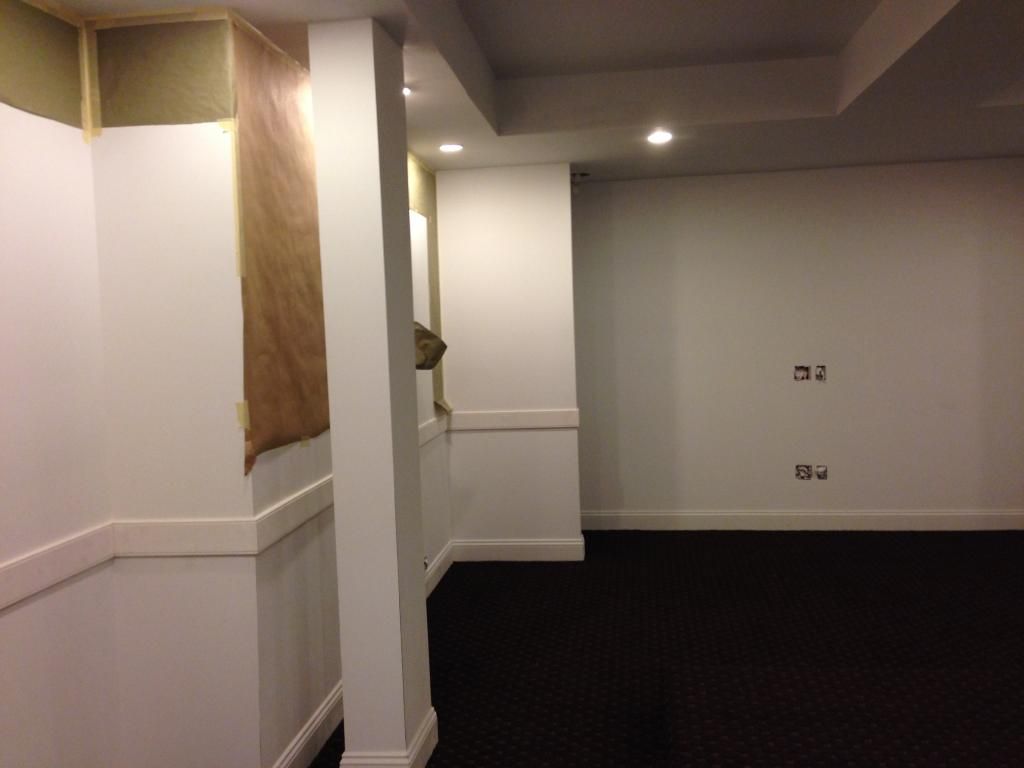
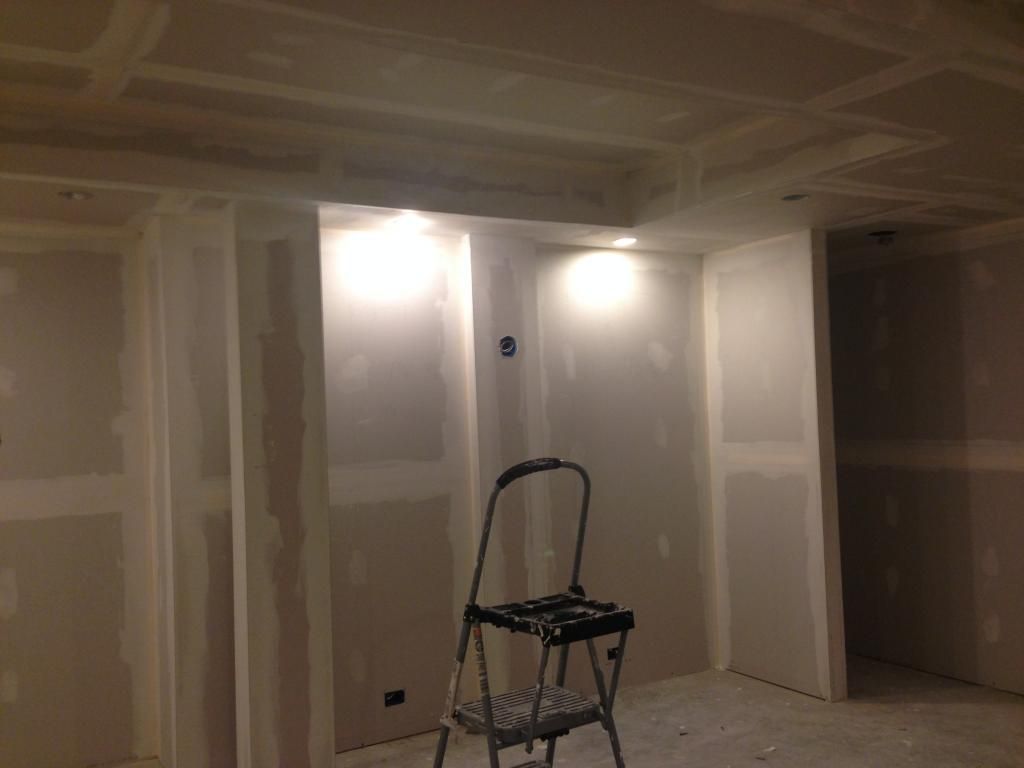
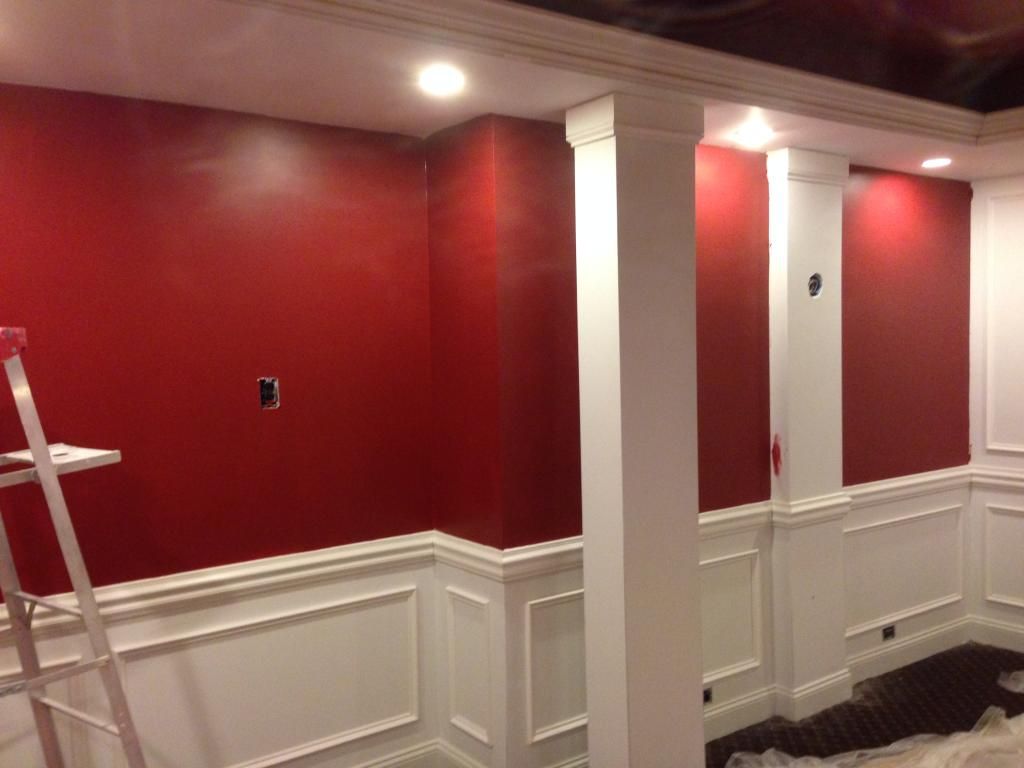
Sheet-rock nearly complete and all corner bead installed. You can see the tray
ceilings and the two switched outlets in this picture. |
 |
| That corner is where the lit posters will eventually go. |
 |
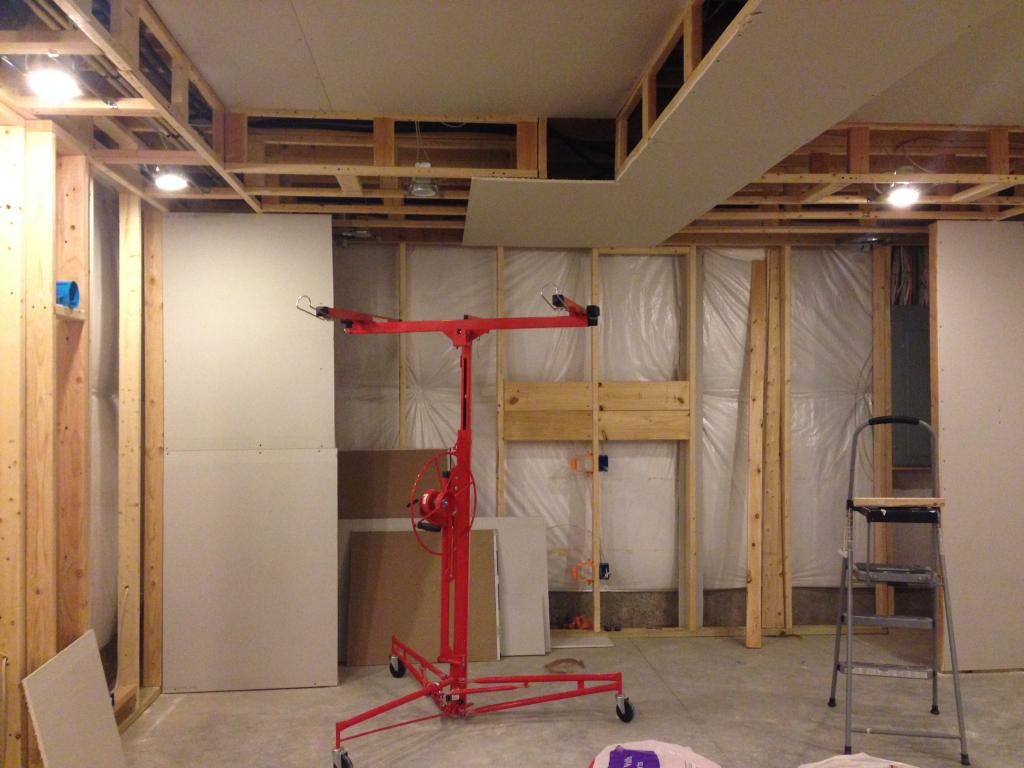
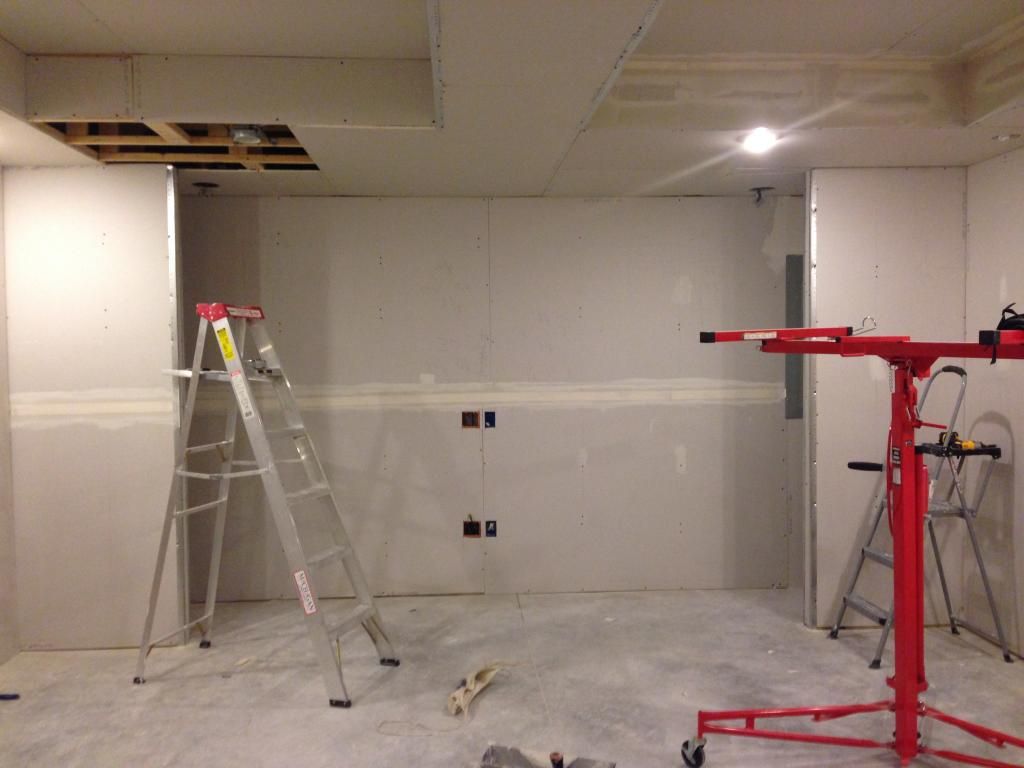
Framing the steal column. Really hate these things. They are all in the worst
possible locations. It messed up our symmetry in this room.
Also, taping and mudding has begun. |
 |
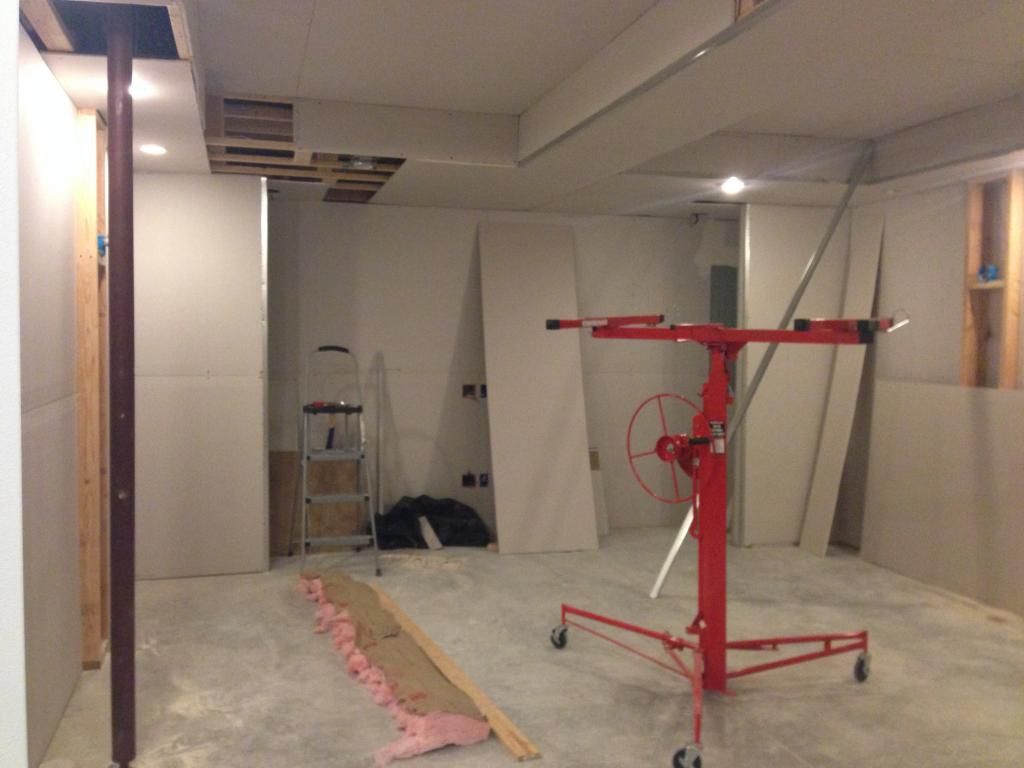
Taping and mudding...being applied and a little bit more sheet-rock to hang.
We ran out and needed a few more pieces. |
 |
| All the sheet-rock installed and a couple coats of mud on. |
 |
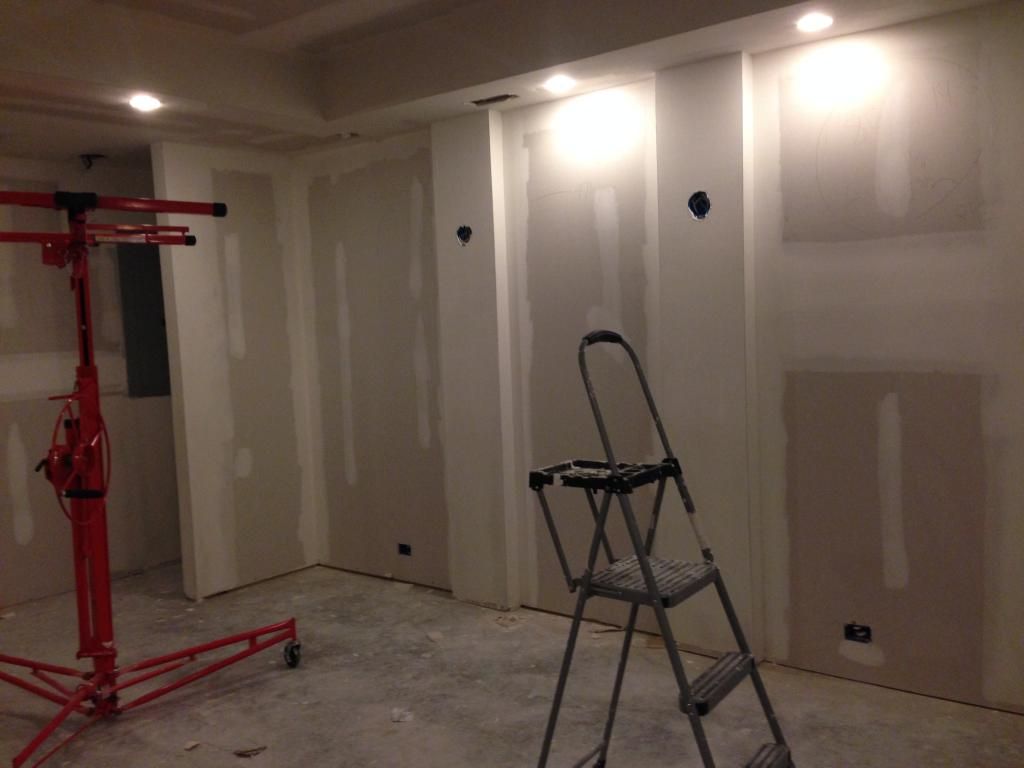
| Columns sheet-rocked and mudded. |
 |
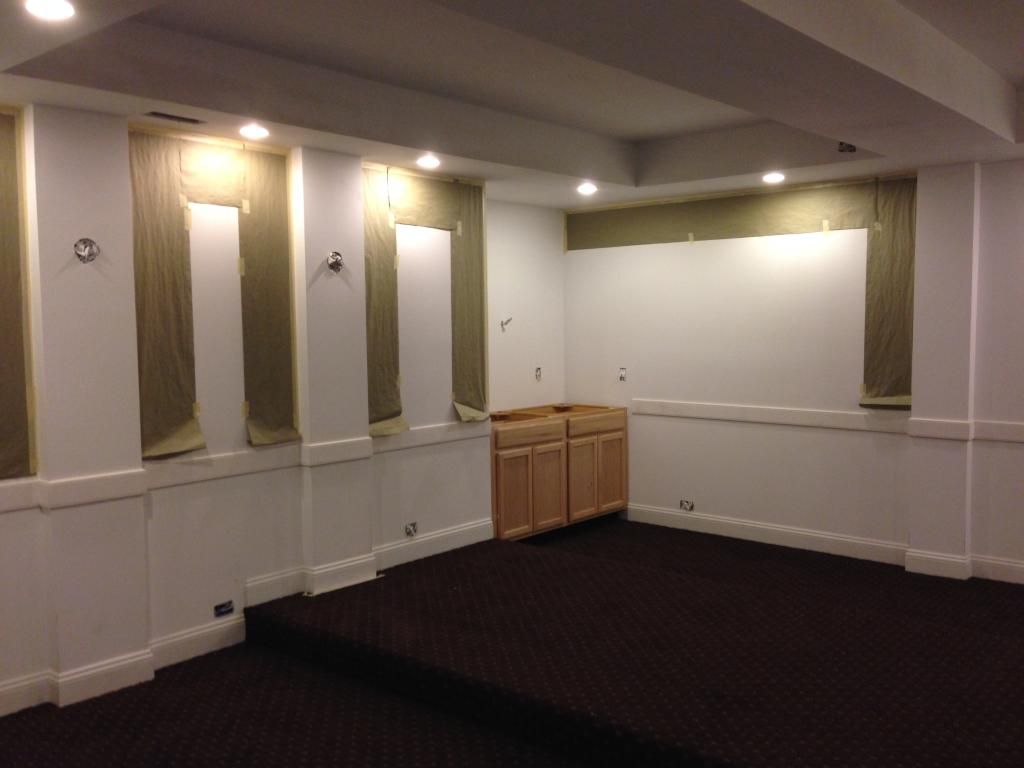
| Snack bar area with under cabinets lights. |
 |
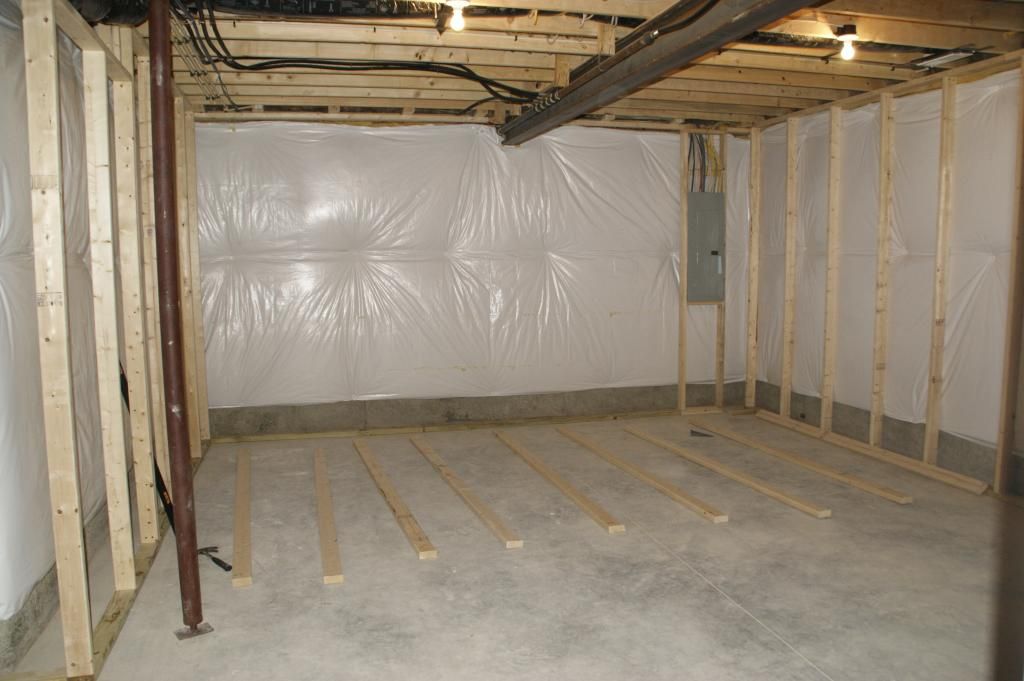
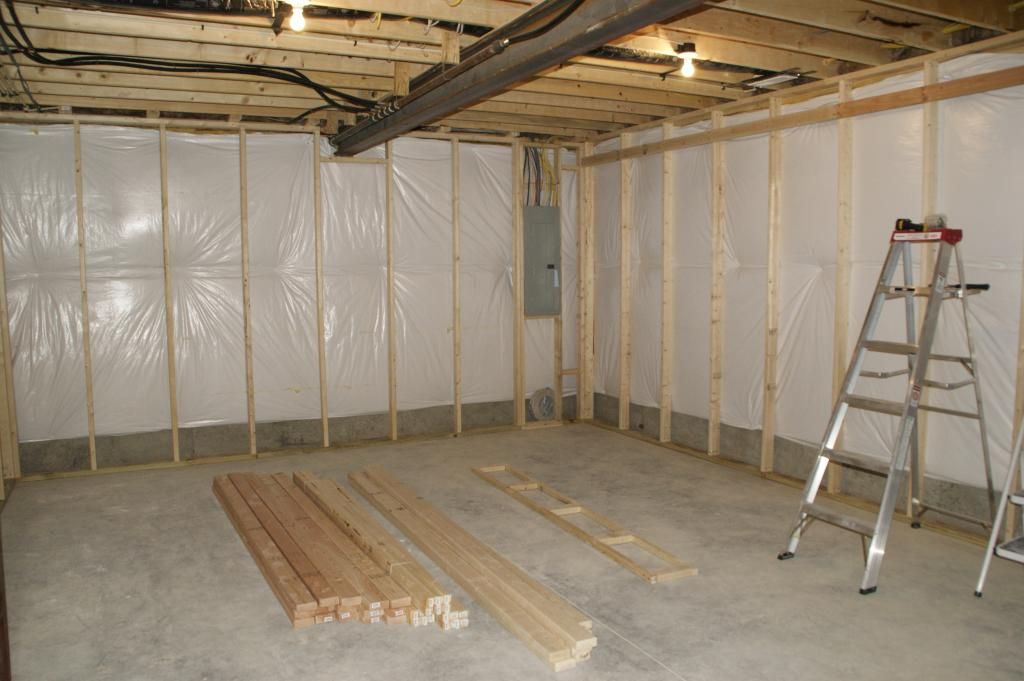
| Flooring and wall colors picked out and purchased... |
 |
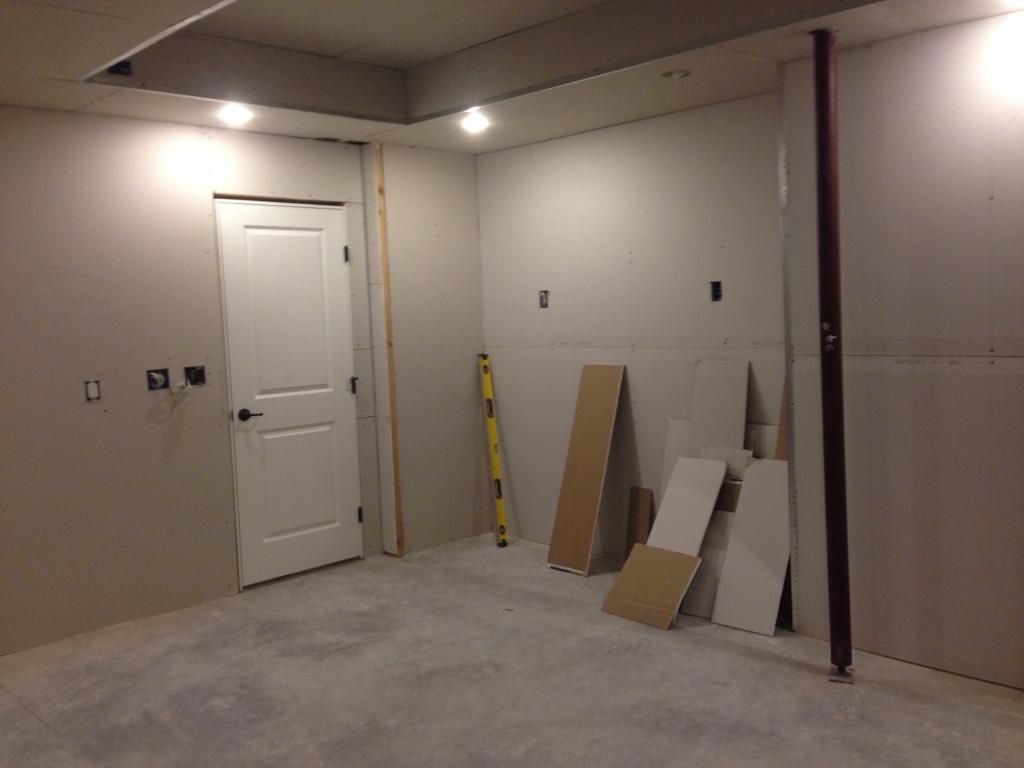
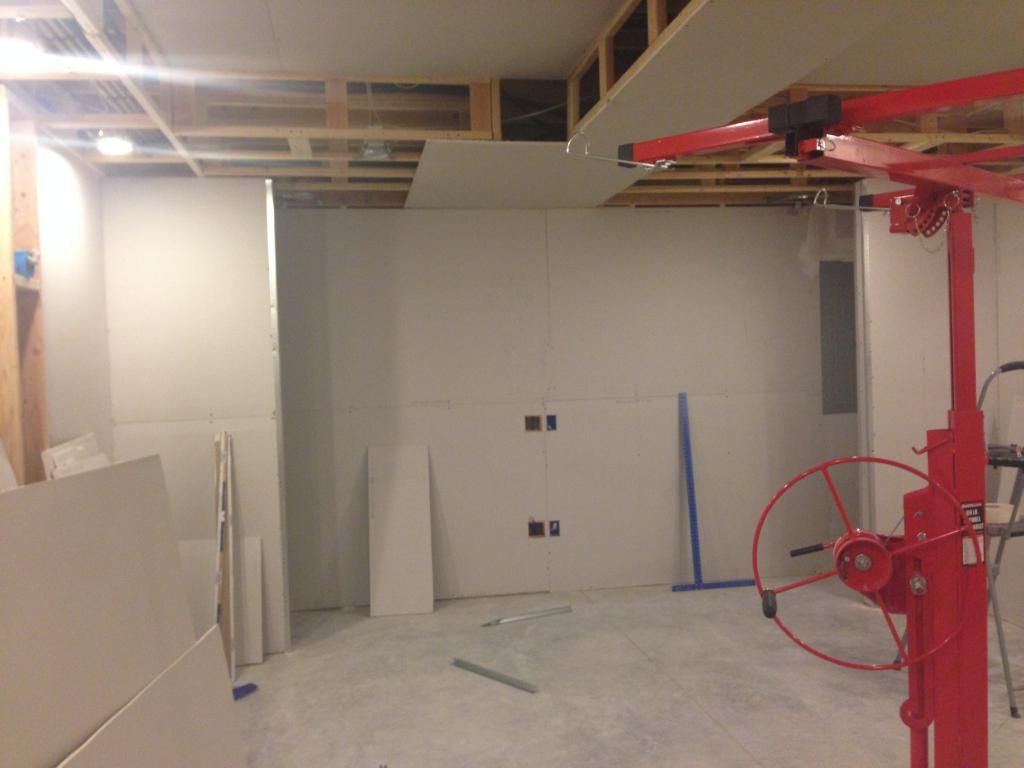
| Mudding and sanding complete... Ready for the next phase. |
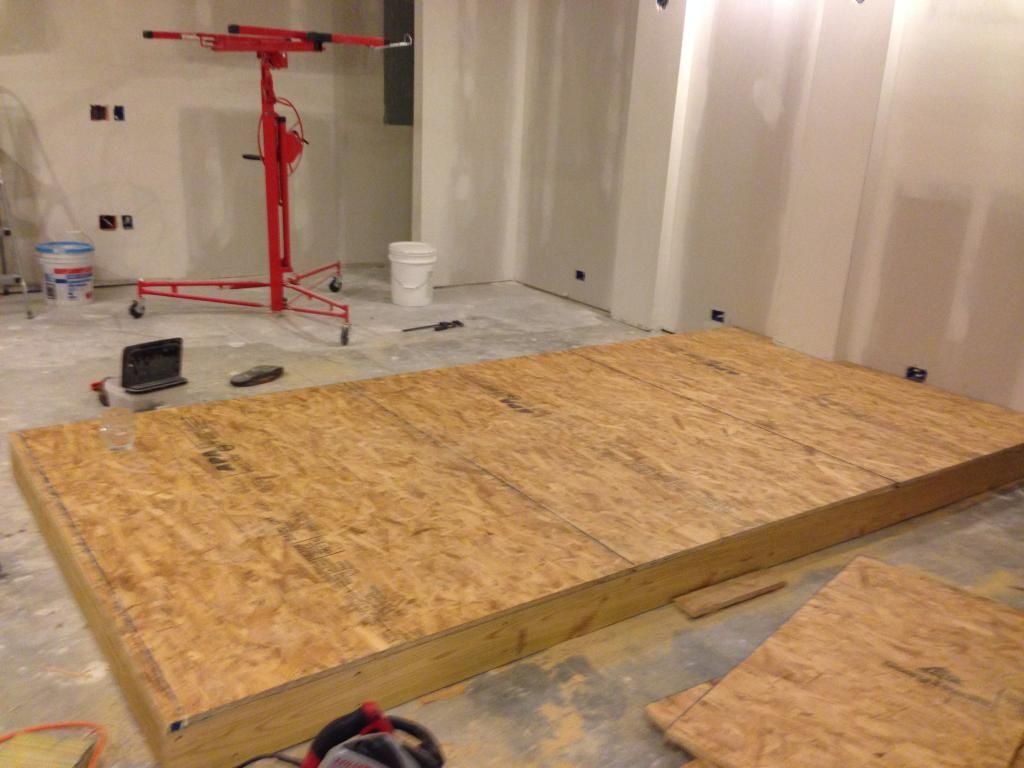 |
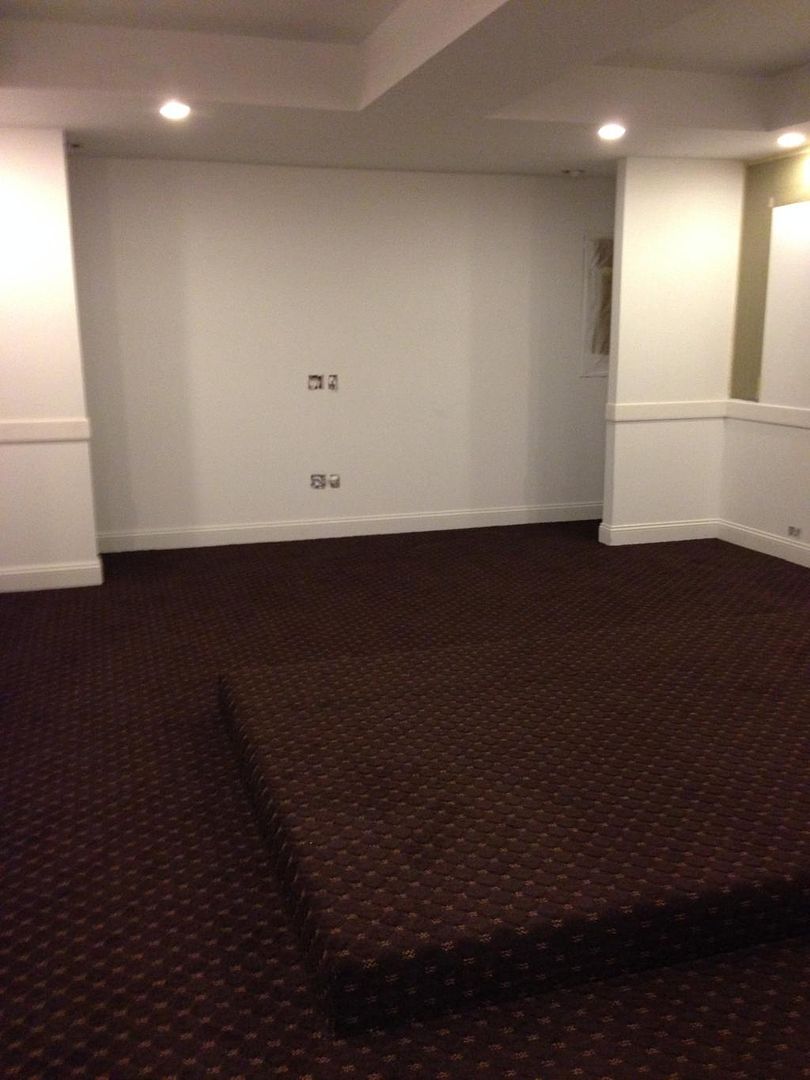
Platform for 2nd Row of seating. This was built by my spouses father and he
did an amazing job on it. I think the overall success of this room was that it
was built by family for family and the care and attention to detail shows.
Thanks Paul for the hard work you put into this! |
 |
The room was completely sprayed with primer... The base cabinets were installed.
All the baseboards will installed, spackled, sanded and caulked and the chair
rail base was installed. We were going to try to spray the first paint color
before the carpet guys arrived but weren't able to get to it. |
 |
Flooring installed. It already looks like a much different room.
View from Door to the front of the room where the TV will go. |
 |
| View from entrance to right side of the room where the snack bar will go. |
 |
| View from entrance down the left side of the room toward where the TV will go. |
 |
| View from front corner of the room toward back left. |
 |
| View from front of room to back of room. |
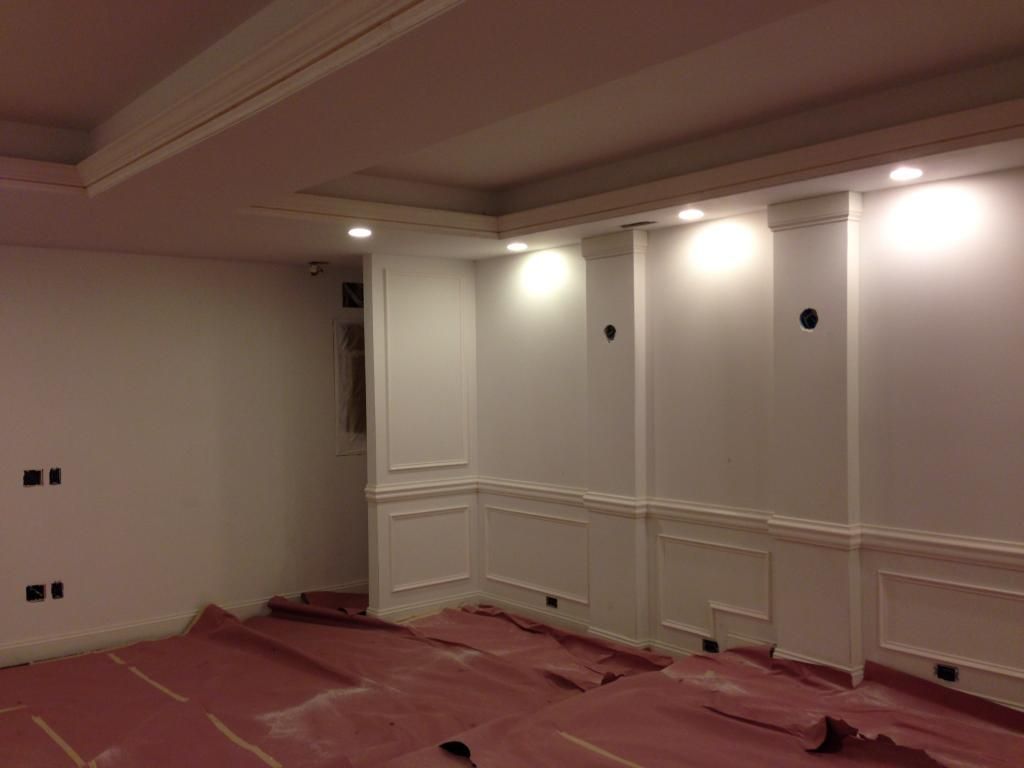 |
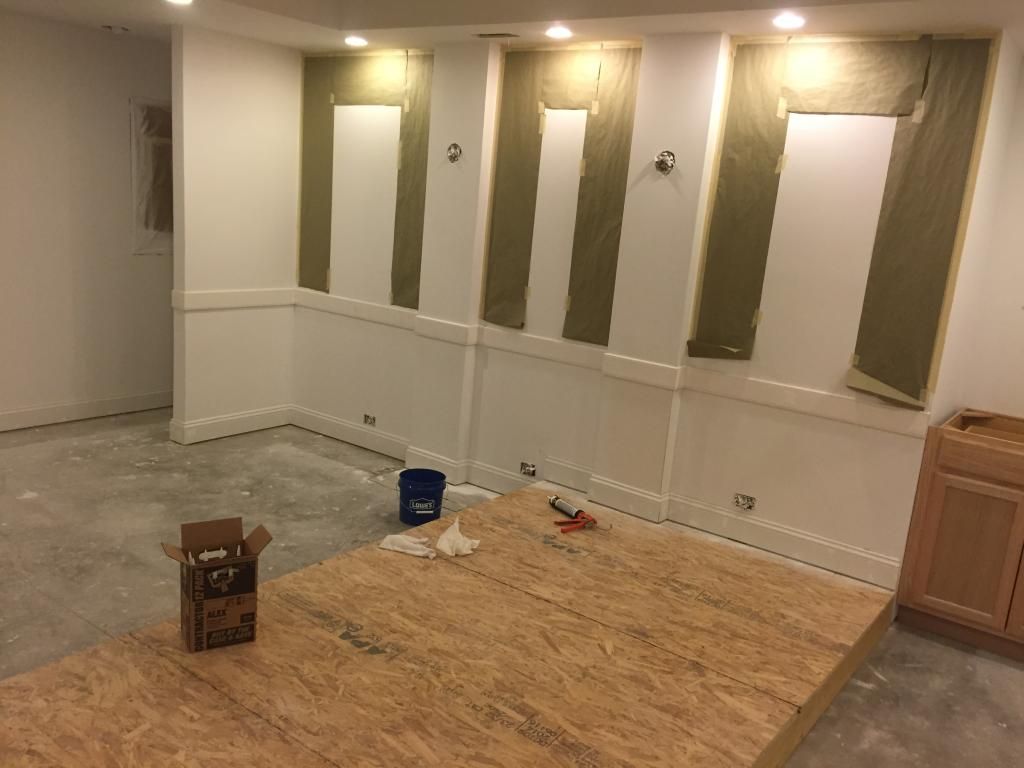
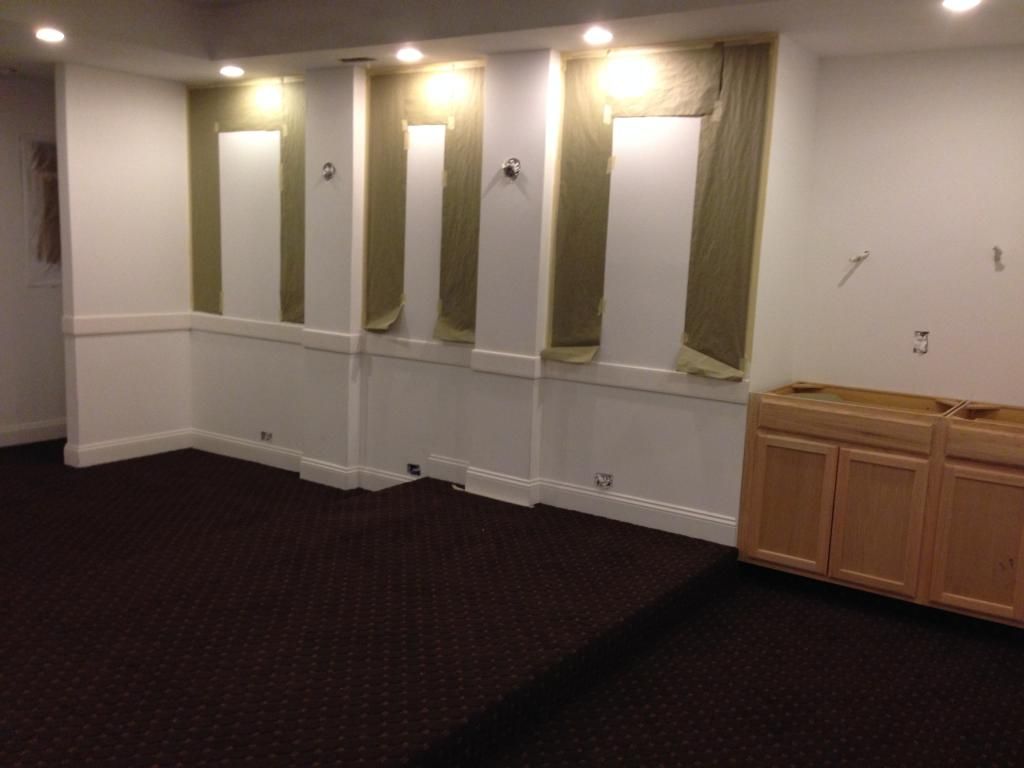
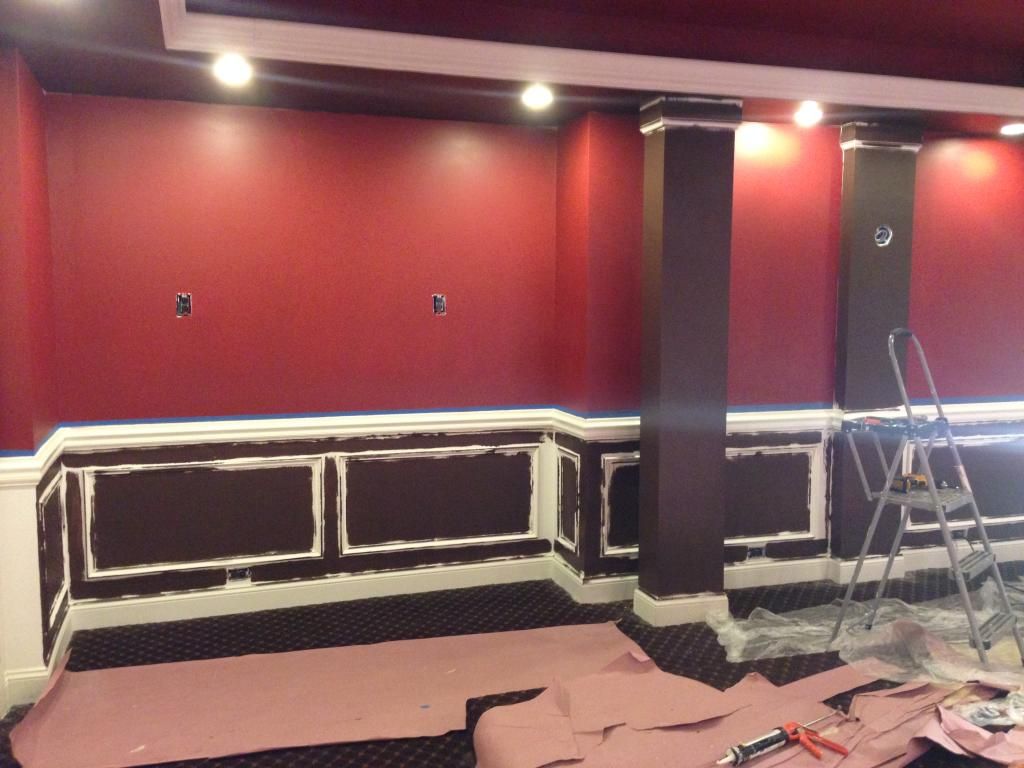
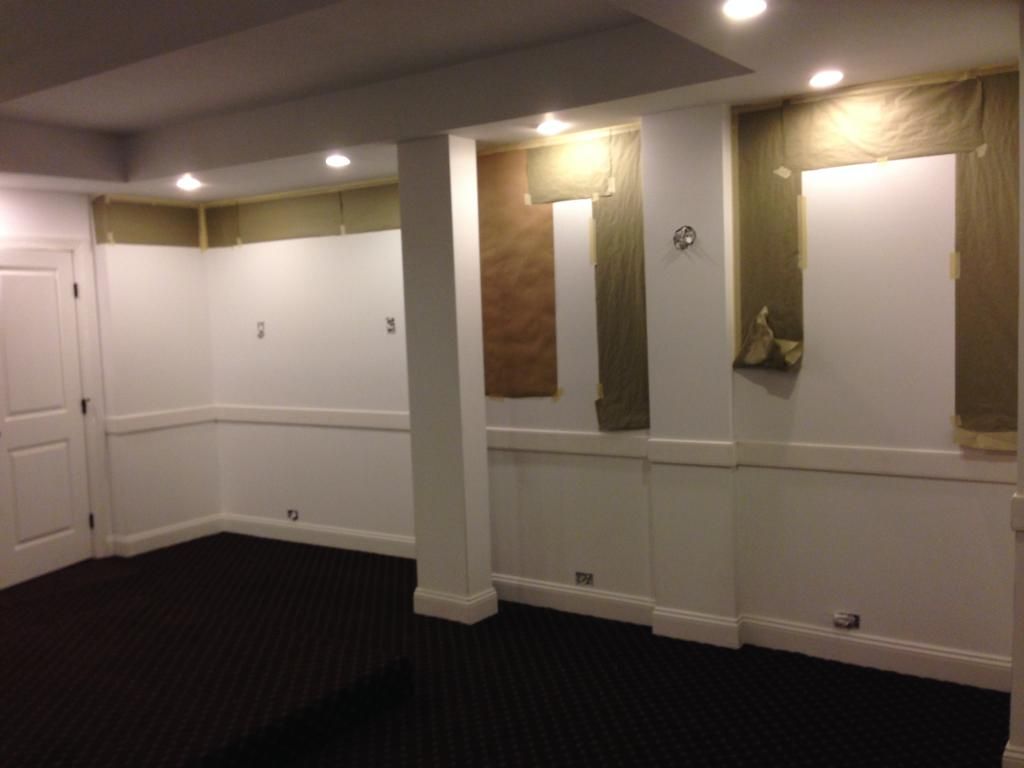
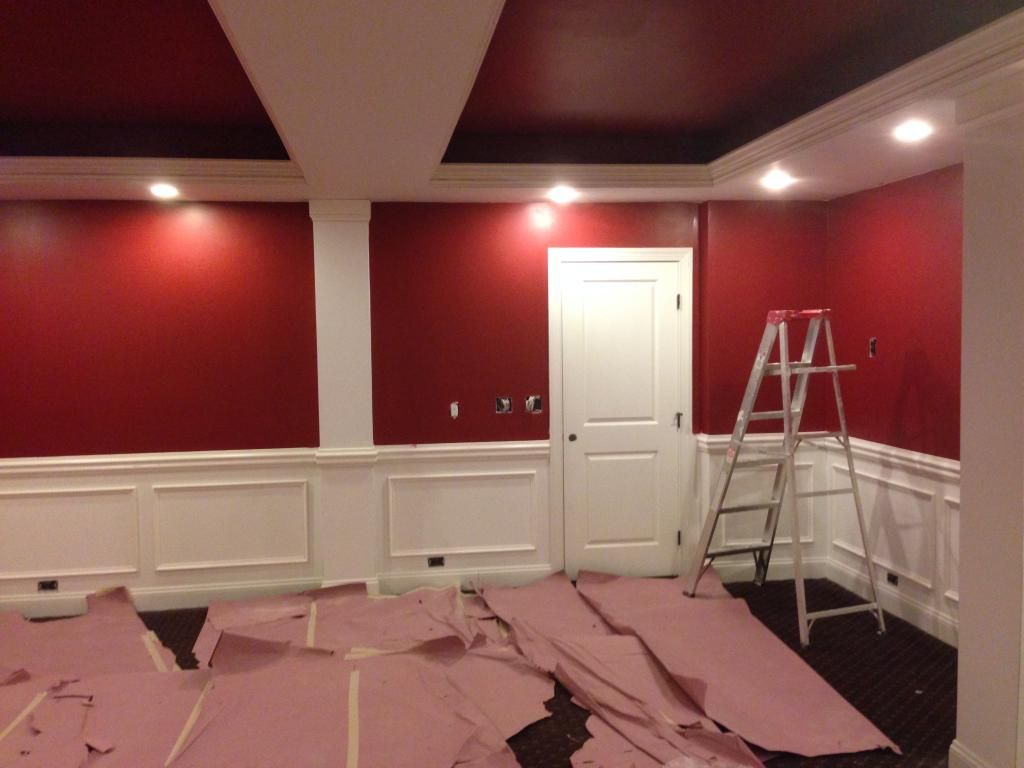
So this is where the magic happened. Notice the second piece of chair rail,
the paneling and crown molding in the trays. The top of the columns were
also wrapped. The Chair Rail is a two piece application, the top of the columns
is two pieces and the crown is made up of 3 different pieces of wood. Tons of work
lots of measuring, cutting and nailing... Spoiler alert... spackling, sanding, caulking
and painting this stuff was no fun either. |
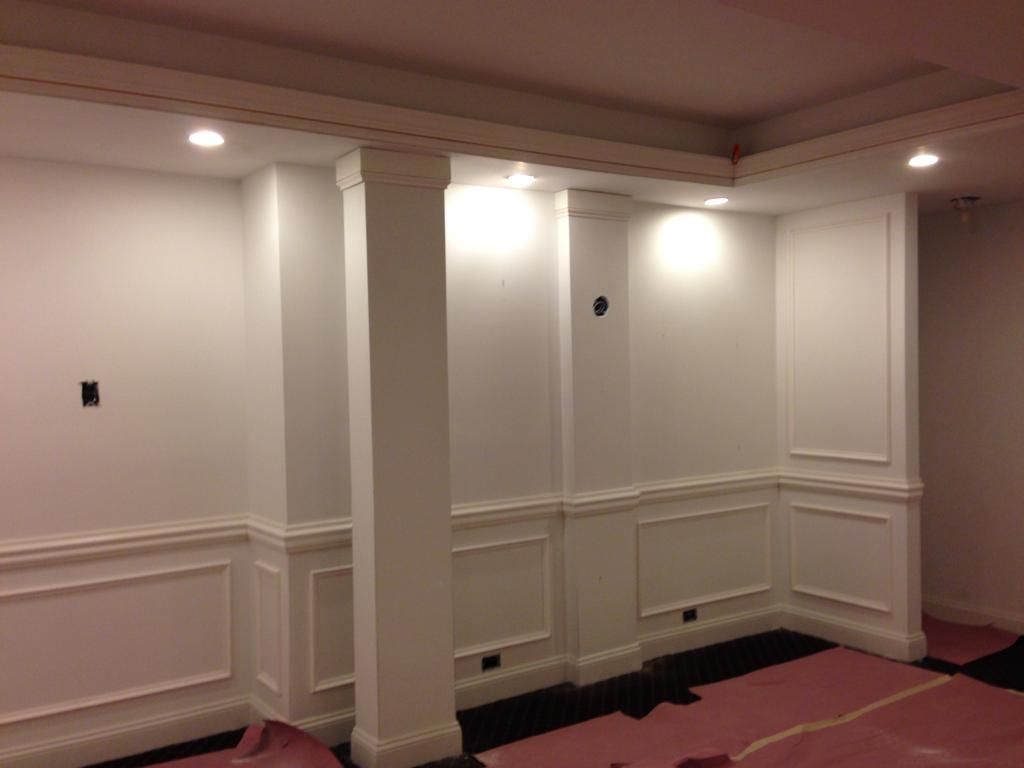 |
So far the room is just in primer... walls, wood trim, etc and we were just in
love with the space. With the dark carpet, we almost wanted to just leave it
as is. Except it was supposed to be a Media Room and would be too bright. |
 |
| View of one of the tray ceilings. |
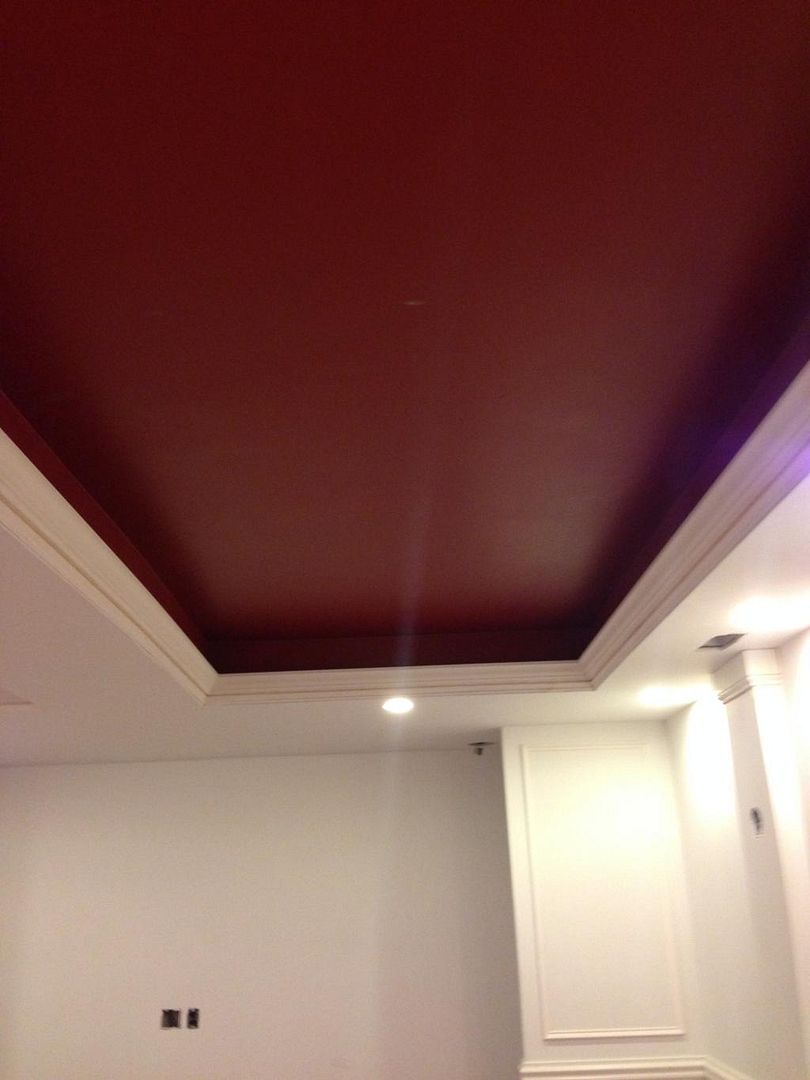 |
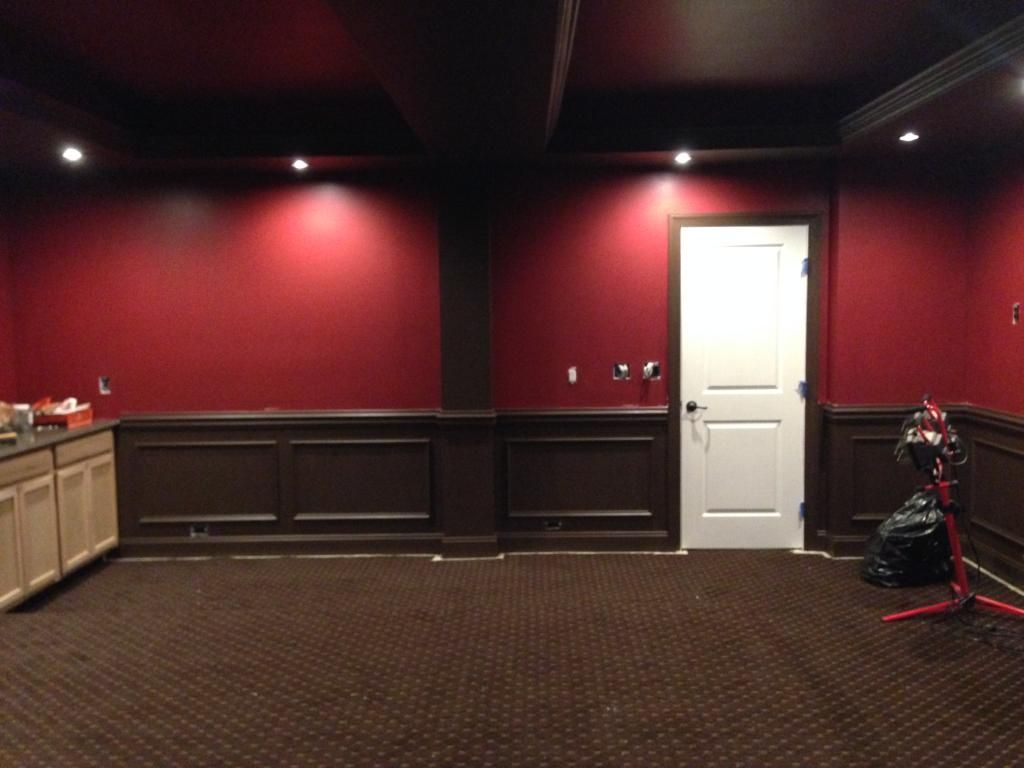
Red paint going in. Absolutely love the contrast with
the white. This red is so beautiful. It is a Sherwin Williams
paint in Duration Matte. Crabbey Apple (or something like that). |
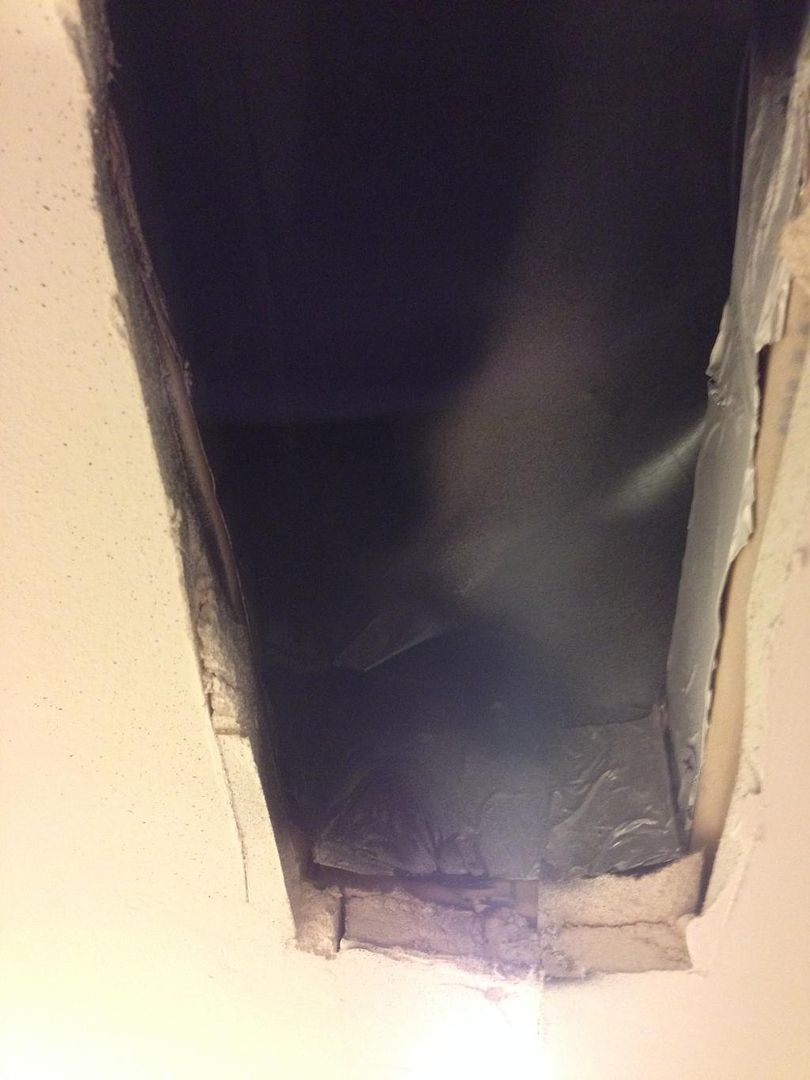 |
| Spray painting the inside of the supply vent. |
 |
| Again, love this color!!! |
 |
There was like a 2-3 day gap in between painting the Red and Brown. It took
that long to spackle, sand and caulk all this molding.
Soffit ceiling painted, cutting in on the lower panels. |
 |
Tray ceiling crown and bottom of the soffits painted. The
detail in this 3 piece crown is spectacular. |
 |
| Wired the first sconce light to see how it would look. |
 |
Couldn't find colored bezels for the Commercial Electric cans, so got some
spray paint that works on plastic and just sprayed them. |
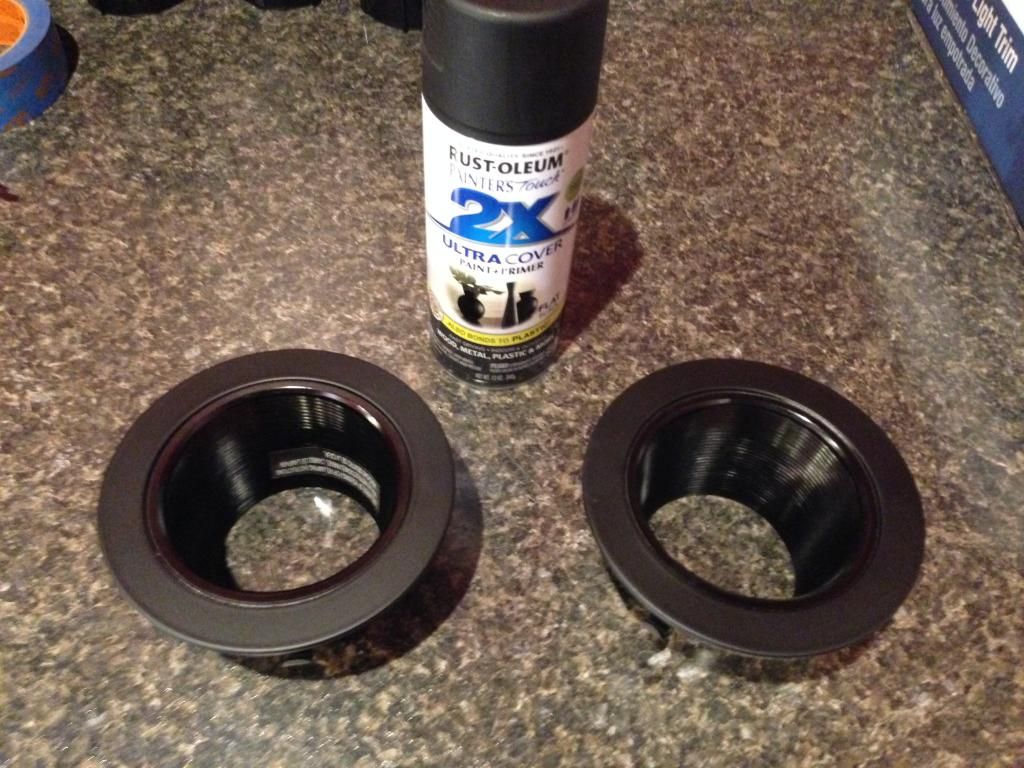 |
| Finished product. Easy and very inexpensive solution. |
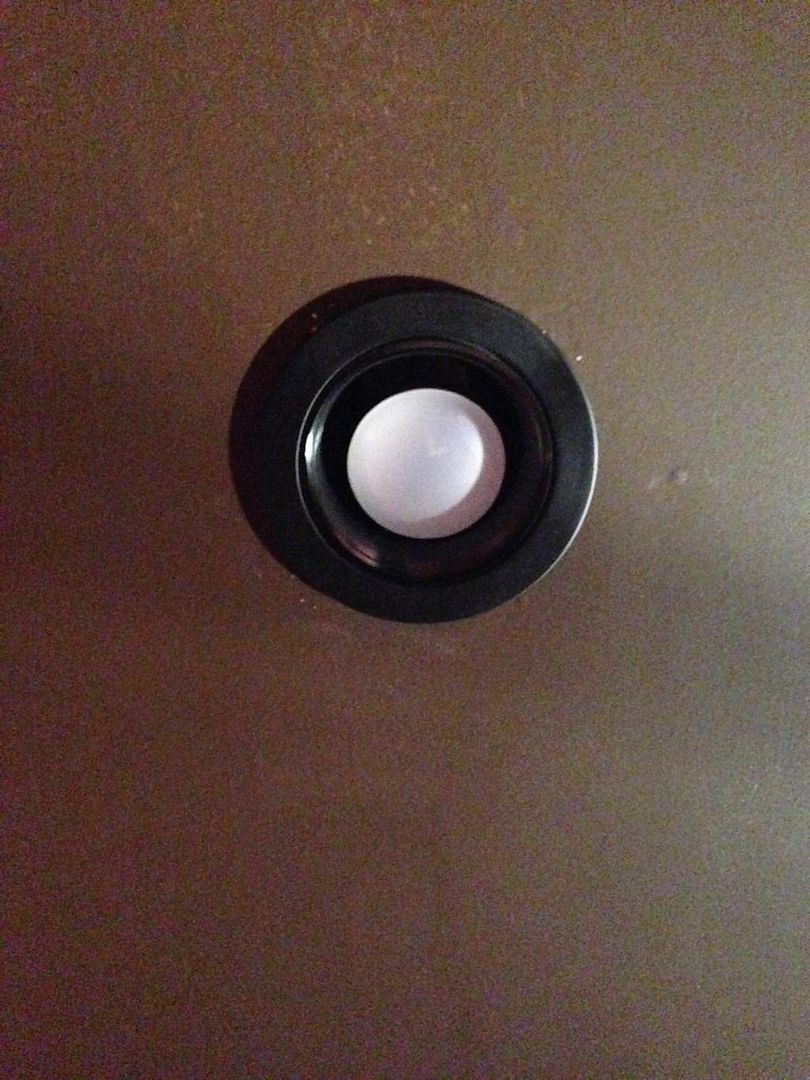 |
| Lights installed with LED bulbs. |
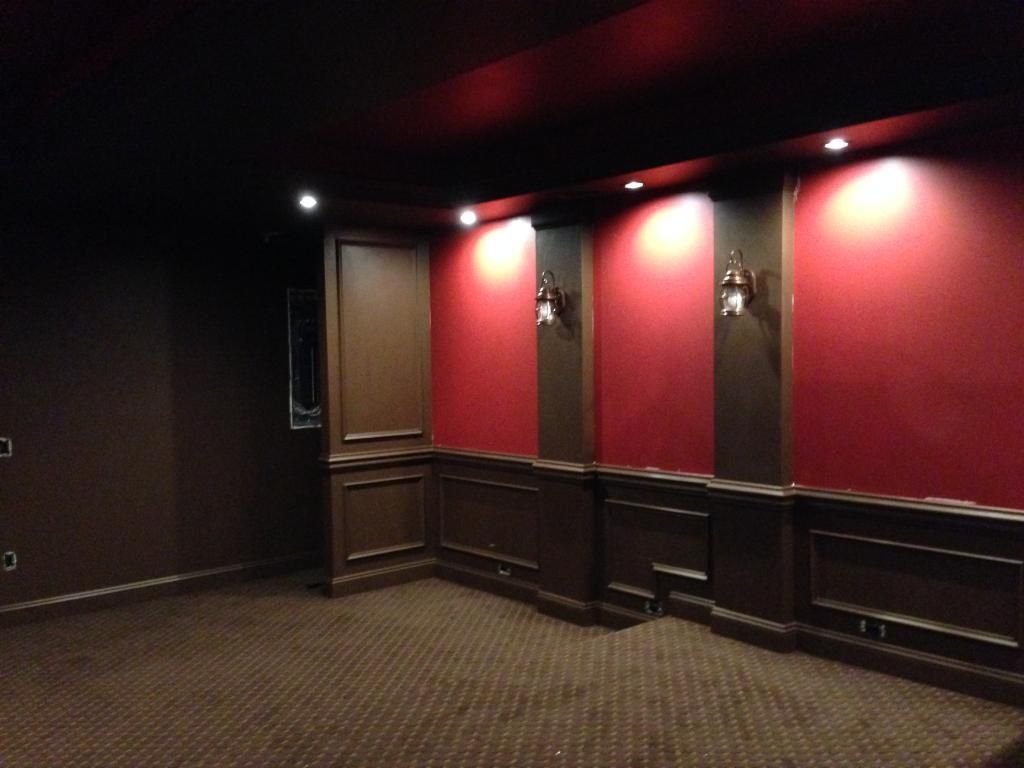 |
Paint done... needs some touch up, light bezels installed but not adjusted,
sconces installed. |
 |
With all the paint done and only a little bit of touch-up to do,
we brought in the furniture. |
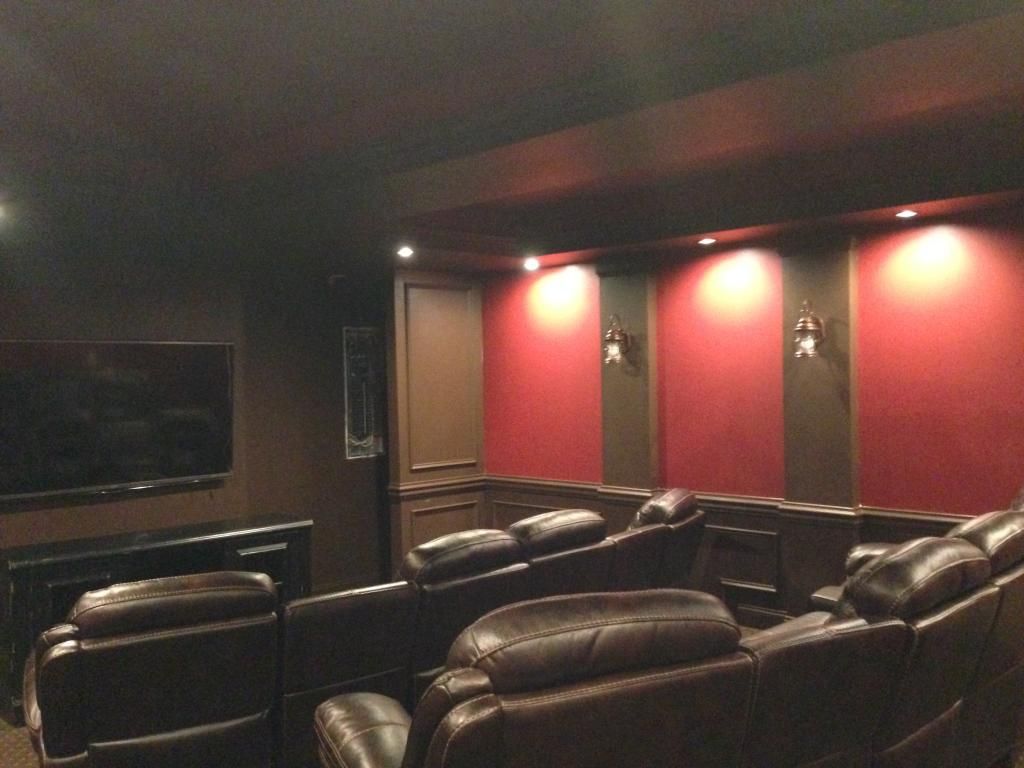 |
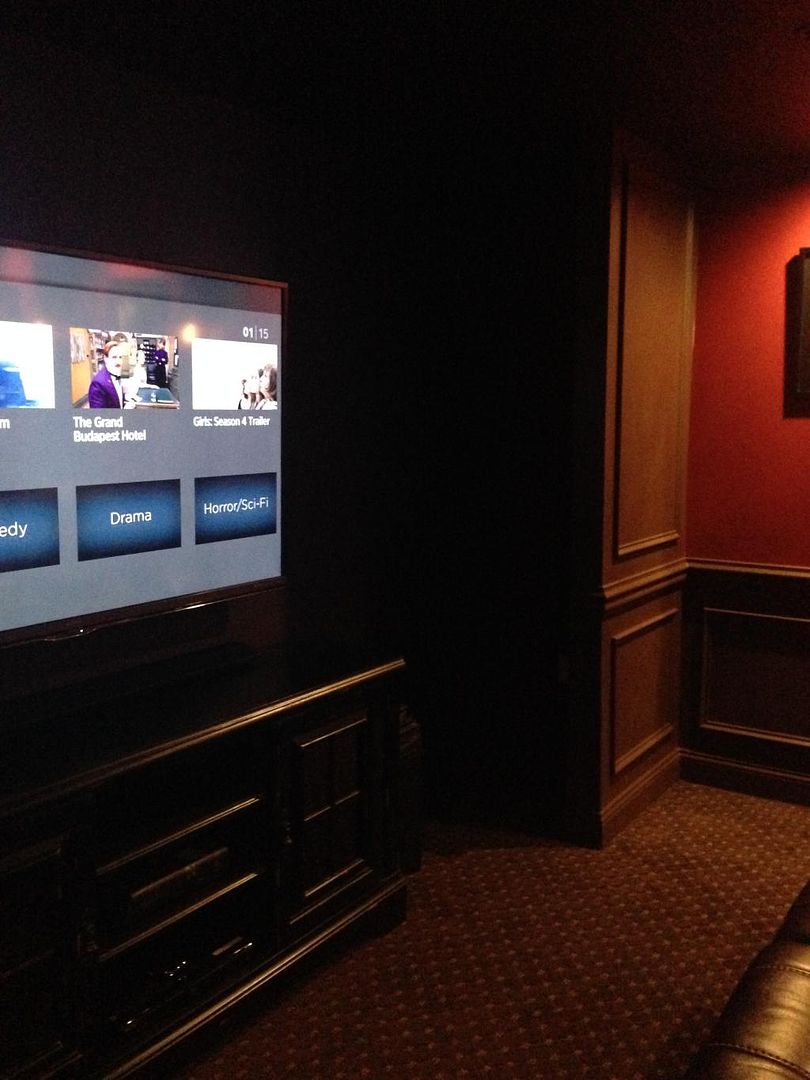
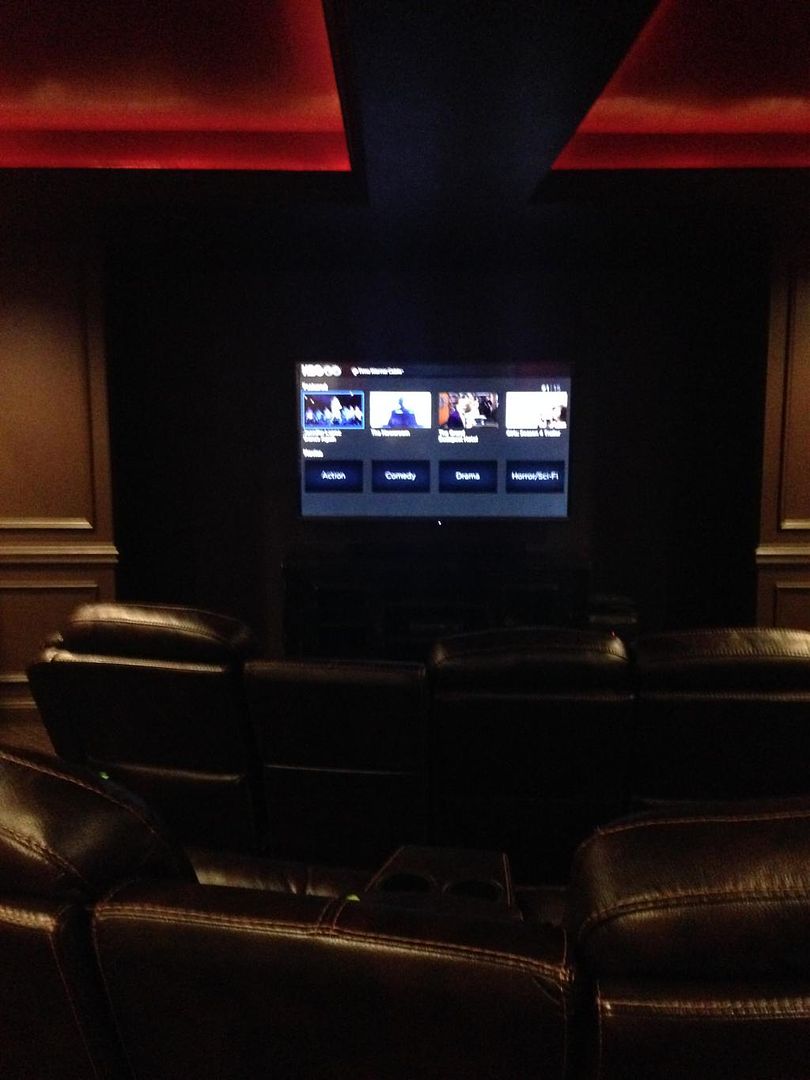
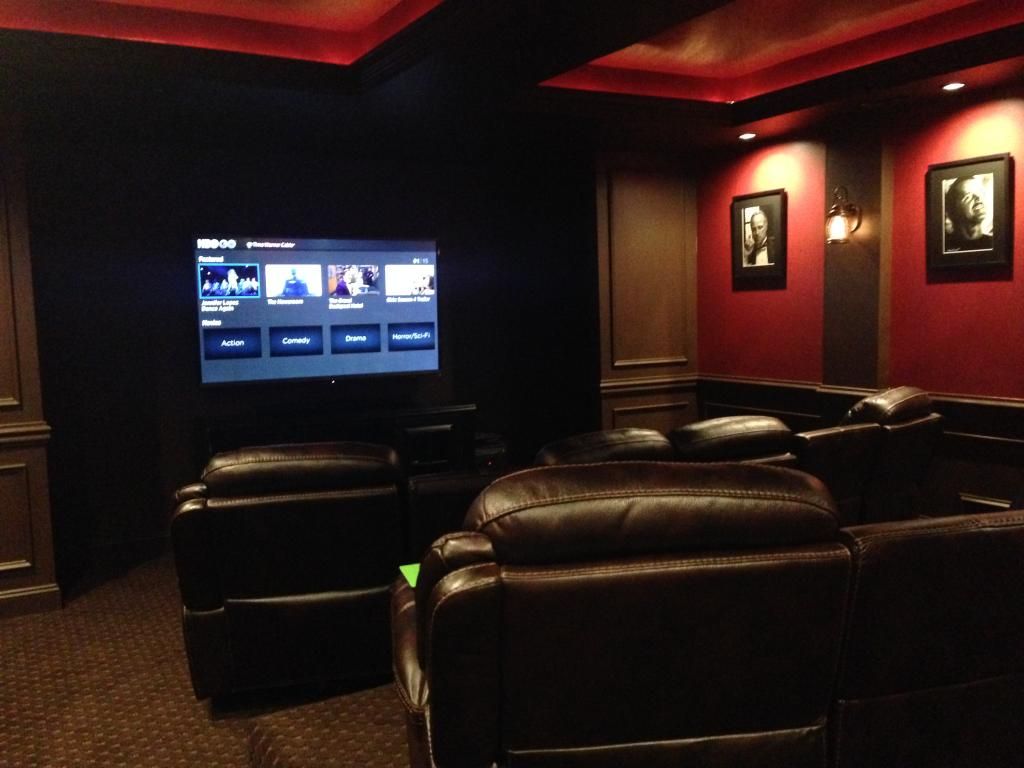
| TV mounted, the space is ready to use. |
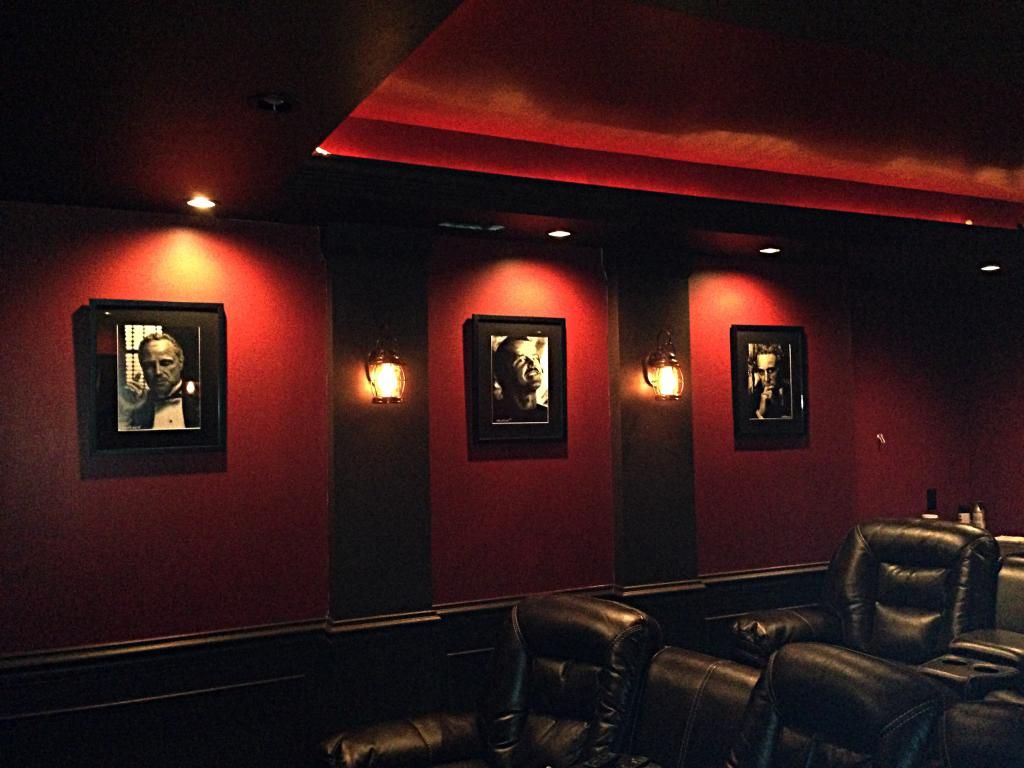 |
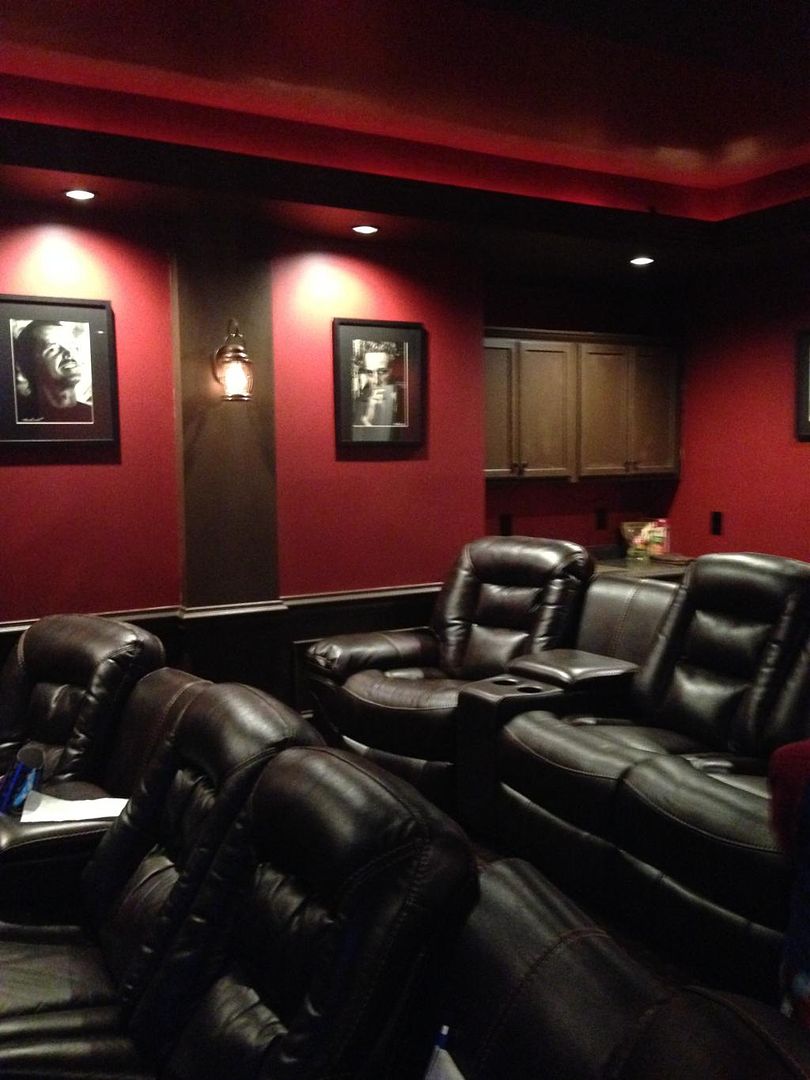
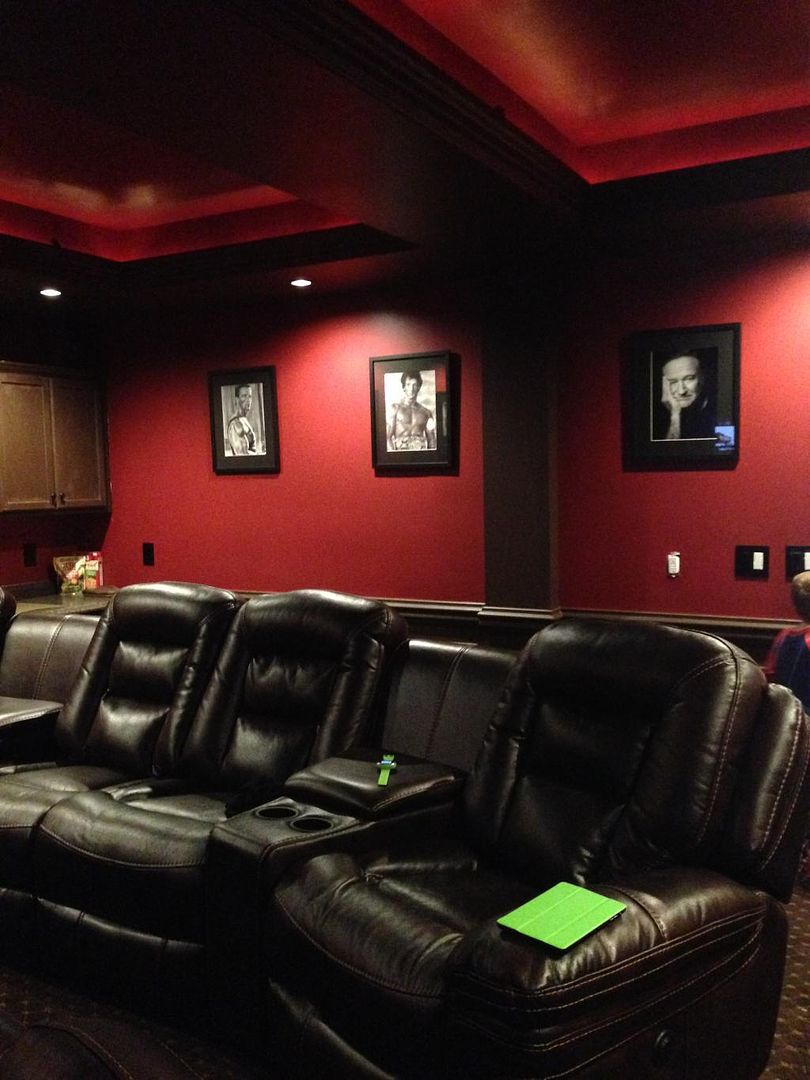
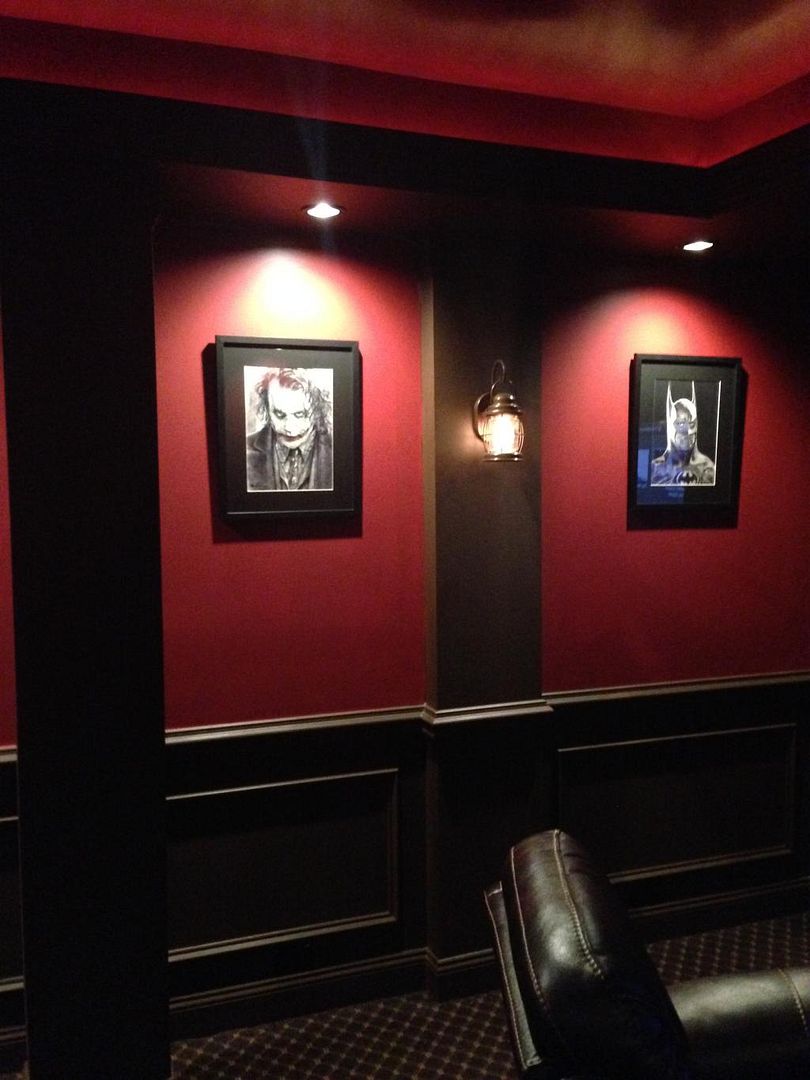
We picked up these drawings from a local artist. They are sketches done from
scenes in movies or other images. You have to get really close to even know
that they are hand drawn and are not pictures. |
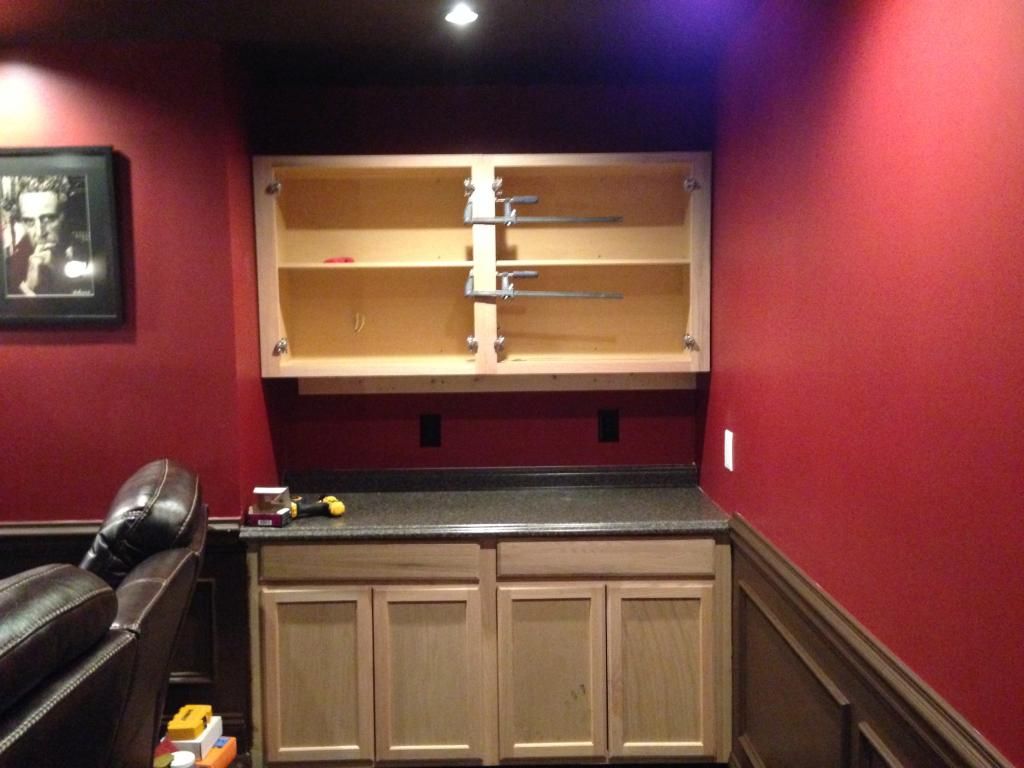 |
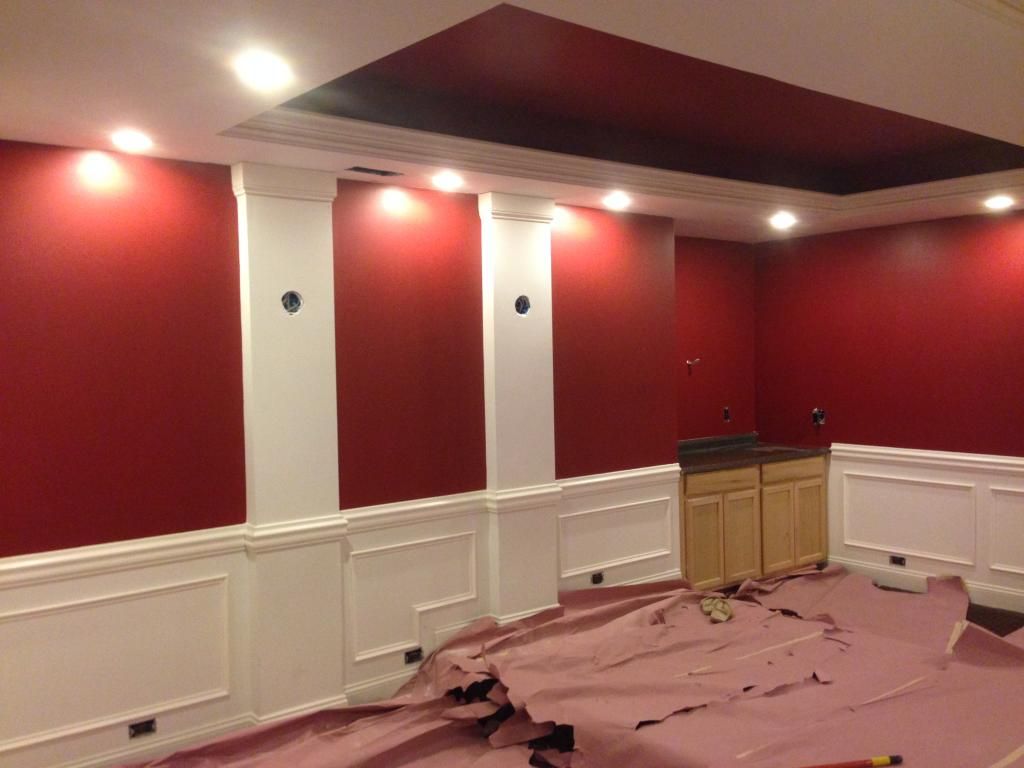
Installing upper cabinets. These are the Ready to Finish Oak cabinets at
either Lowes or Home Depot. Also, the counter top is the Pre-fabbed Formica
that looks like real granite. This is a 6' counter top cut down to fit. |
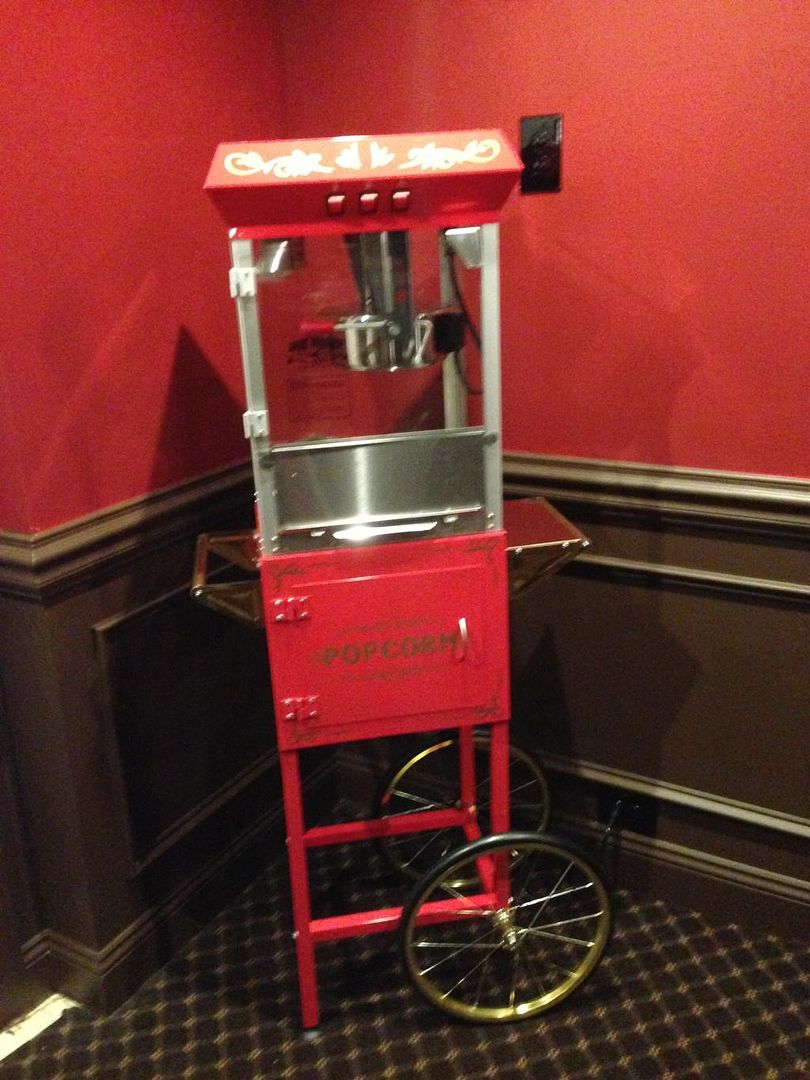 |
Popcorn machine came in just in time for our first use of the
Media Room. |
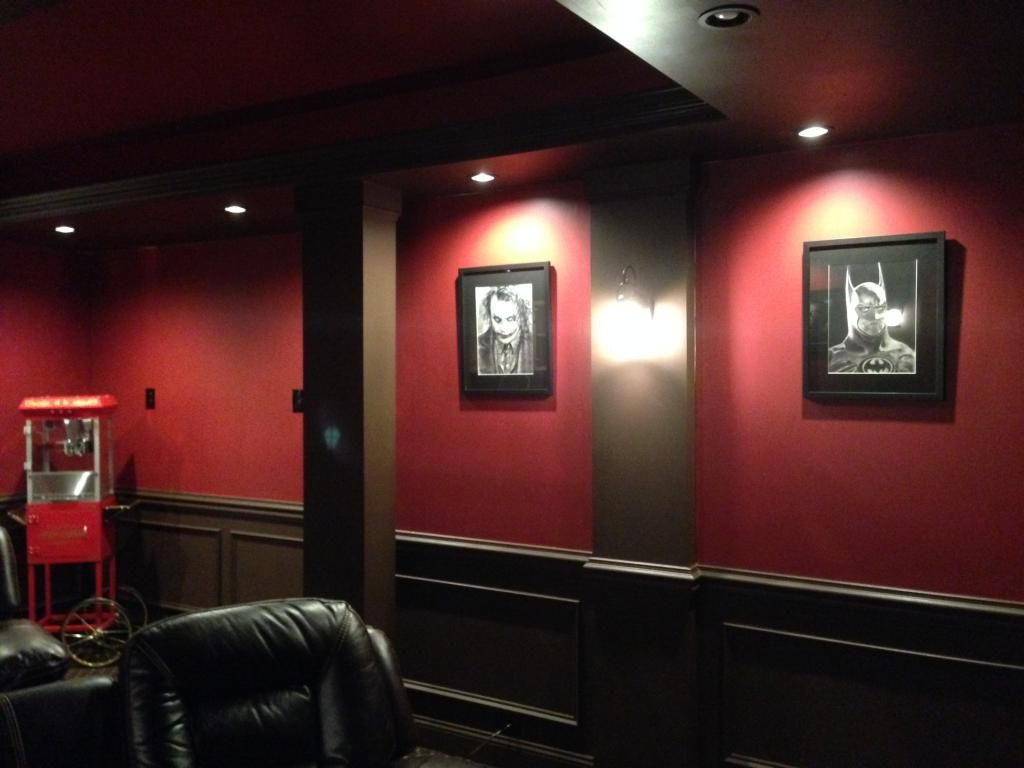 |
| More art work... |
 |
| Cabinets up, crown installed on uppers. |
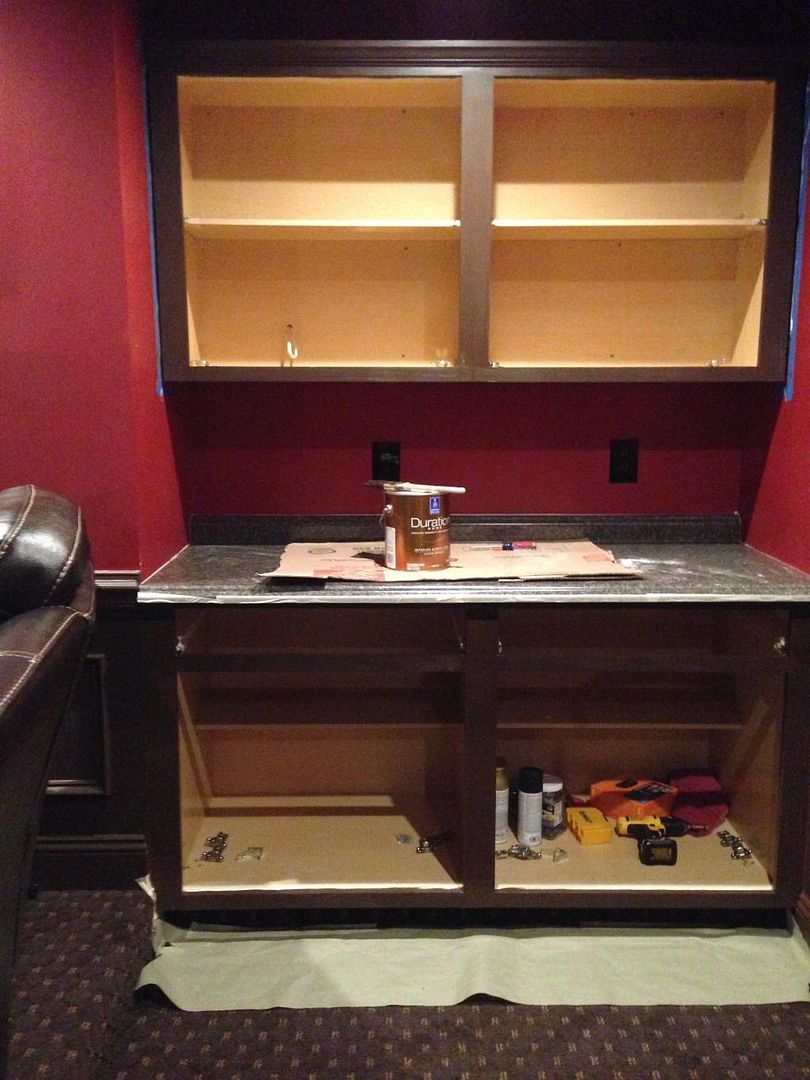 |
Primed and painted cabinets with the same paint we
used on the walls. |
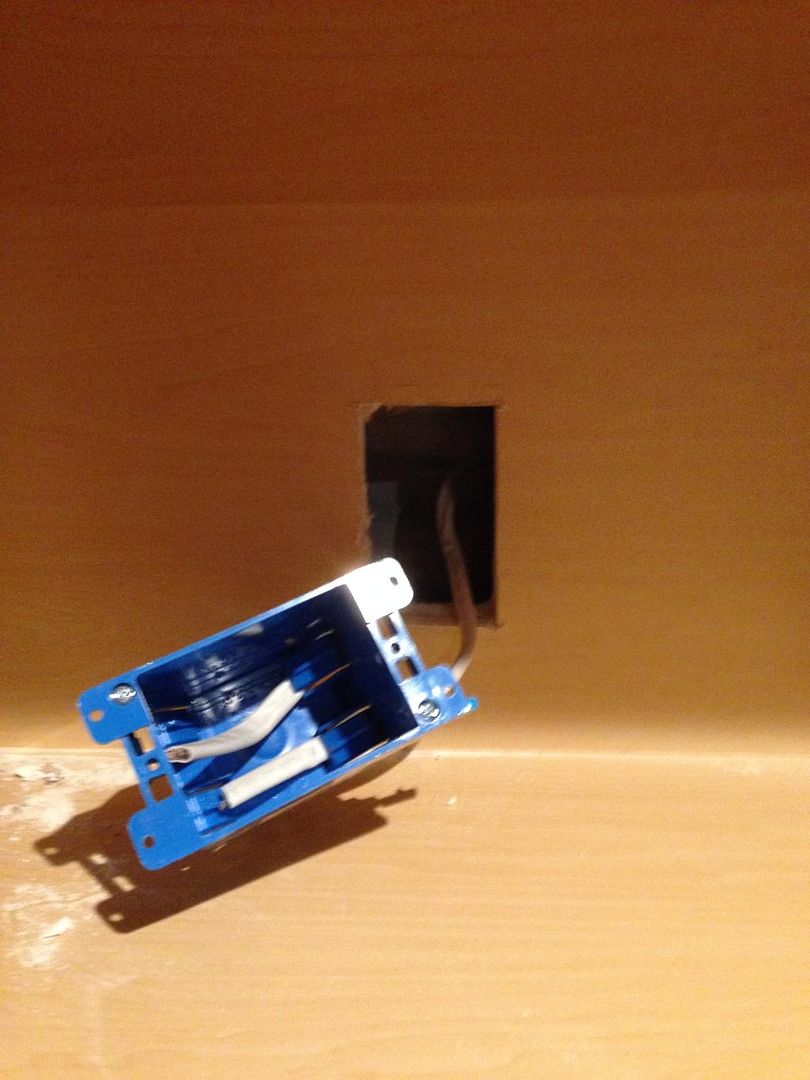 |
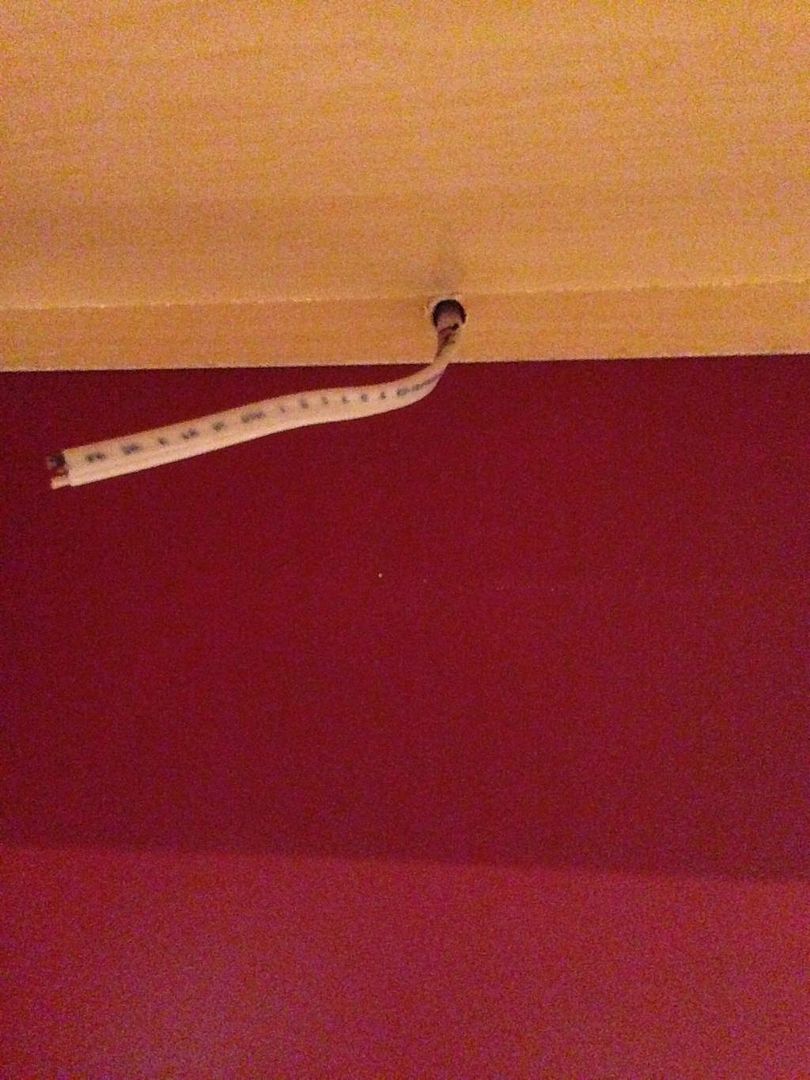
The pig tails for the under cabinet lights weren't long enough
to reach under the cabinets. So we cut a hole in the back
of the cabinets. Got "Old Work" electrical boxes and pulled
a jumper wire down on one side and one up to the top of the
cabinets on the other side. This way, when you open the
cabinet, all you see is a blank cover plate and not a junction box. |
 |
We drilled a half inch hole in the skirt under the cabinets
and fished the wire from the junction box shown above. |
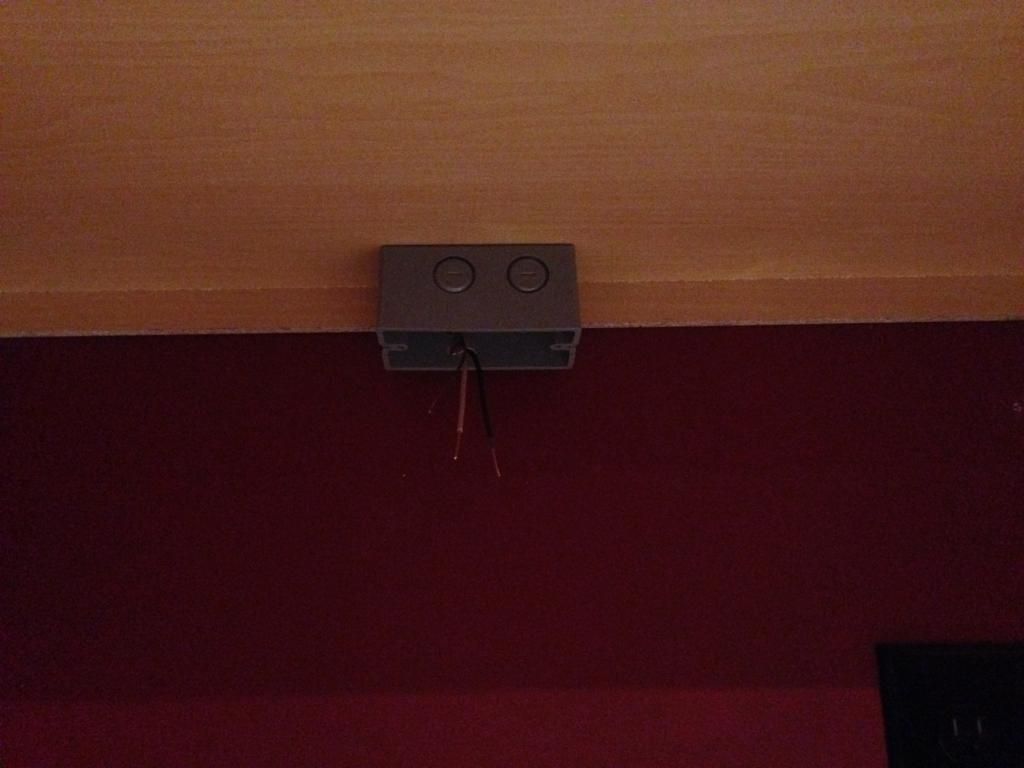 |
Then mounted a junction box under the cabinets that will be used to hard
wire all the under cabinet lights. |
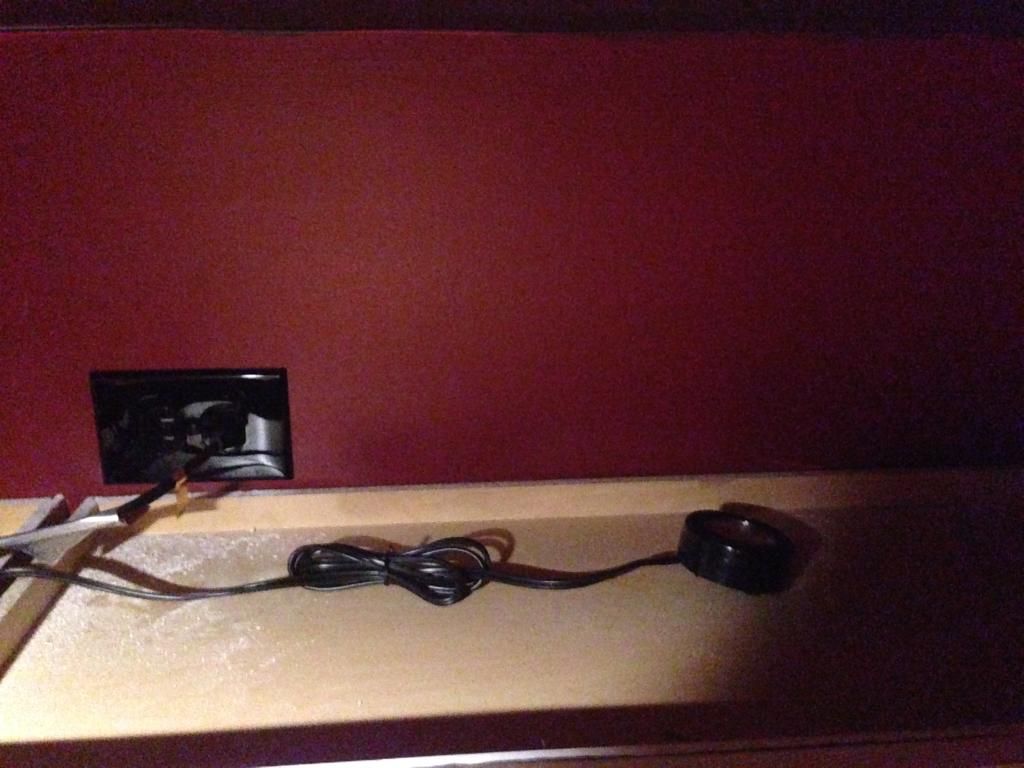 |
On top of the cabinets we just wired an actual switched outlet and just plugged
the Xenon Pucks into that. |
 |
Here is the end result. The wires haven't been tacked up
yet and this is on full intensity. These are on a dimmer
switch, shown on the left hand side of this picture. |
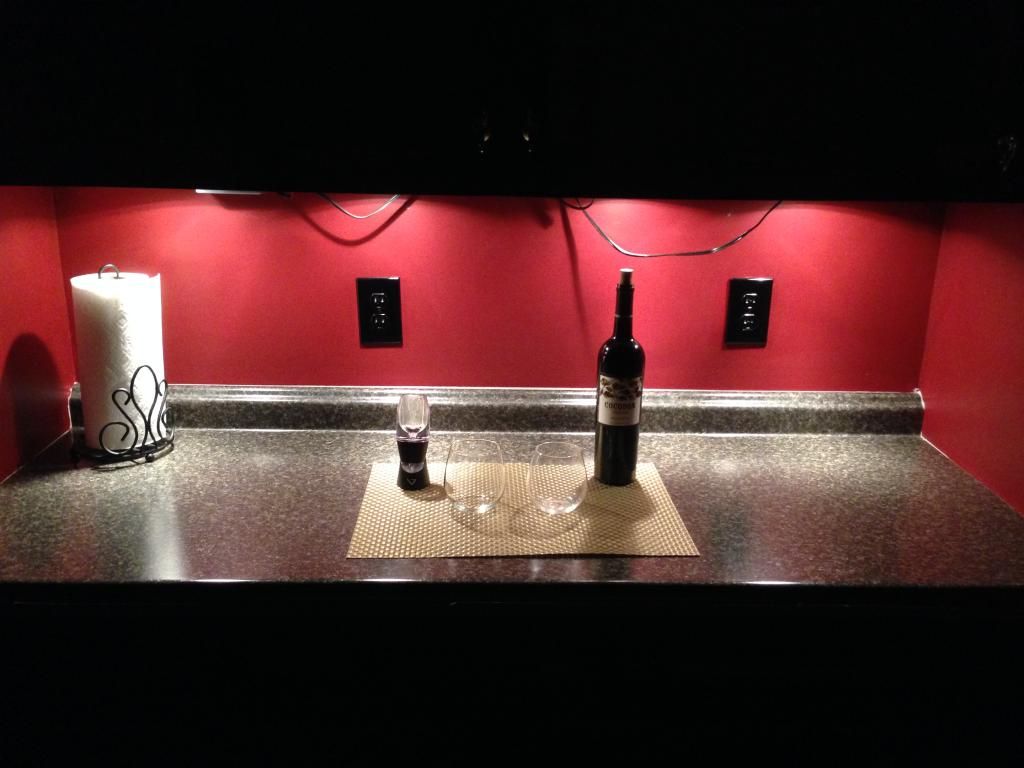 |
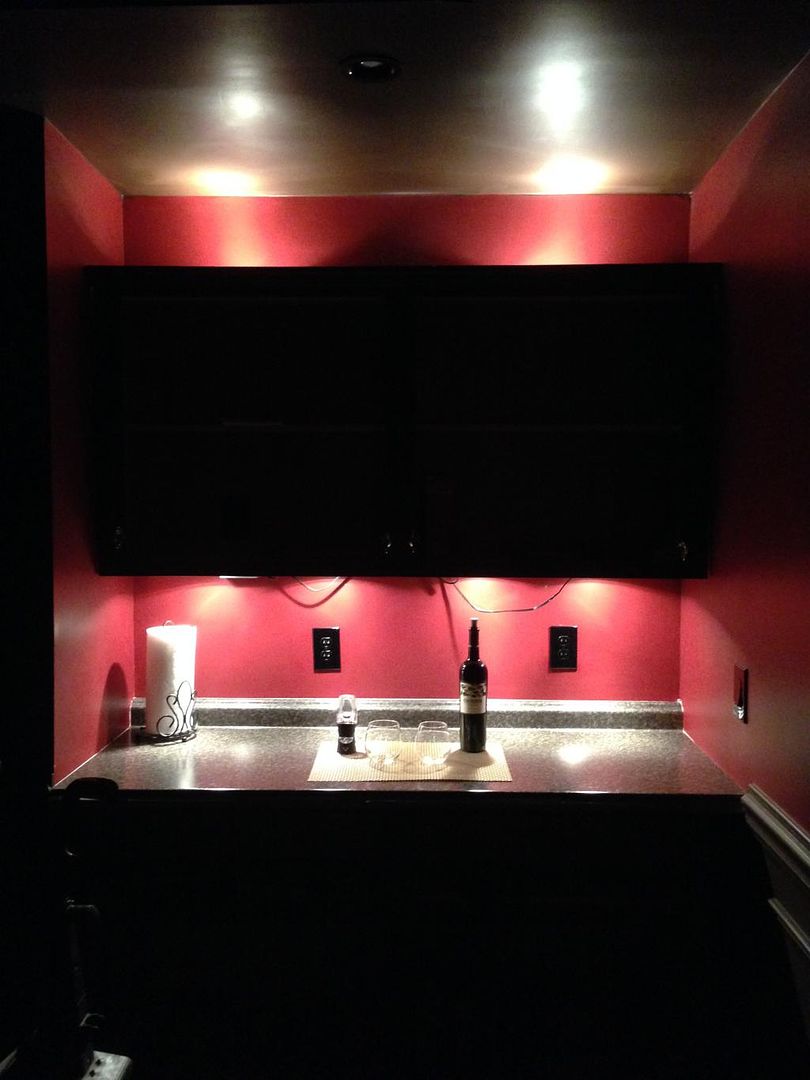
It is much easier to pour wine with these rather than in the dark. Especially
when you are using this aerator. |
 |
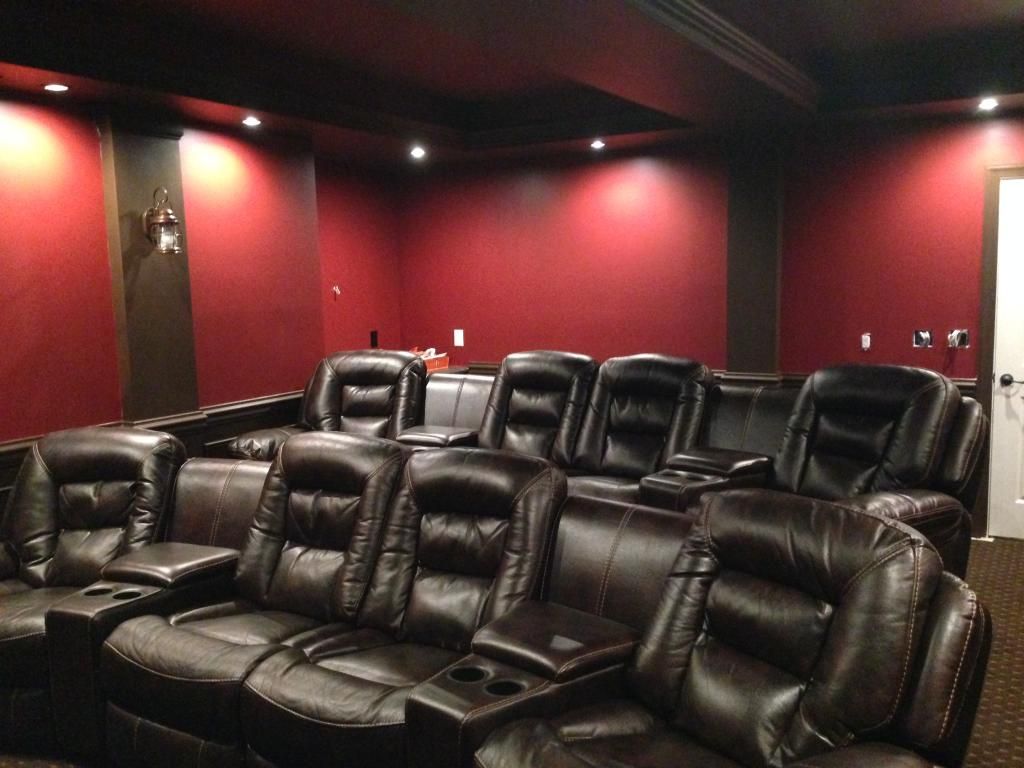
| Ok, so now for a look around the room. |
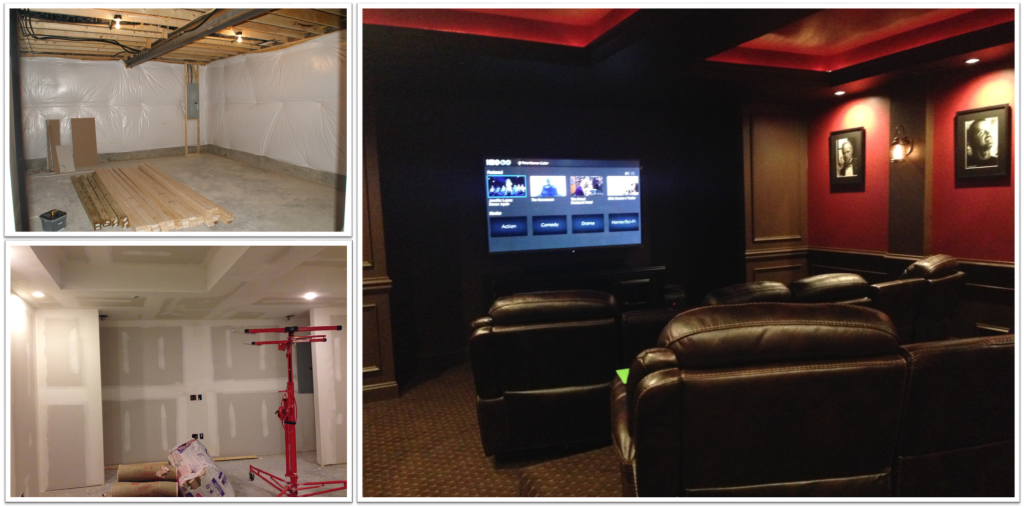 |
| So here is the evolution of this room... |
+Cleaning+041.JPG)
+Landscaping+Day+2+035.JPG)


+PreSettlement+Walkthru+001.JPG)
+Granite+Countertops+001.JPG)


Wow! Nice work! What an awesome space you have there! Looks like a huge room! Wish I had the space in my basement to do something like that.
ReplyDeleteThanks so much. It was really a labor of love and our family is enjoying the space every day. It actually looks bigger now with the furniture in it, then it did before it was finished. I think it is like 21' x 16'.... something like that.
DeleteOMG! Your media room looks superb!!! Great ideas for what ever year we will get to do ours!!!!I'm glad I searched for the blog today!! Very nice! It must have cost a fortune right!!
ReplyDeleteThank you so much. Monetary cost was at a minimum but the sweat and a few drops of blood, was pretty high. Tons of work and some help from some family to create this space. We tackled the entire basement at once, so it took longer than it should have. I haven't tried to figure out material costs for this room (mostly because we were buying material for the entire basement at the same time) but if I had to guess I would say it came to just over $6,000 including carpeting. That doesn't include furnishings, art work, electronics, etc.
Delete