Social Icons

.

Monday, March 14, 2016

Bar Project Series #13: Built the Bar Top

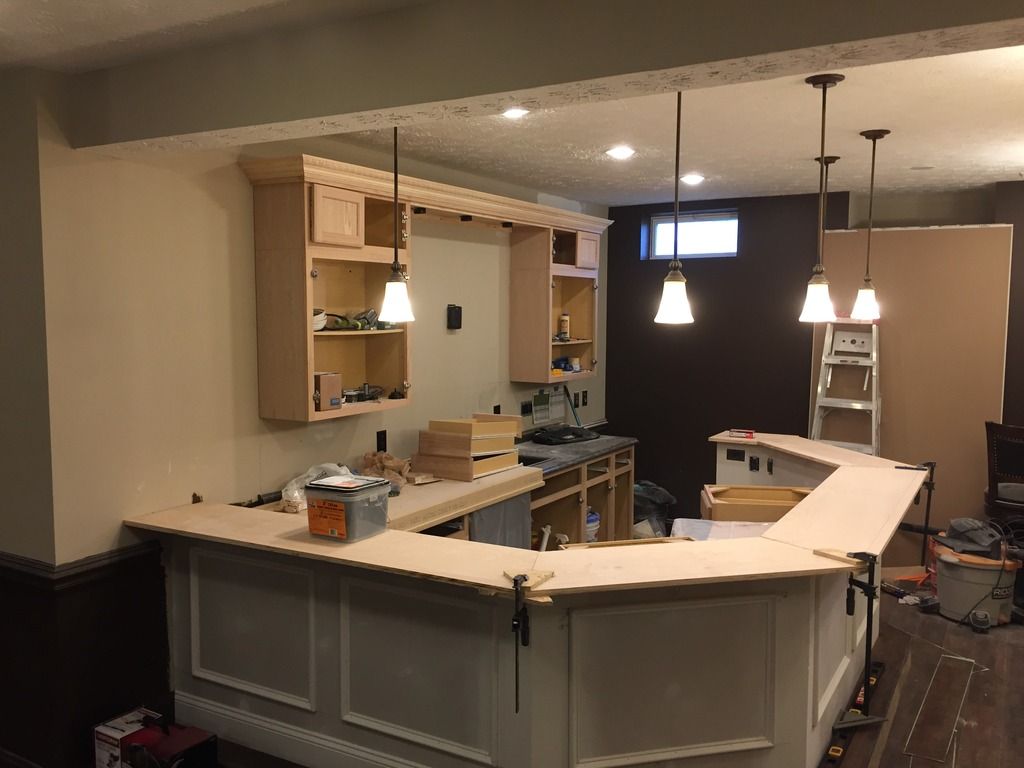
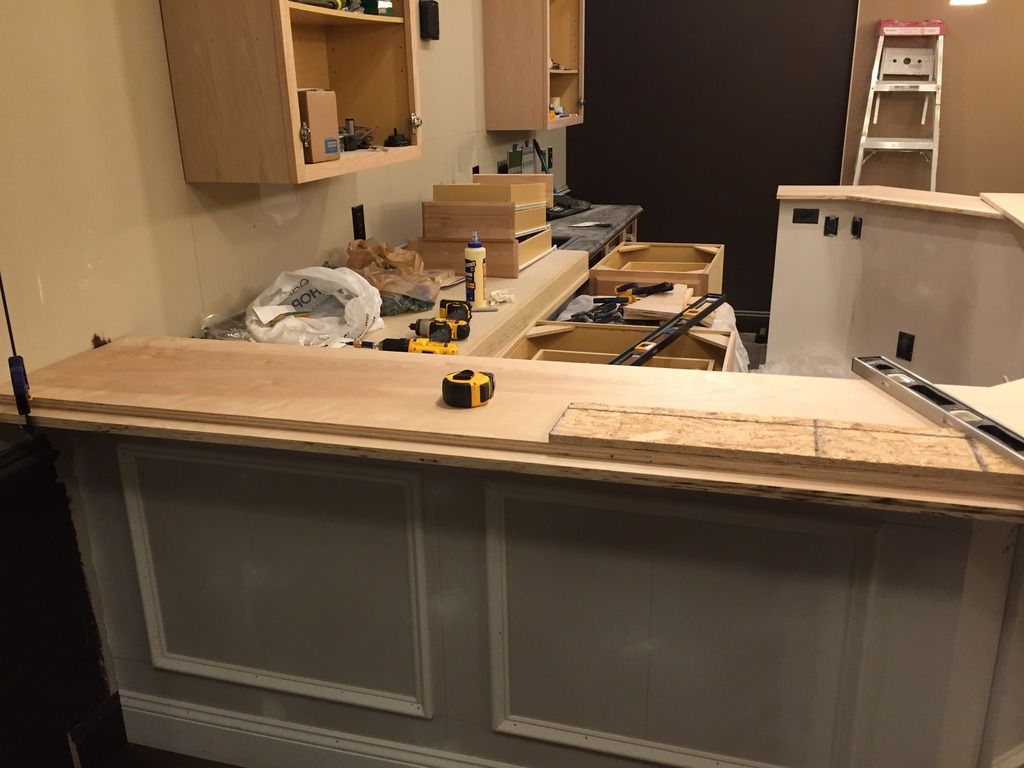
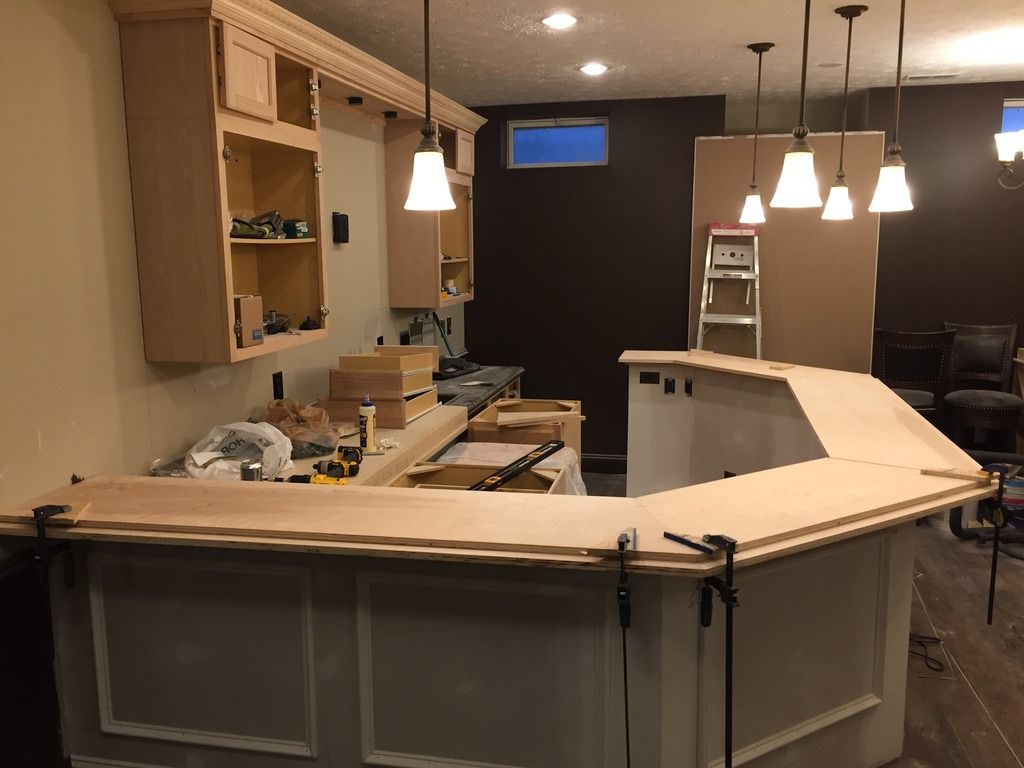
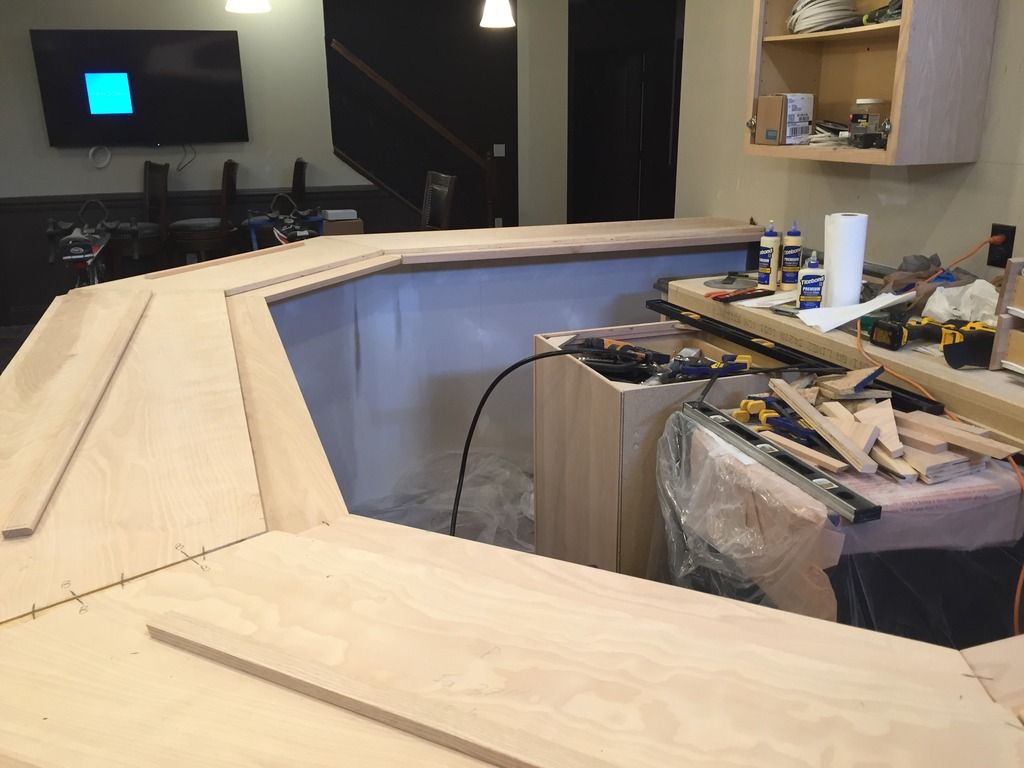
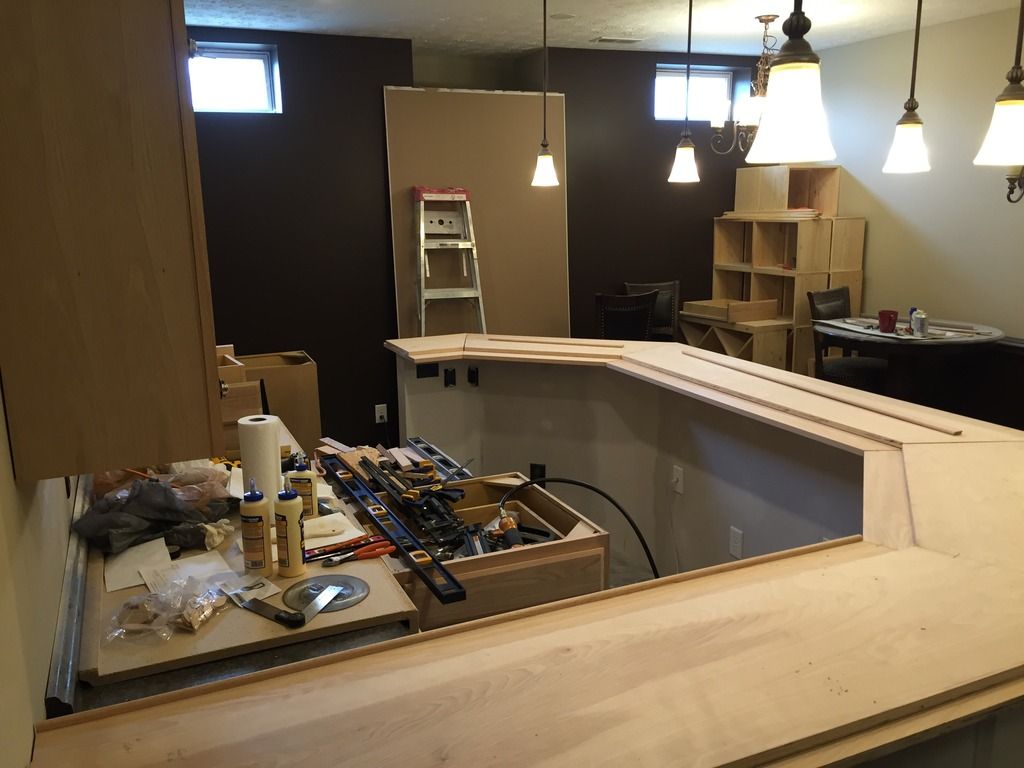
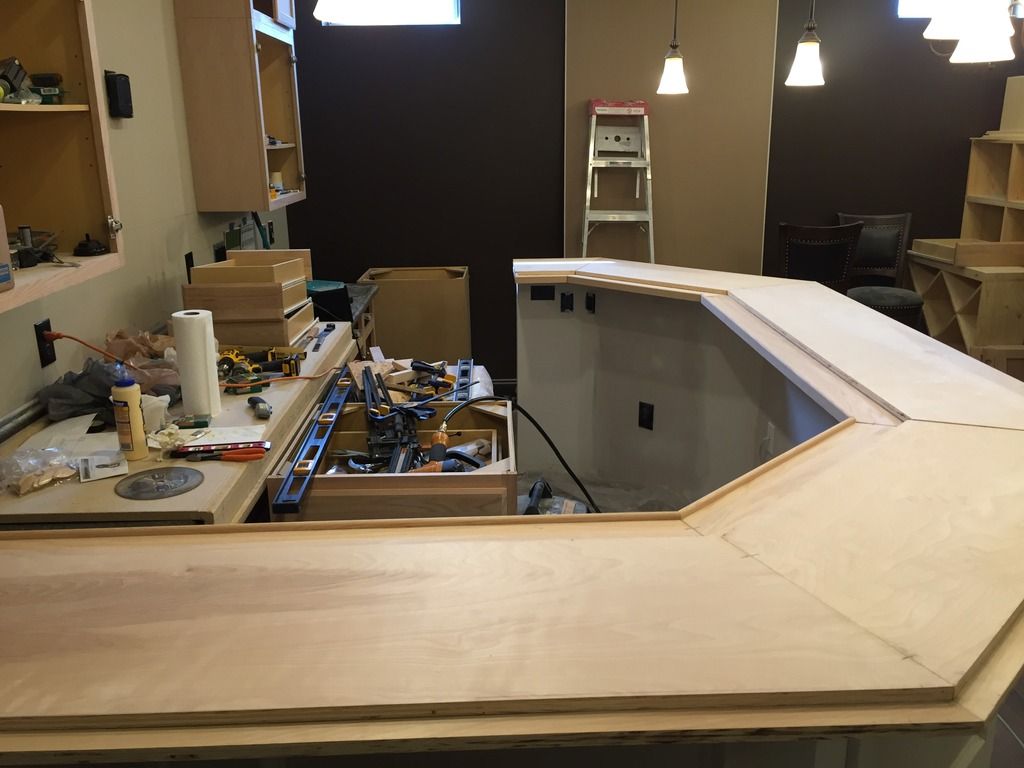
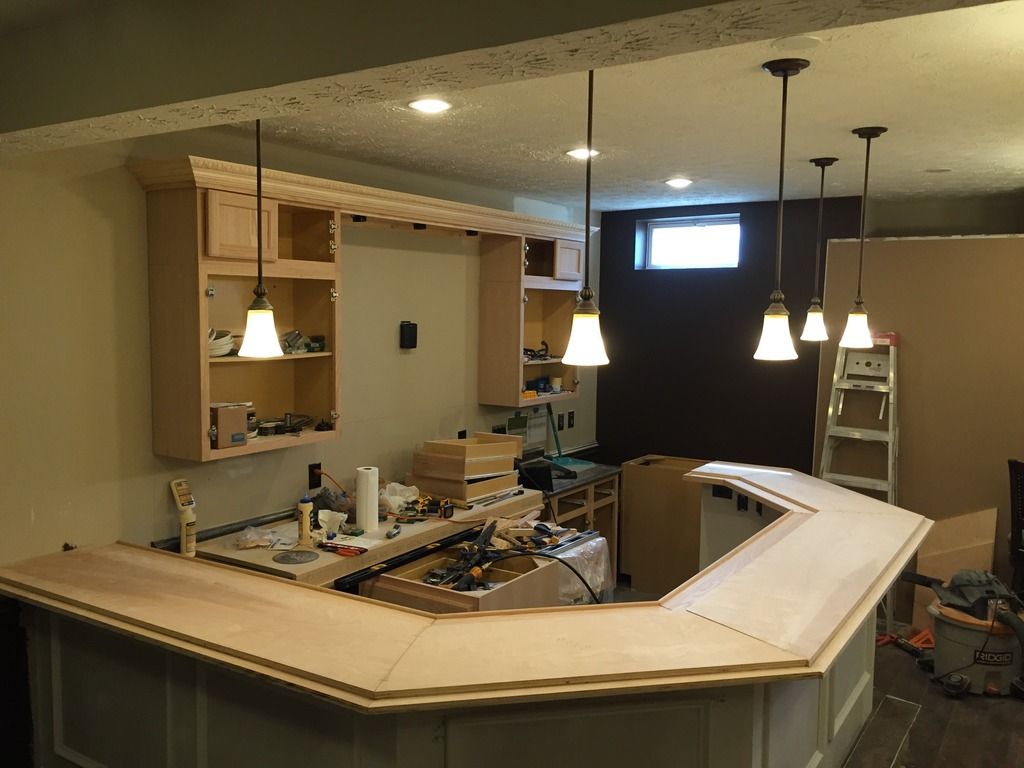
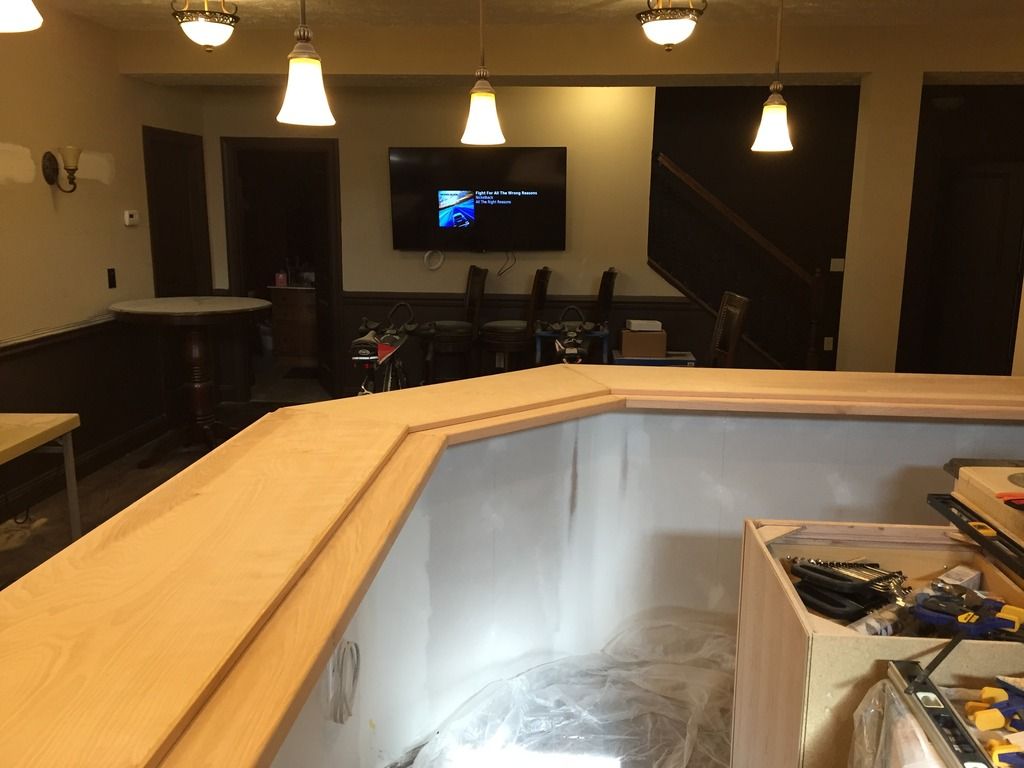
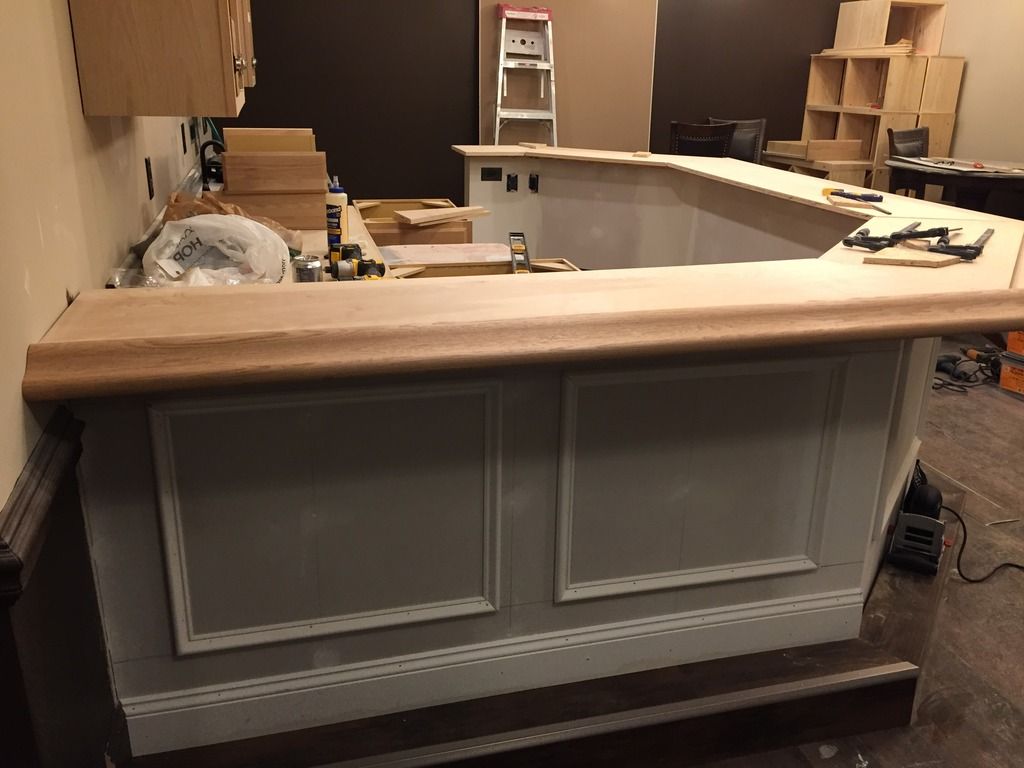
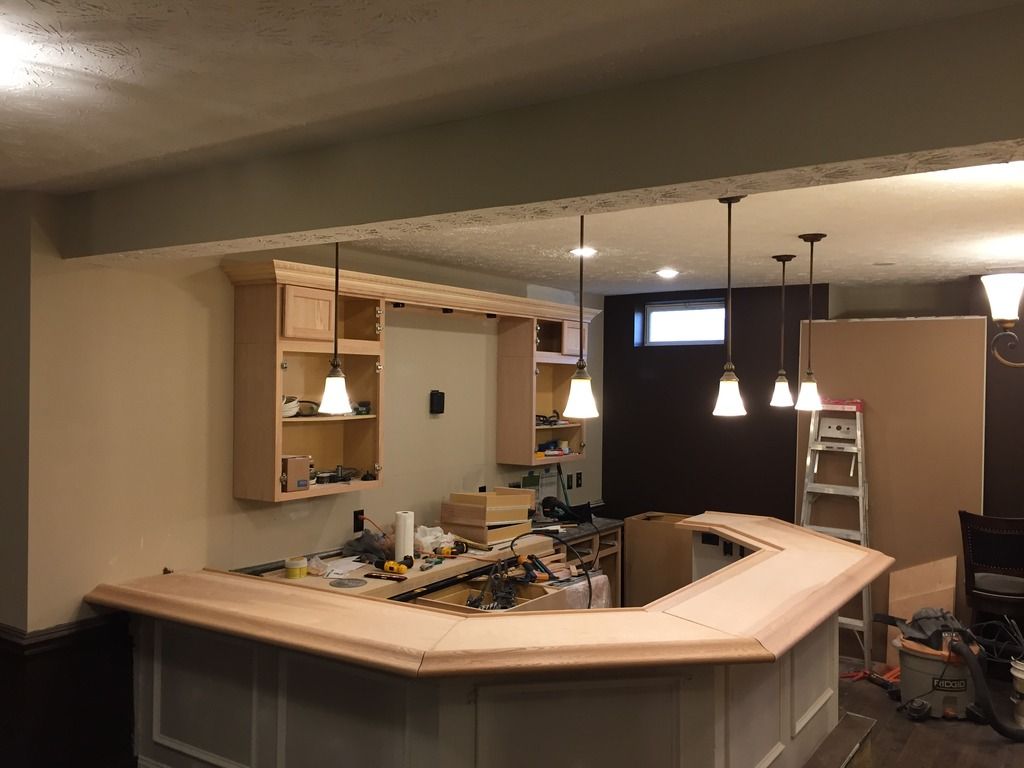
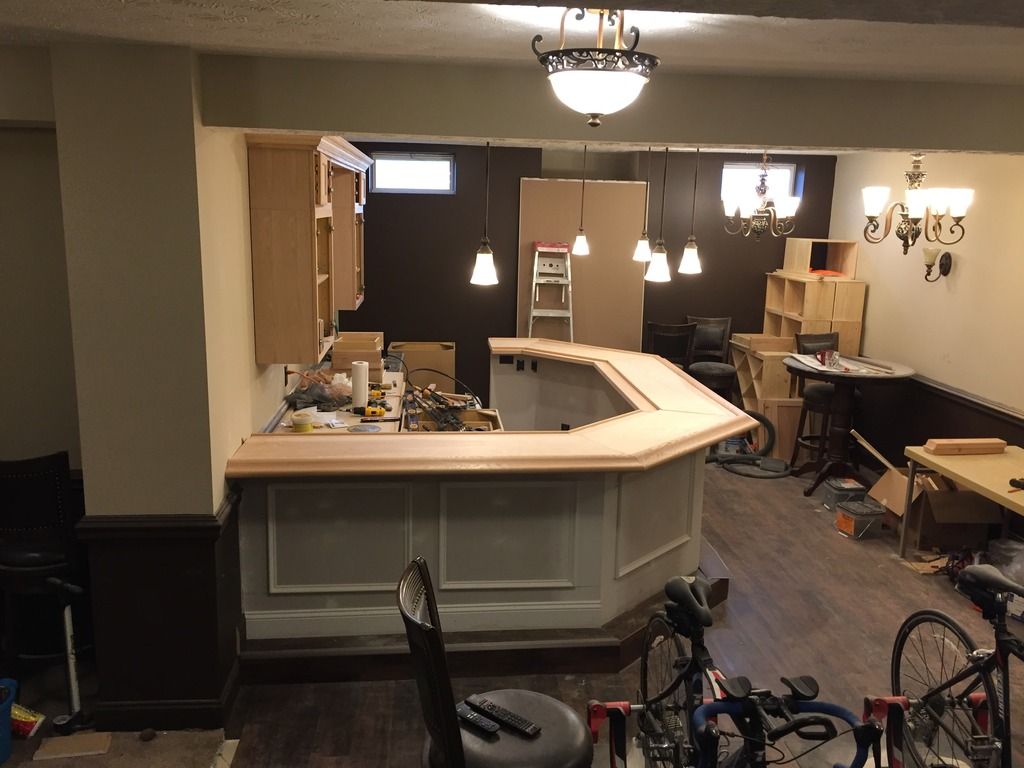
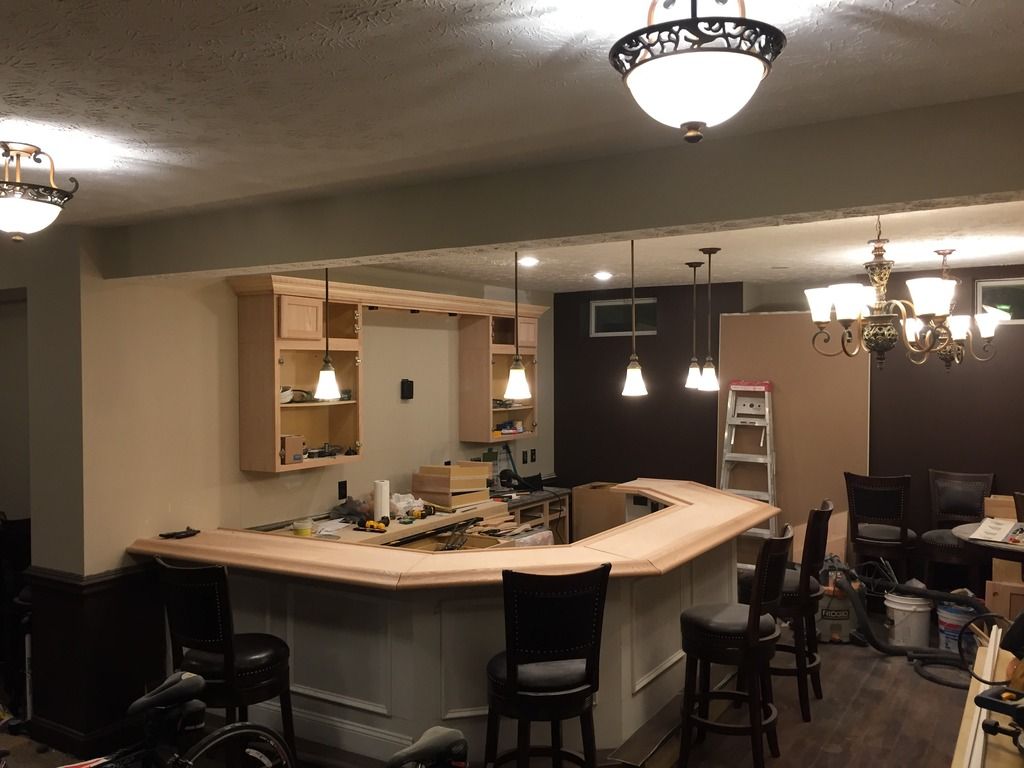
So this is what we have really been waiting for.  We ordered all the bar top stuff from Hardwoods Incorporated a while back and just couldn't wait to see it all come together.  Honestly, the look of the bar exceeded our expectations!!!  We are really happy with the overall shape of the bar and with the glass and bar rail, it just looks amazing.  Looking back, if we were to do this again, we would build the bar top independent of the bar wall itself and attach it after the fact.  All the imperfections from the back wall and uneven floor transferred to the bar stub wall when we built it and so all the imperfections in the bar stub wall transferred to the bar top.  The most noticeable issues are at the 45's on the seems.  A few are an 1/8" higher and there are some gaps in the bar top and bar rail which will have to be filled (So no sliding beer mugs down the bar because they will hit the gaps and tip over).  Despite these imperfections we are still happy with the results.

When we ordered all the milled stuff from Hardwoods, the shipping cost for the bar top kits cost more than the wood itself (I think it was going to cost like over $250 to ship).  We looked around locally for material and just couldn't find anything that was going to work at the price we wanted to pay.  You could find oak planks but would have to glue them together and rip them down to the right dimensions.  For the cost of the wood, the risk and skill level was more than we wanted to spend.  So we came up with two possible plans.  One was to go with Select Pine project panels and glue them together and cut them to size (the risk was worth the cost) or to just get a few sheets of high end birch plywood and rip them down.  We opted to go with the birch plywood.  Birch is a really durable product (not quite as durable as oak but more durable than pine) and is a really beautiful product.  It will probably stain a bit darker than oak but we think it will be really close (crossing our fingers).

A few disadvantages of using birch plywood:

 1.) The panels are big and heavy!  Although we have a table saw, we were worried about running the big bulky panels through it without accidentally making crooked cuts. This is speaking from past experience.  Either the person(s) sliding the material through the saw shifts weight and cuts the wood crooked or the saw moves and really messes things up... and we aren't skilled enough to avoid either of these issues with that large of a piece of wood.

  - What we did: We used a clamping straight edge designed for use with a jig saw, router or skill saw and cut the pieces with a skill saw.

  - What we would do in the future: We had the birch delivered before the wood for the foot rest... so I didn't know you could request that the wood be cut before being delivered.  Better yet, you can pull the wood yourself, take it back and supervise the cuts, then have them deliver it.  This would have saved us a few hours worth of work.  Setting up each cut the way we did, took a little time and head scratching.

2.) The edge of the wood looks like plywood (you see the various layers of wood sandwiched together).  We knew that we would only have one exposed end, just above the glass rail facing away from where people would be sitting.  So we decided to just add a strip of oak banding on this unfinished edge (In the store this type of milled product is called Screen).  It worked great and really finishes the bar top.

Items Accomplished:
 - Installed Bar Sub-Top
 - Installed Bar Top
 - Installed Glass Rail
 - Installed Drip Edge on Glass Rail
 - Installed Bar Rail
 - Installed Oak Screen (3/4" Wood Banding) on Front Edge of Bar Top

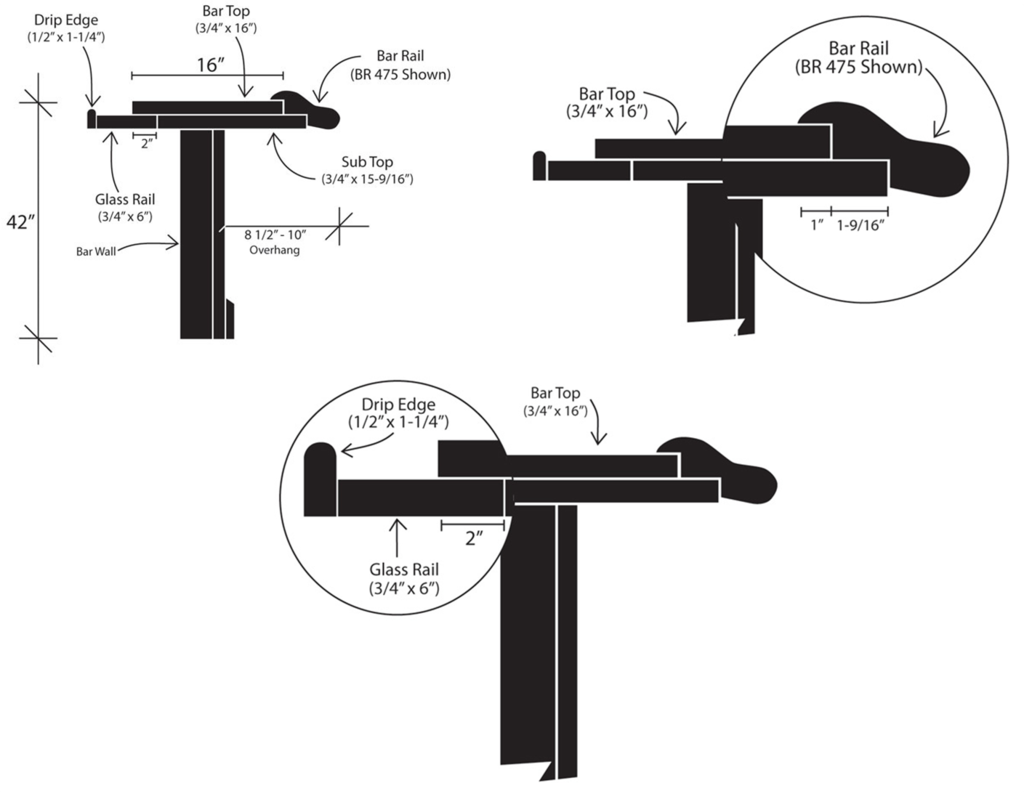
There were a lot of steps to this mini-project and it took about two days to complete.  We have quite a few pictures documenting the construction/assembly.  We used the bar dimensions we found on Hardwood Inc's website and they worked great.  Also, we are using their terminology for what each of the components are called (shown in the pictures below).
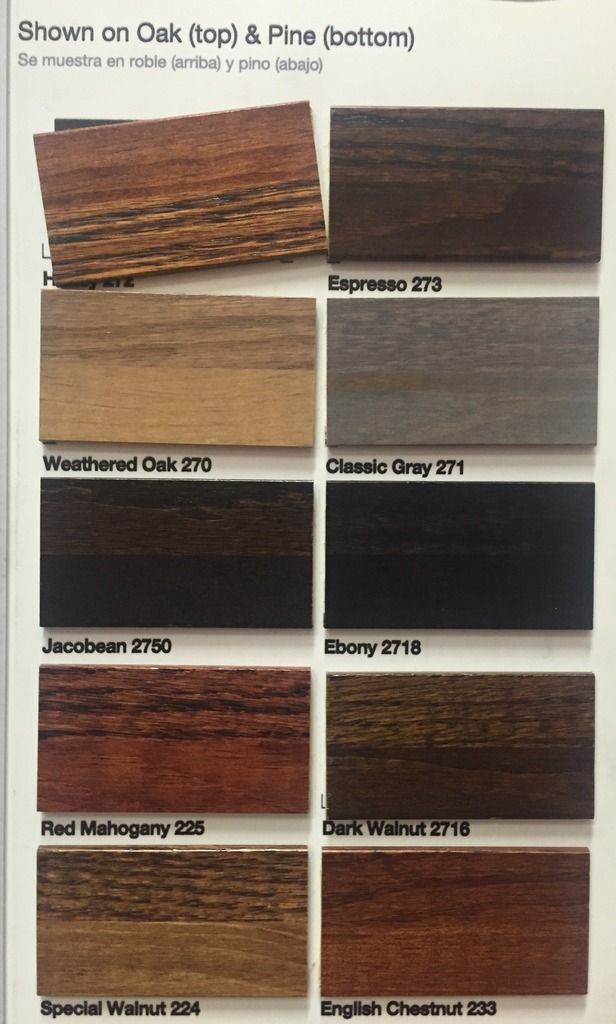

We ended up going with Minwax Jacobean
Notice Color Difference:
Oak on top, Pine on Bottom


These are standard bar dimensions that we used.
Pictures obtained from the Hardwoods Inc website


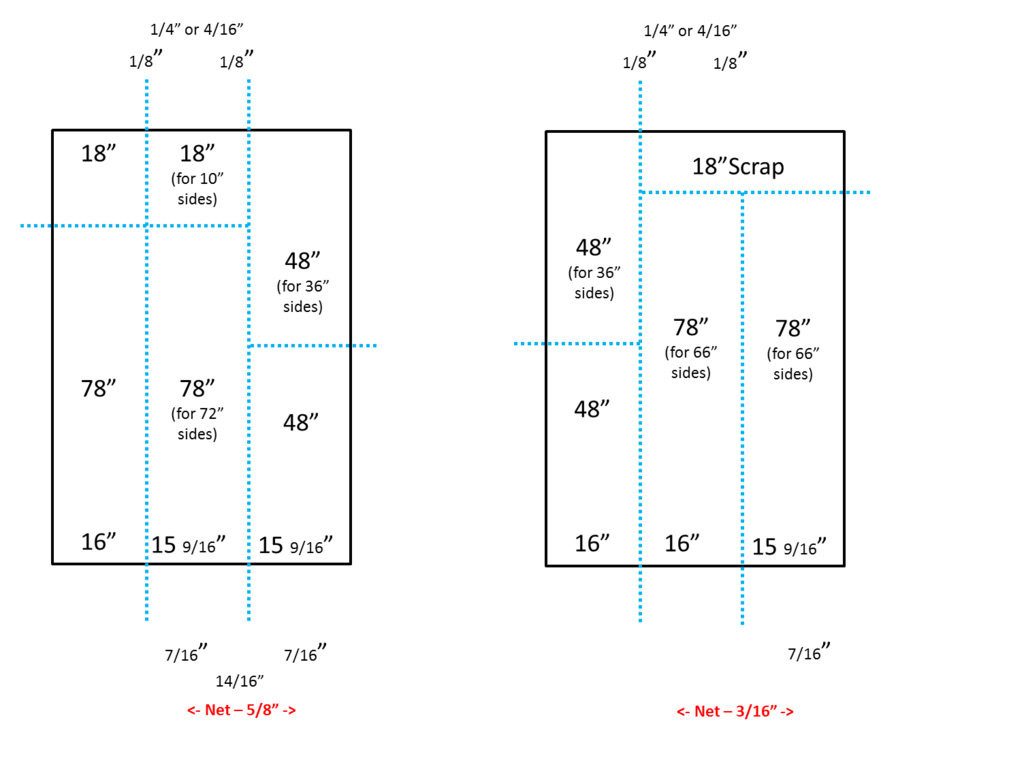
The Cut Plan to get the Sub-Top and Bar Top out of
two sheets of birch plywood...


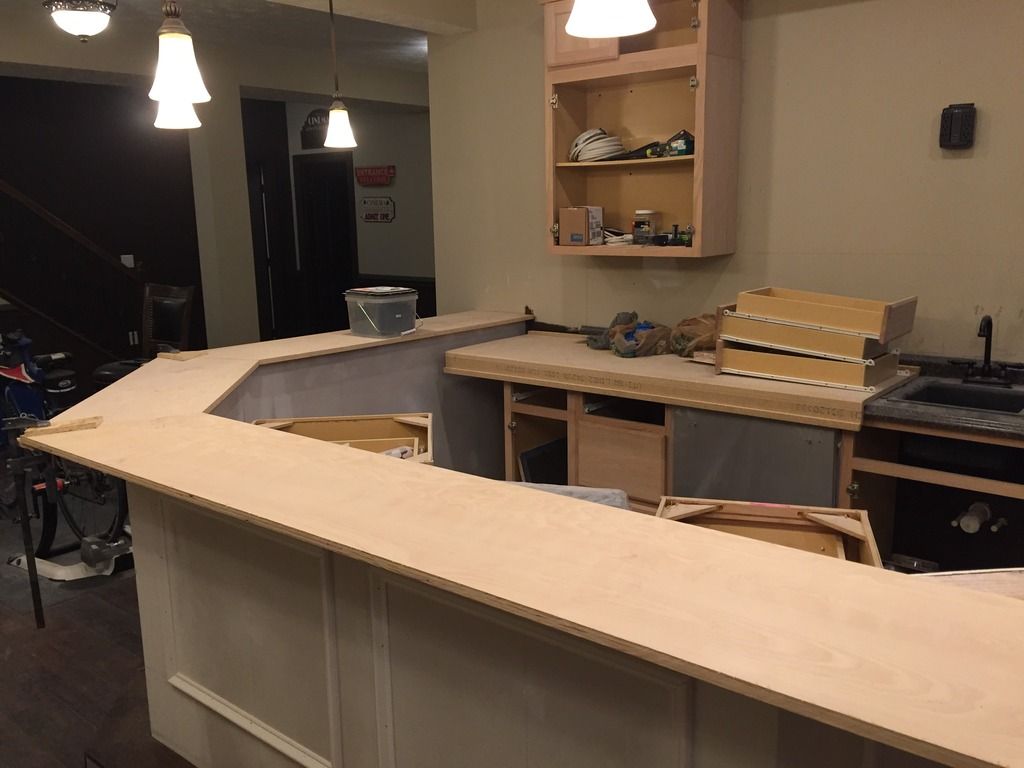
All the birch cut down to width


Figuring out spacing on either side of the bar and marking for the angle cuts
The cuts are approximately 22.5 degrees for the 45 degree corners


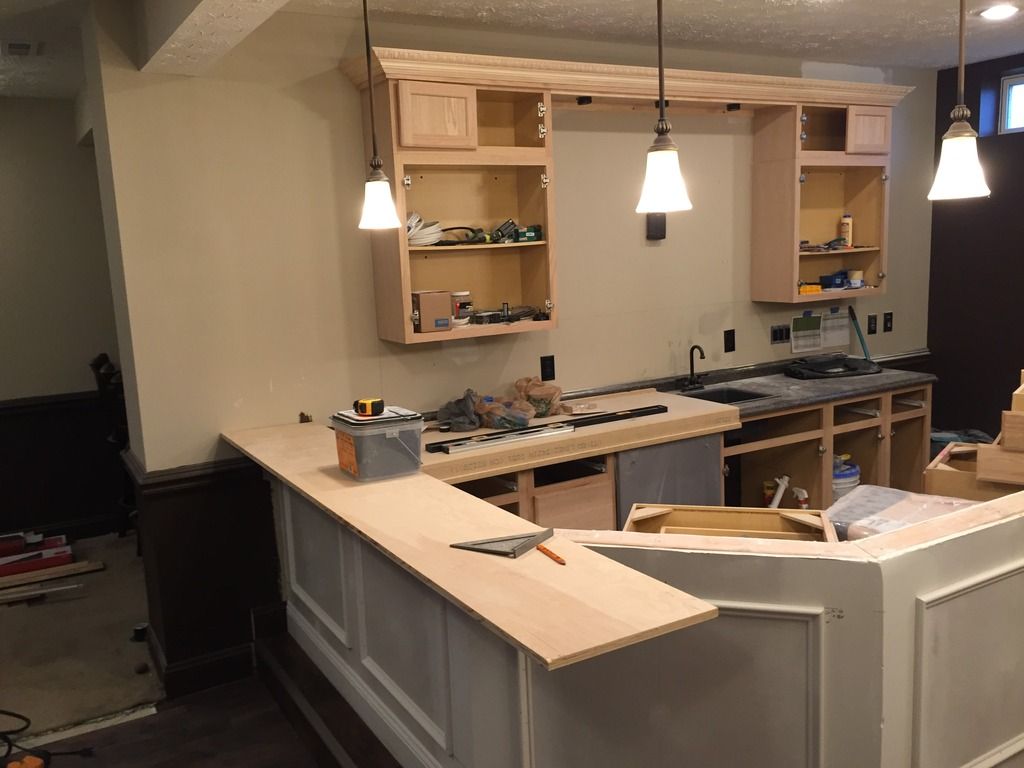
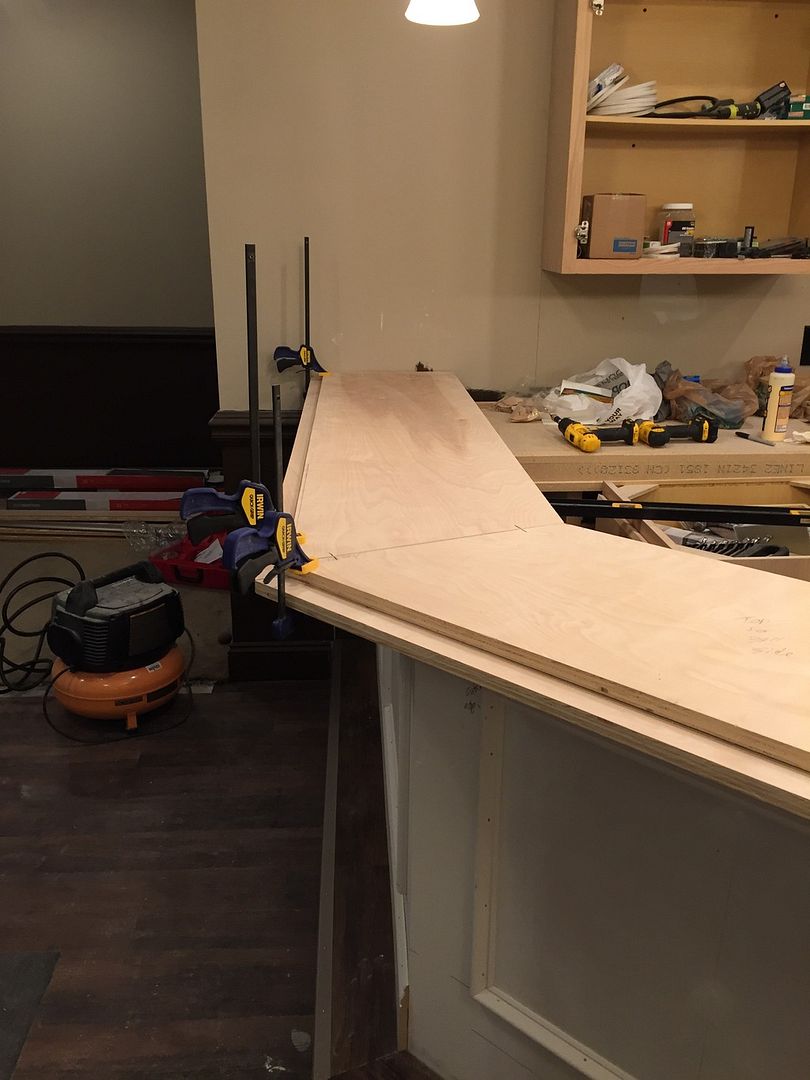
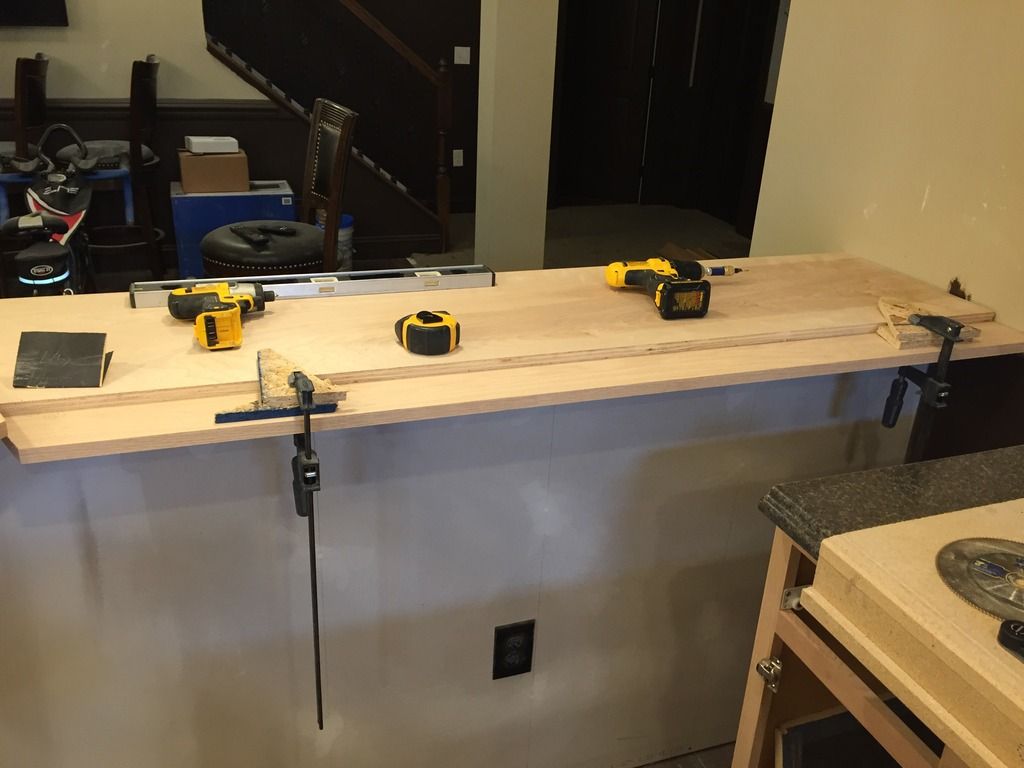
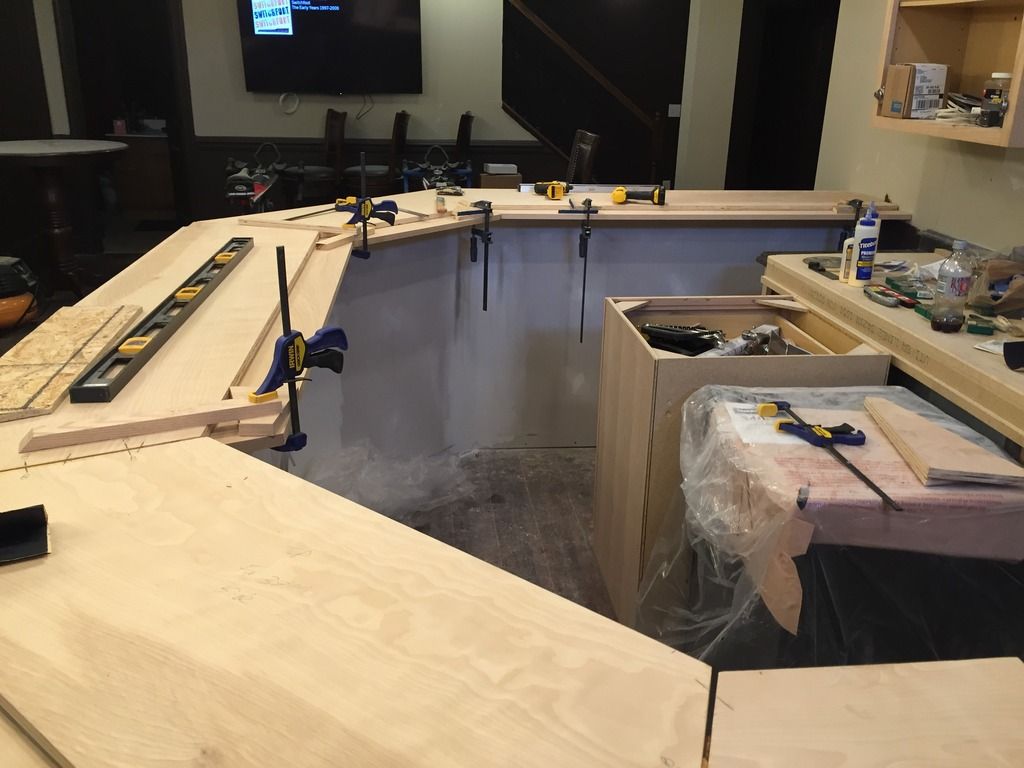
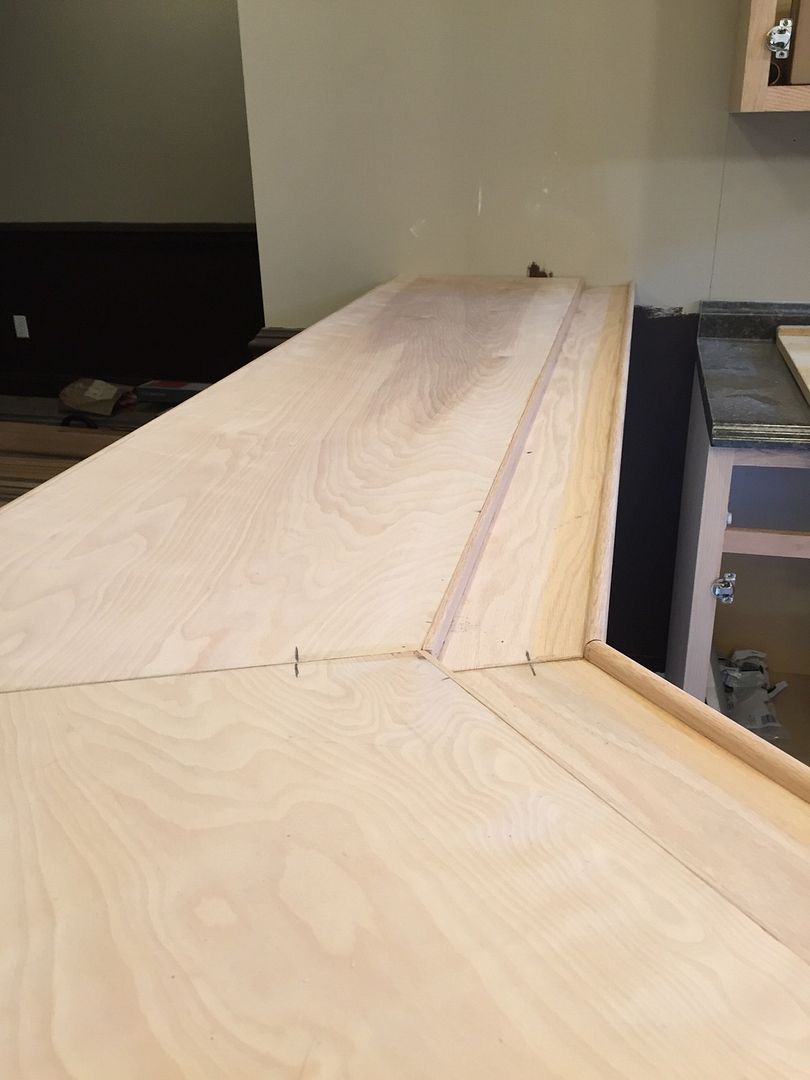
Sub-Top nearly finished being cut and fit (not glued or screwed down yet)


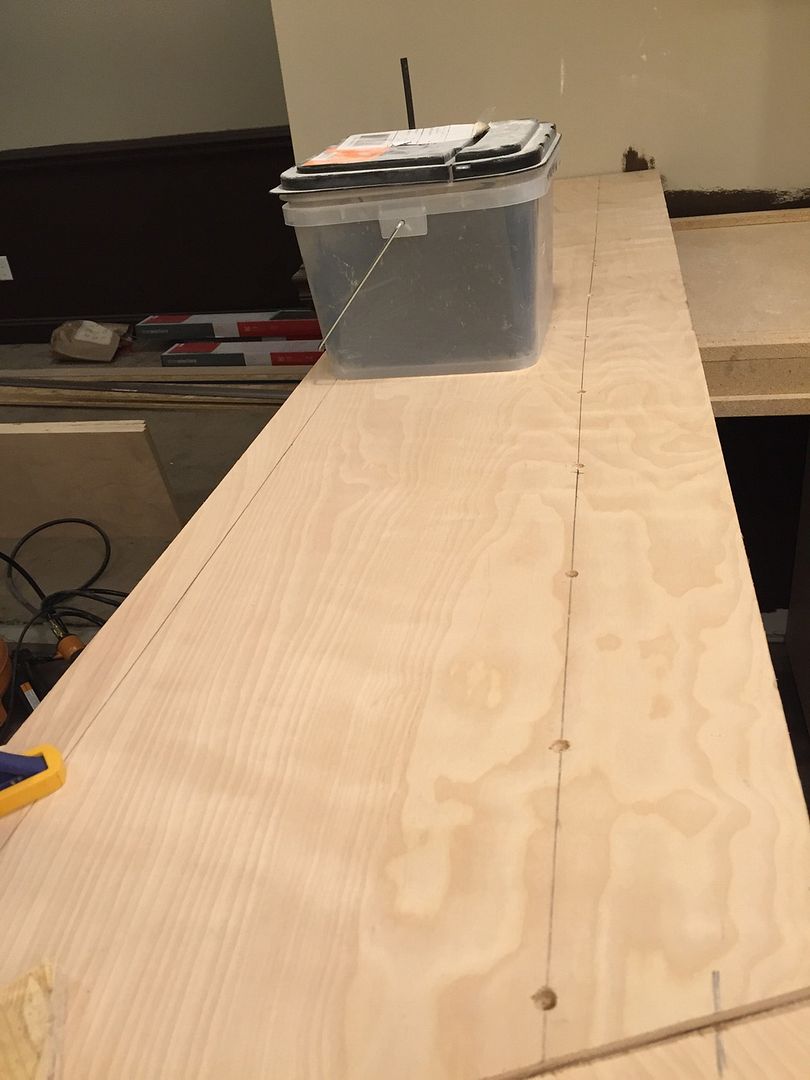
Pre-drilled countersunk holes every 6" to attach sub-top
Also marked the 1 9/16" forward location for
bar top (left side of picture) and bar rail attach point.


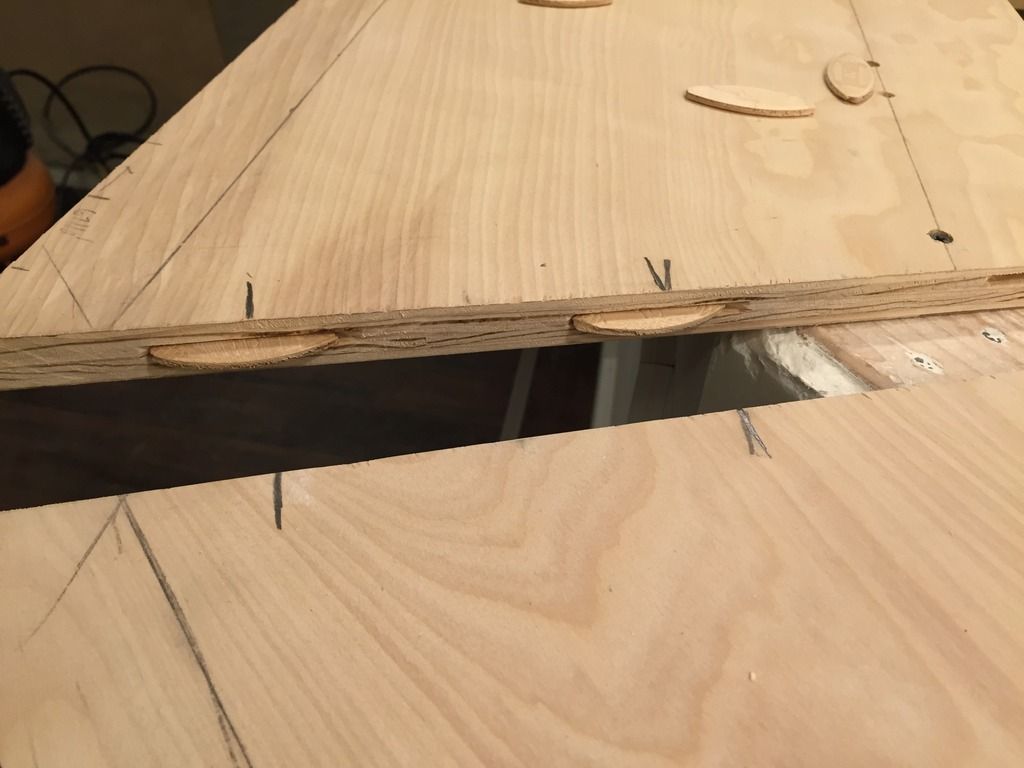
Decided to join the corners with biscuits


Sub-top glued and screwed to bar stub wall


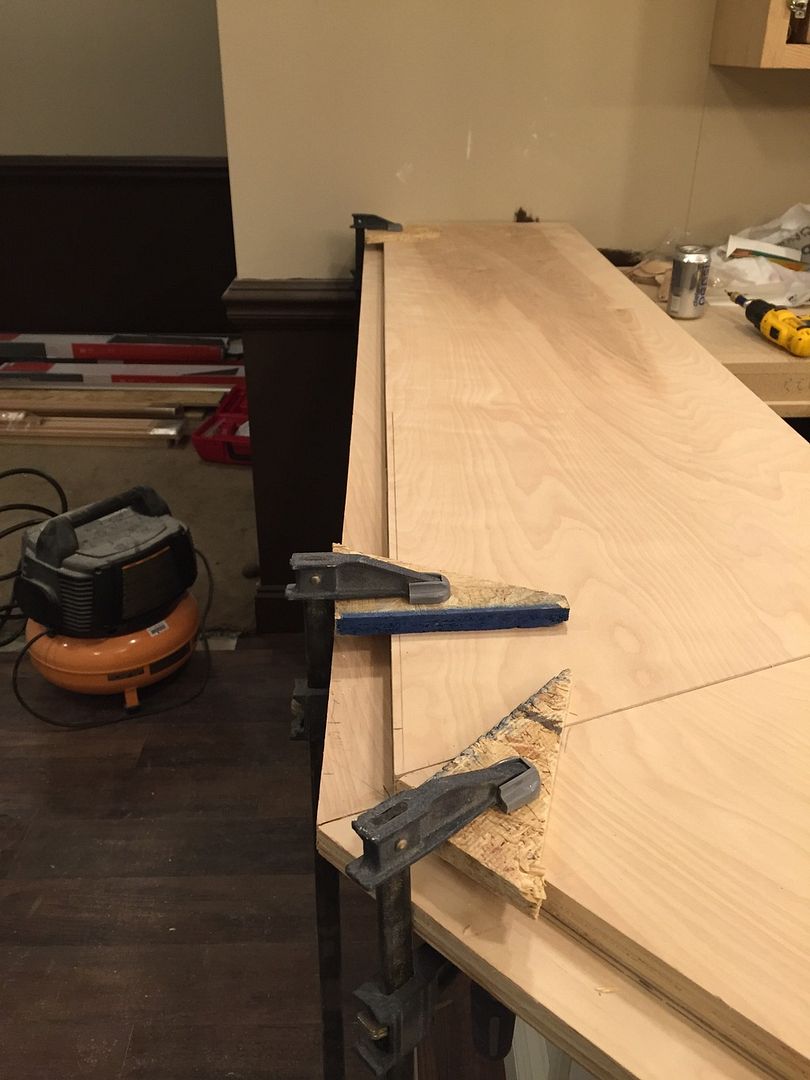
Fitting bar top and figuring out angles


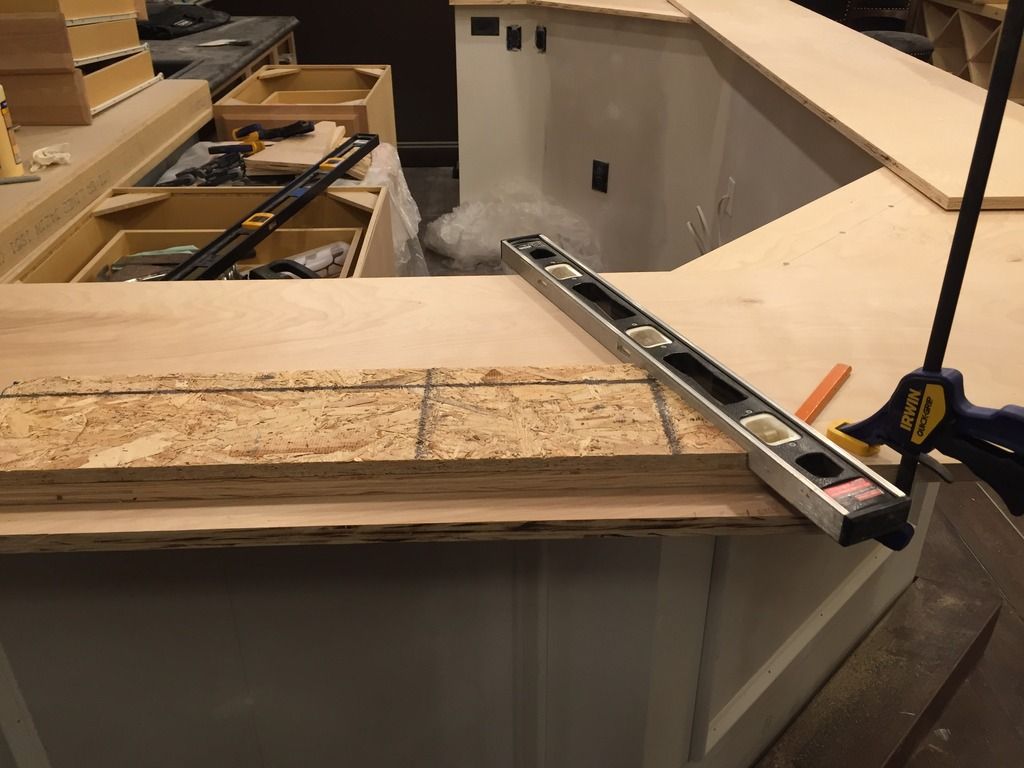
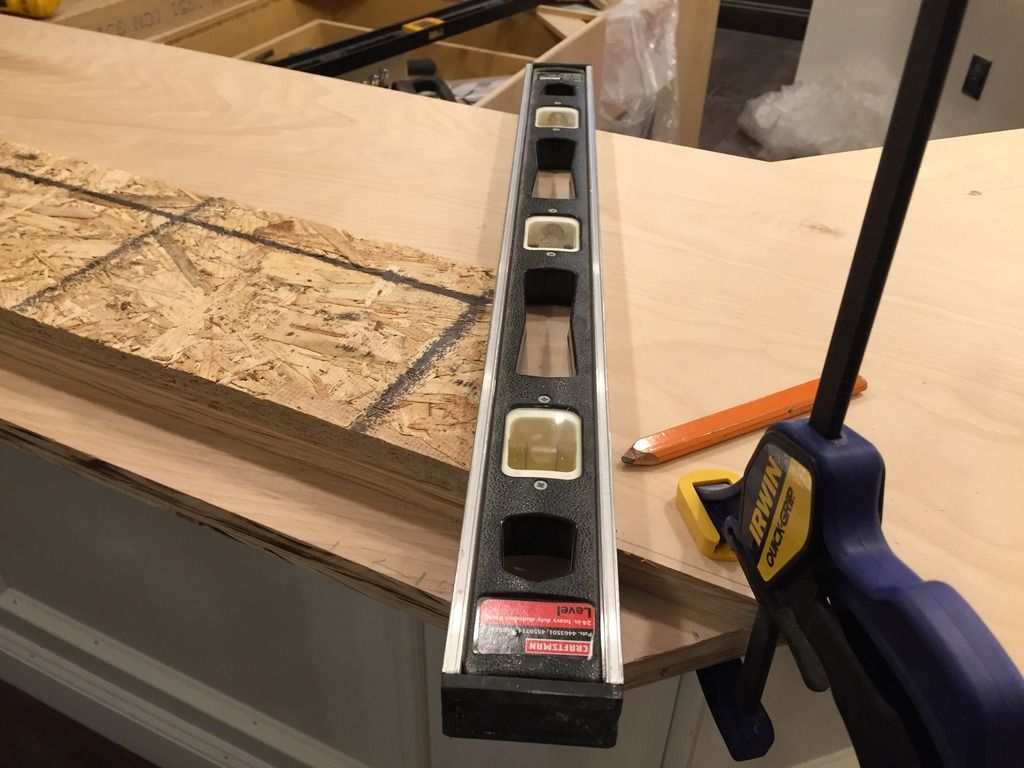
Cut this piece of OSB at 22.5 degrees and used it to find and mark the correct
angle and length of each piece. Again, if the wall was perfect, then this would
have worked perfectly but sadly it wasn't, so we still had some gaps.


Notice the 1 9/16" step where the bar rail will go


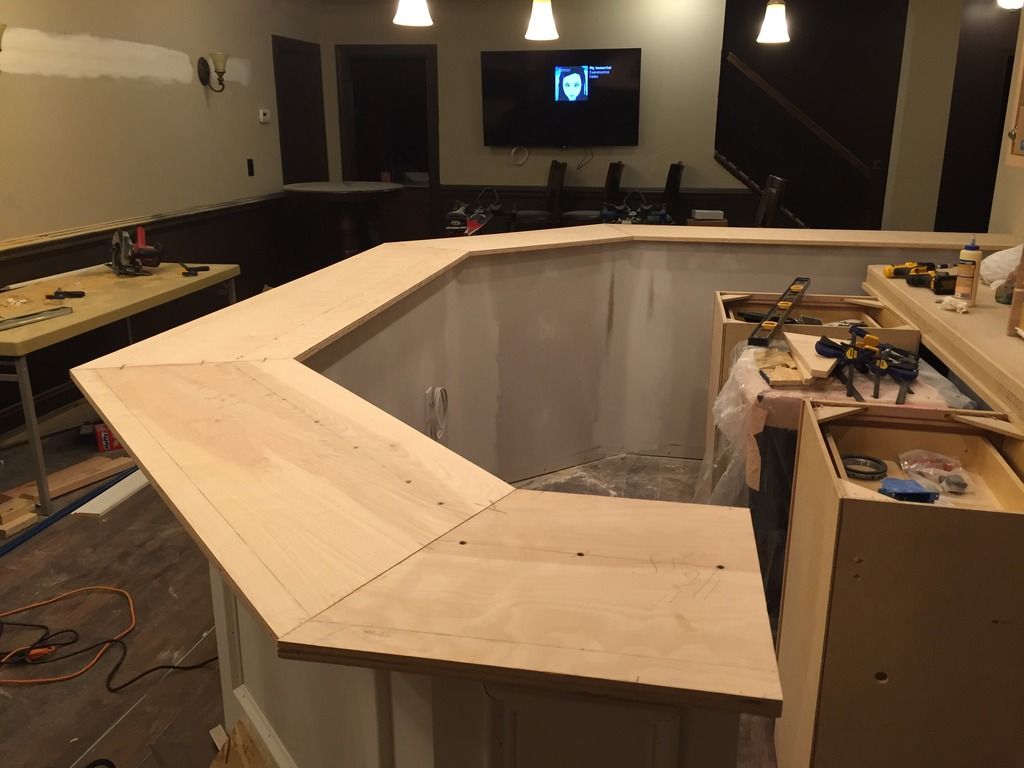
Bar Top Cut and Dry Fit


Bar Top glued on and screwed from underneath. Used
1 1/4" Screws every 9" on the front and every 12" on the back.


Started installing glass rail


More Glass Rail fitting


Glass Rail glued and screwed in place. Screws every 12".


Started installed Drip Edge. Brushed on some wood glue and shot some
finish nails into the piece to hold it in place.


Drip edge all installed on the glass rail


Installing banding on the unfinished edge of the birch plywood


Banding all installed


Test Fitting Bar Rail

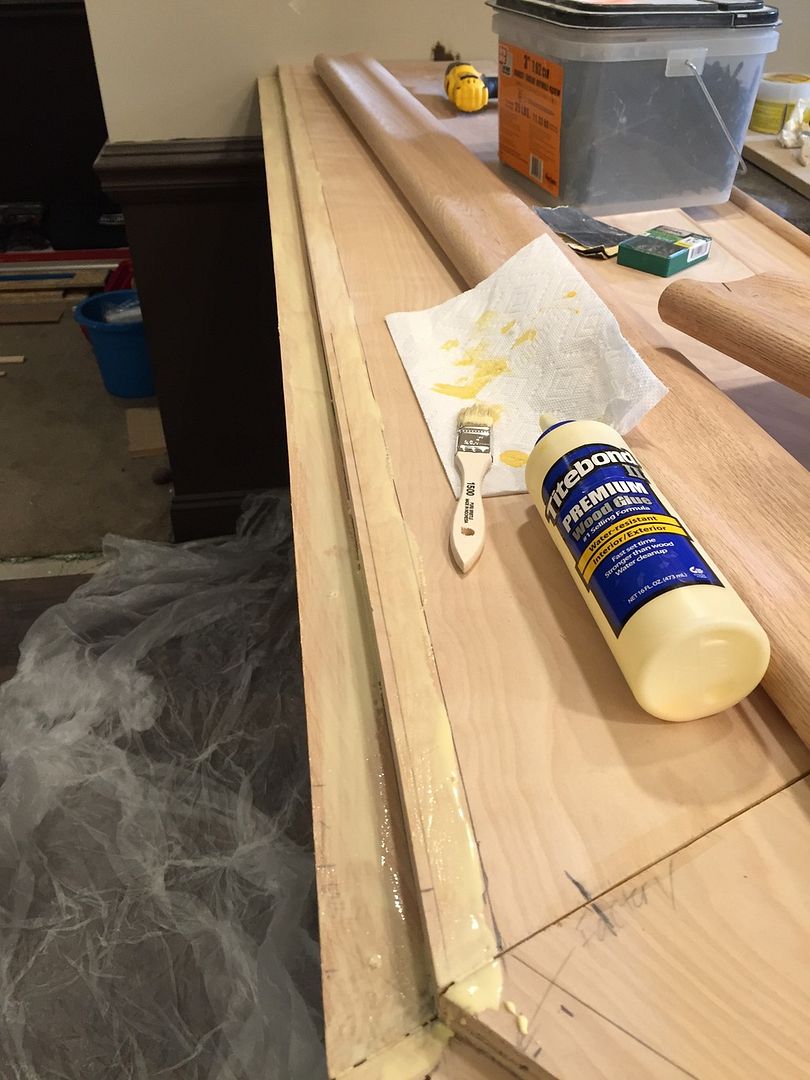
Used cheap .97 cent brushes to spread glue out.
Marked 1" back on top before painting on glue.


Couldn't resist. had to put some of the bar stools up there to see how it looked.


Bar Project Series #12: Built Foot Rest in Front of Bar

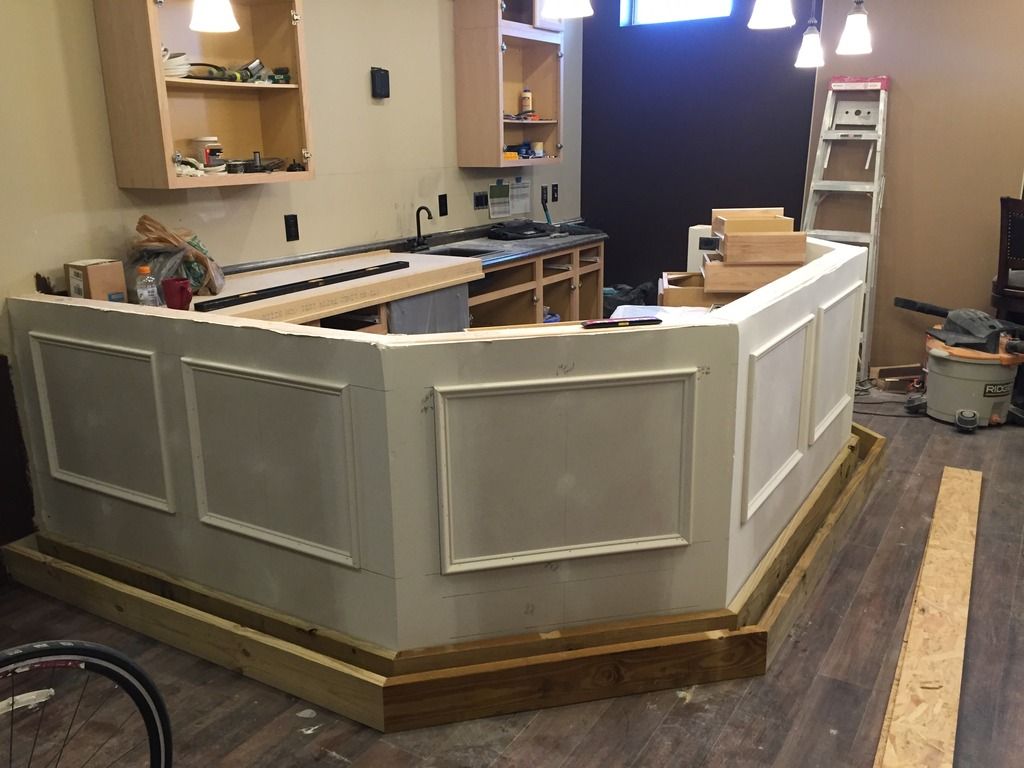
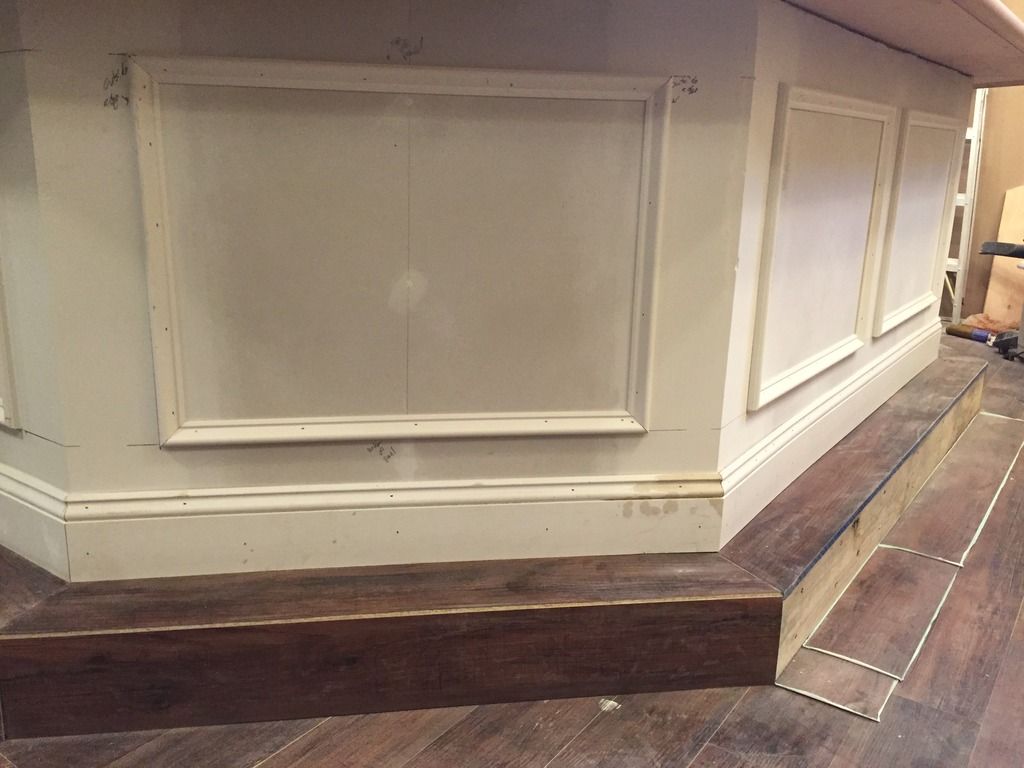
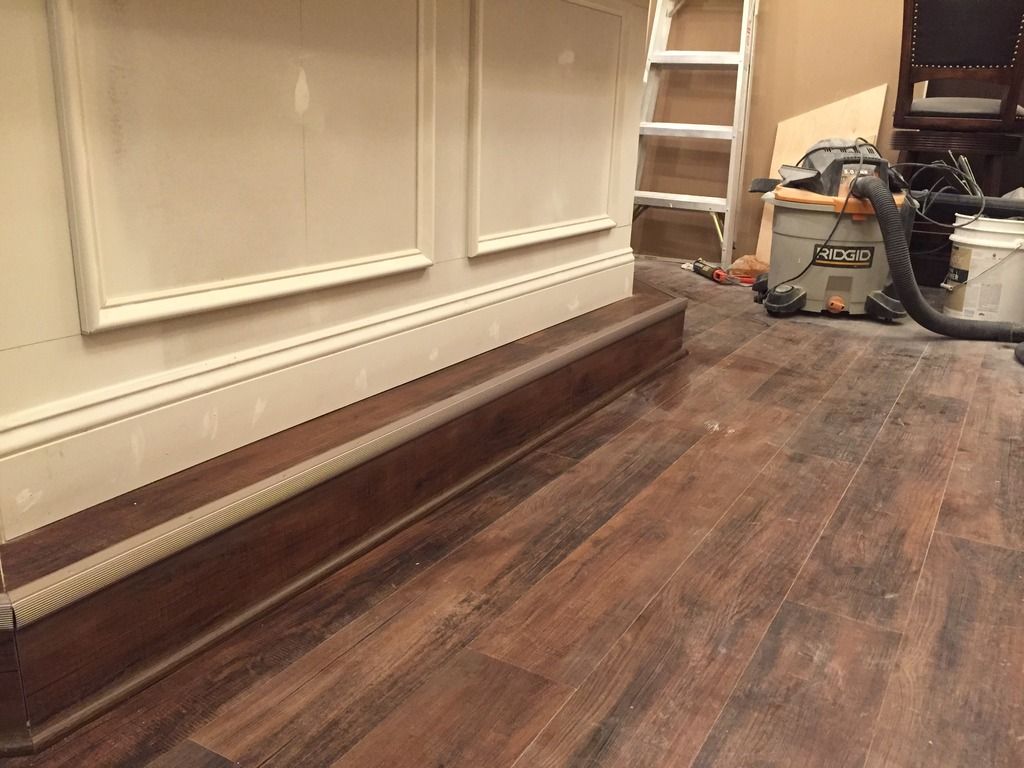
We went back and forth on what to do in front of the bar wall.  Whether we wanted to purchase brass bar rail or make something out of iron pipes, etc.  In the end, we decided to use some of the extra vinyl flooring we had and just build a 6"x6" step around the bar.  Even without it being painted, it really finishes the look of the bar wall and definitely makes it look like a bar and not just a kitchen.  The height and width of the boxes seems to work out while seated in the bar stools.  They could have been a little deeper, maybe 10-12" but: 1.) We wouldn't have had the clearance all the way around the bar and 2.) The step would have stuck out further than the bar top... which would have looked funny.  The way it is, provides comfort while seated and keeps the person seated in the stool from just dangling their feet or having to rest them on the stool's cross member.

Items Accomplished:
 - Built 6" Tall by 6" Deep wooden step all around the bar front
 - Covered step with vinyl flooring
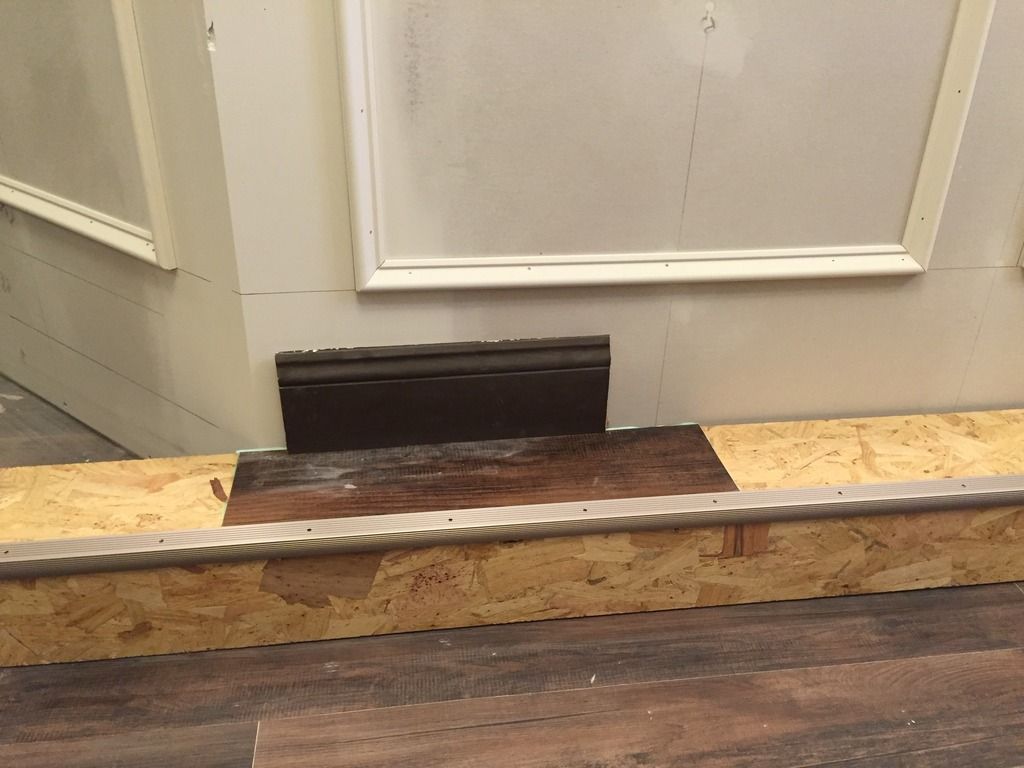
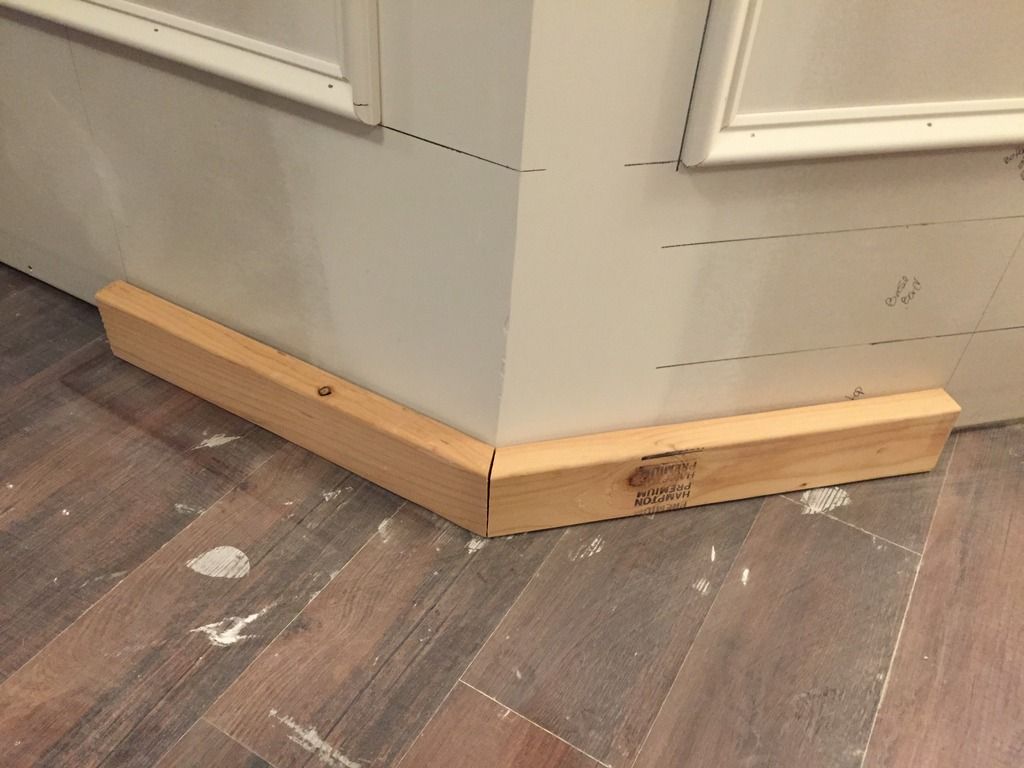
 - Added Baseboard on top of Foot Rest against wall
 - Installed Stair Edging to Foot Rest to protect Step
 - Installed Quarter Round between Step and Floor
 - Spackled Baseboard


Mocking up step to see how it is going to look/fit


Made some test cuts from some scrap wood :-)


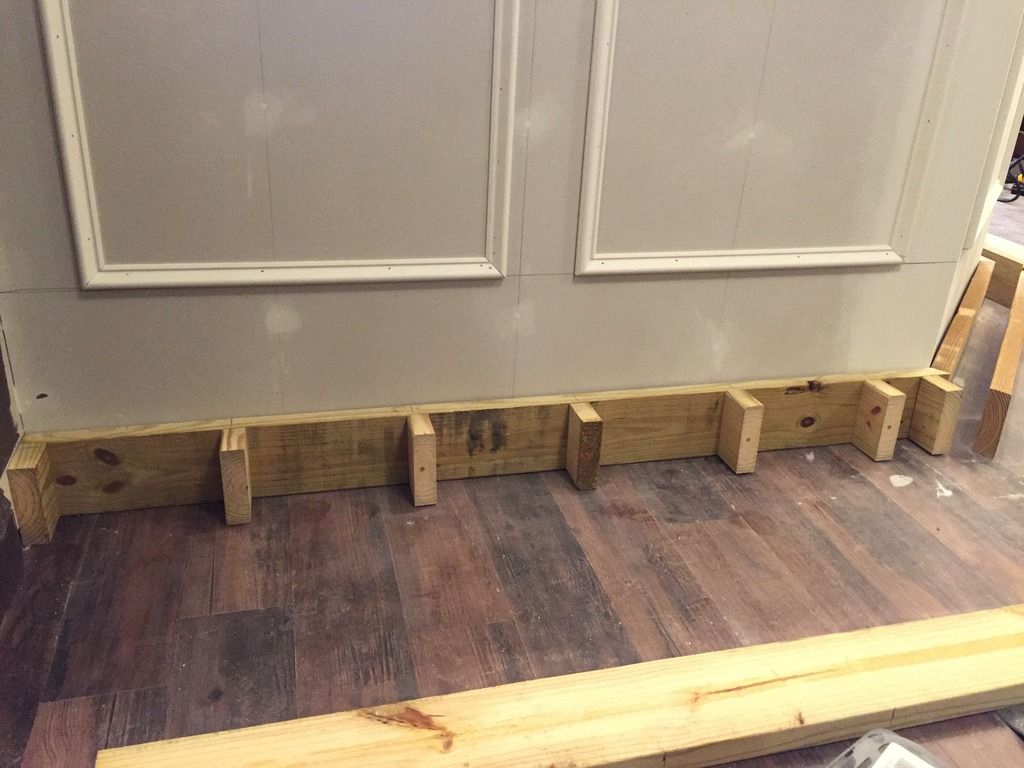
All the 2"x6" planks cut and fit in place


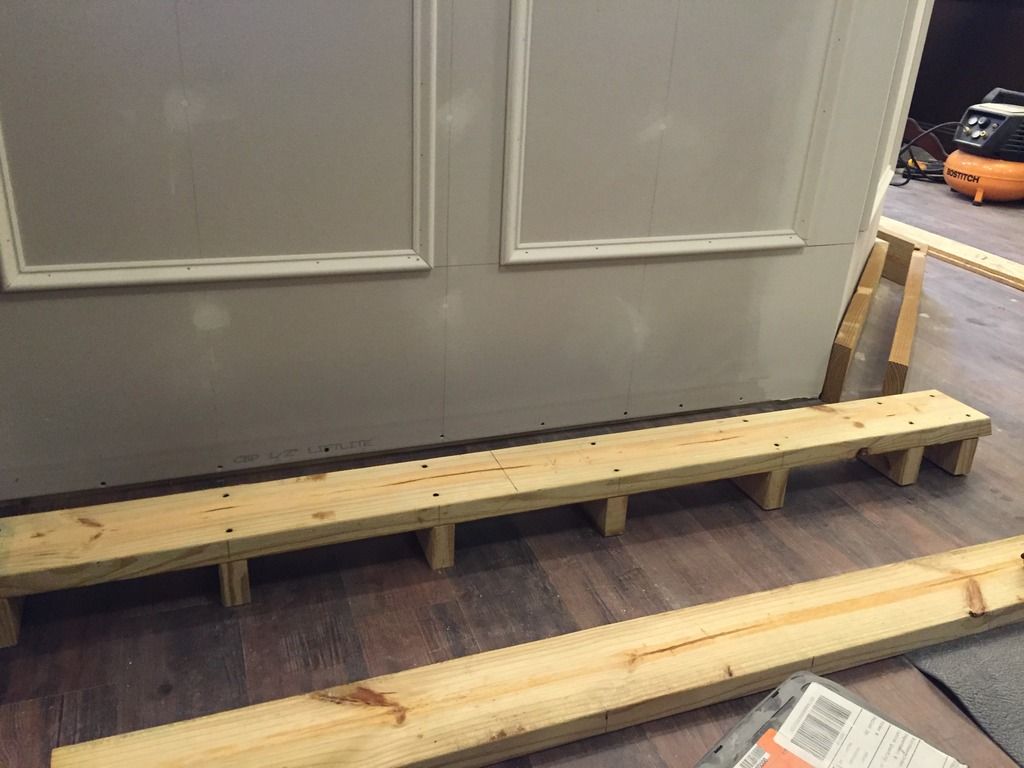
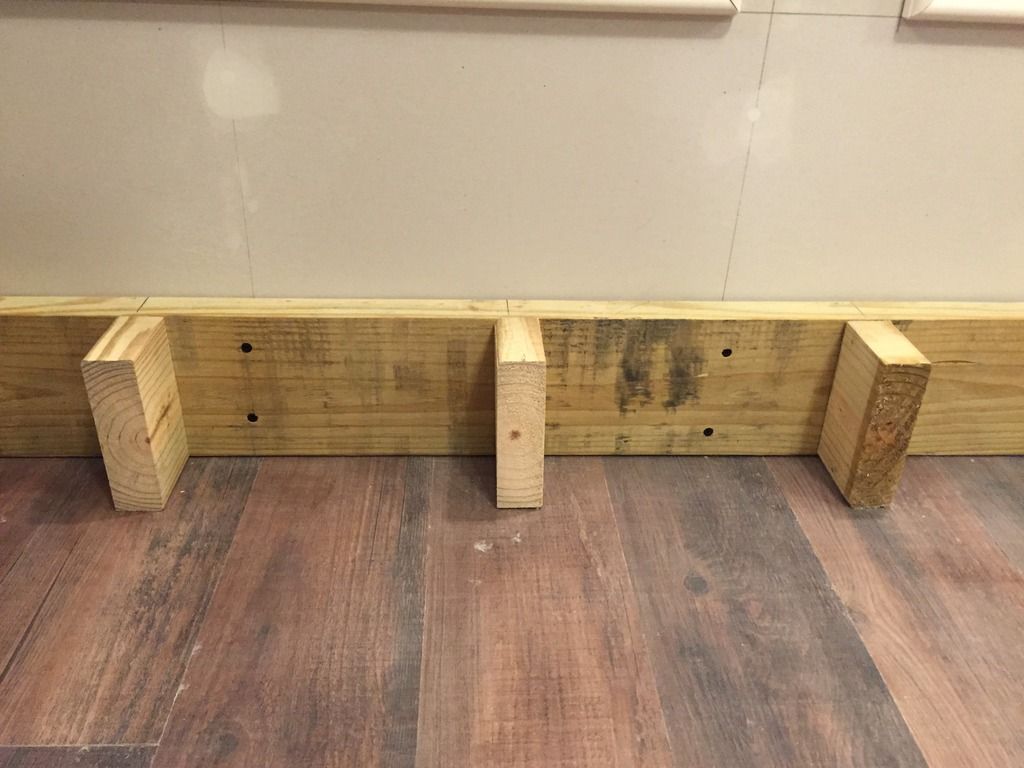
Attached 3" blocks to back plank


Attached back plank with 3" blocks to stub wall


Screwed back plank to studs in stub wall


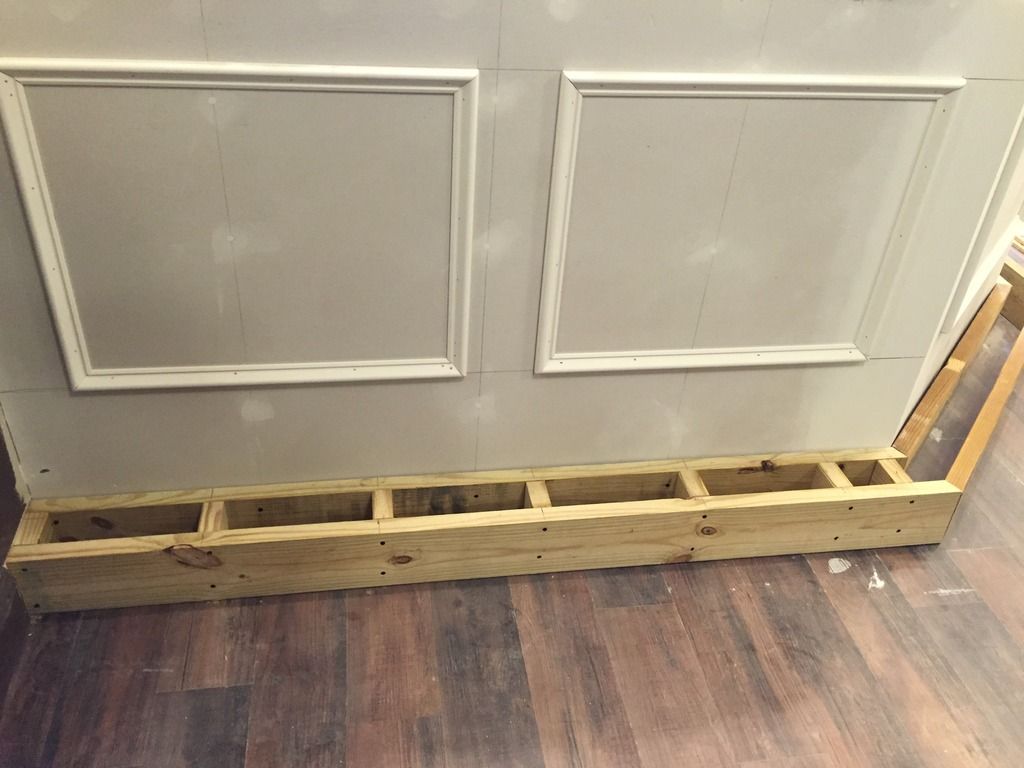
Attached front plank


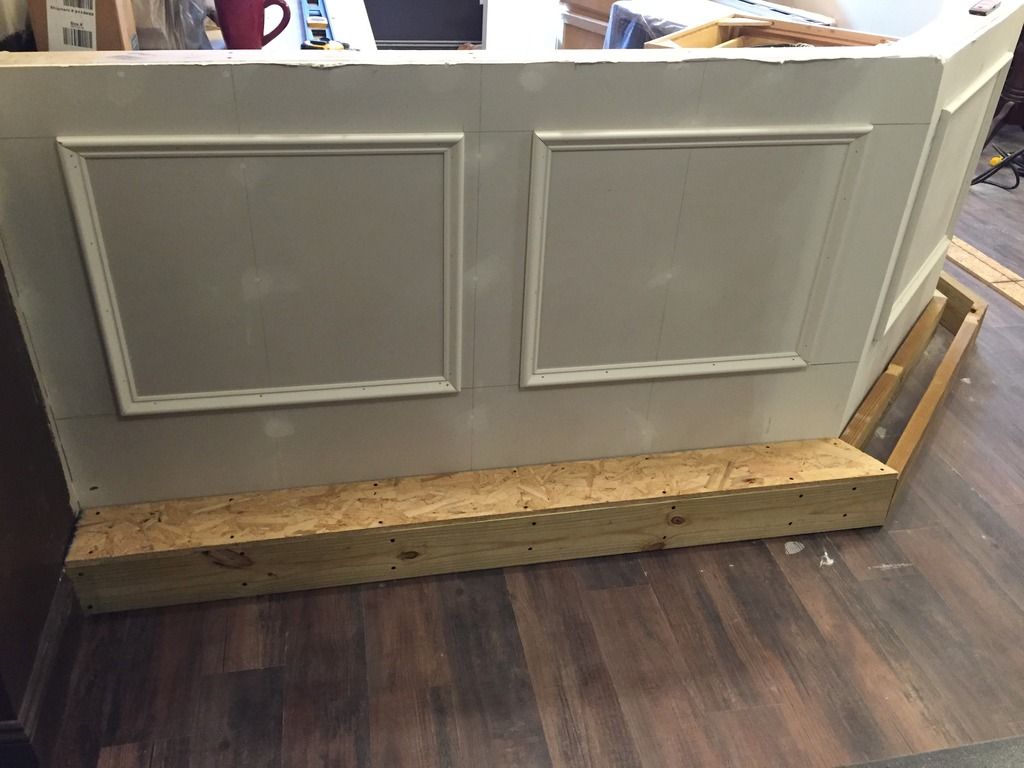
Attached top plate (Had Home Store rip these down into 6" pieces, so we
didn't have to.. we are just cutting to length and angle on miter saw).


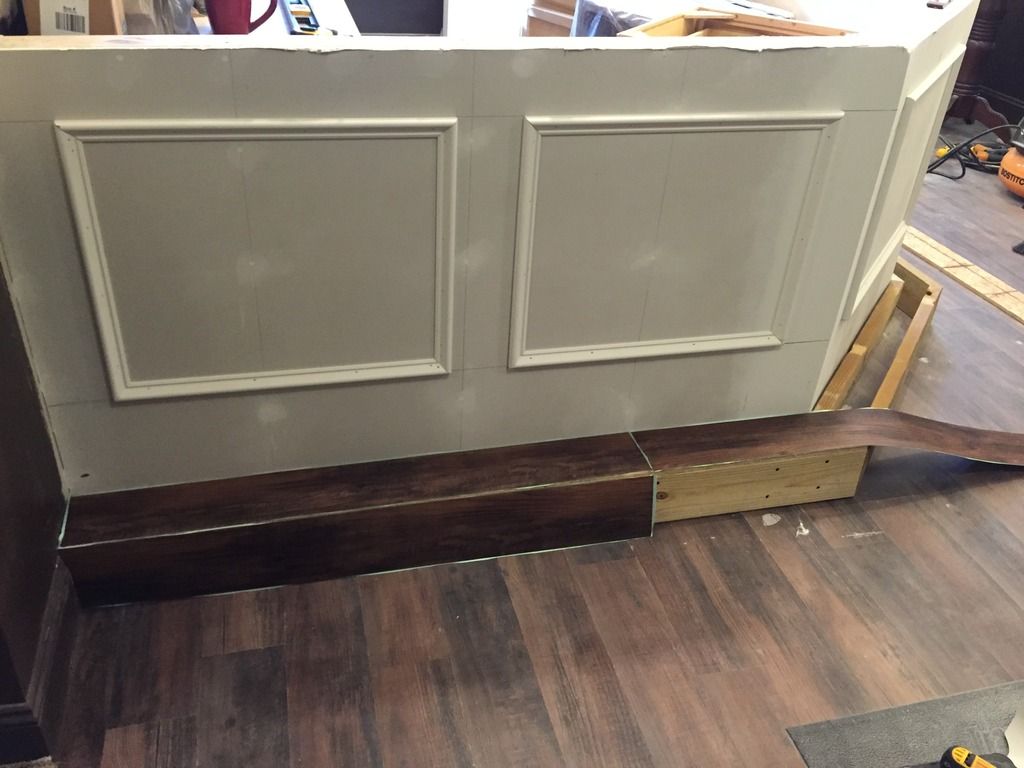
Laying out flooring and cutting to size/angle


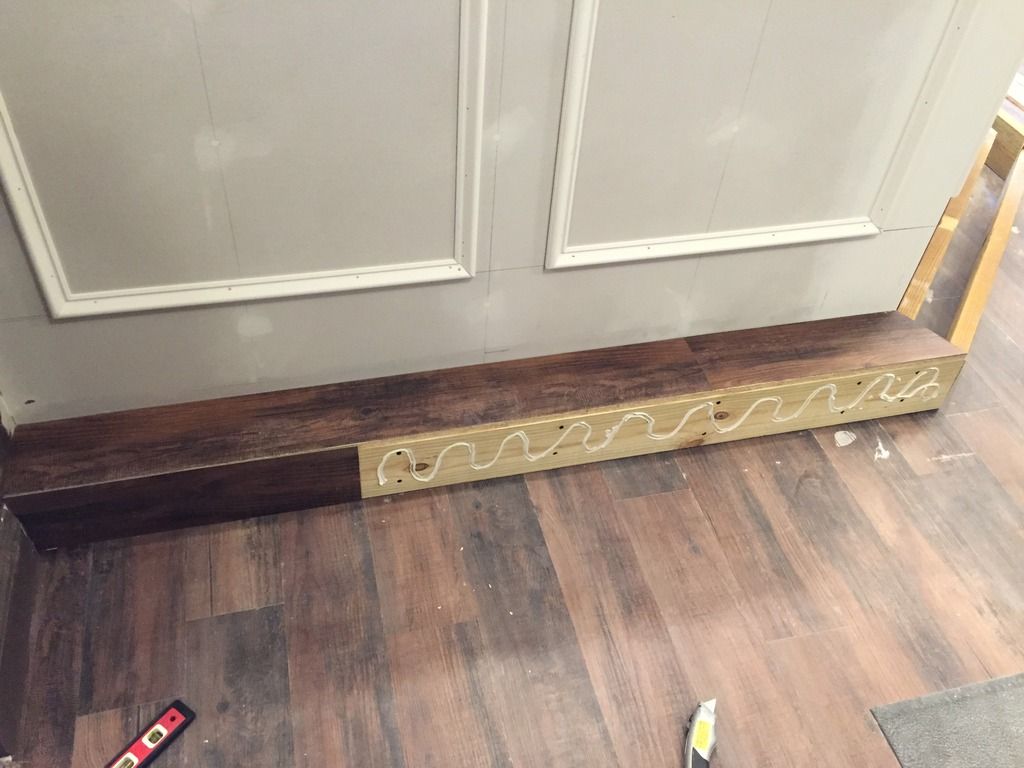
Used liquid nail to help with adhesion. The flooring has some pretty
strong adhesive on it but this is for good measure. The stair edging,
baseboard and quarter round will help hold everything in place too.


One side of the foot rest done (Except the quarter round between the bottom
 of the step and the floor). From baseboard up will be painted Turkish Coffee,
 just like the wall to the left of the pic


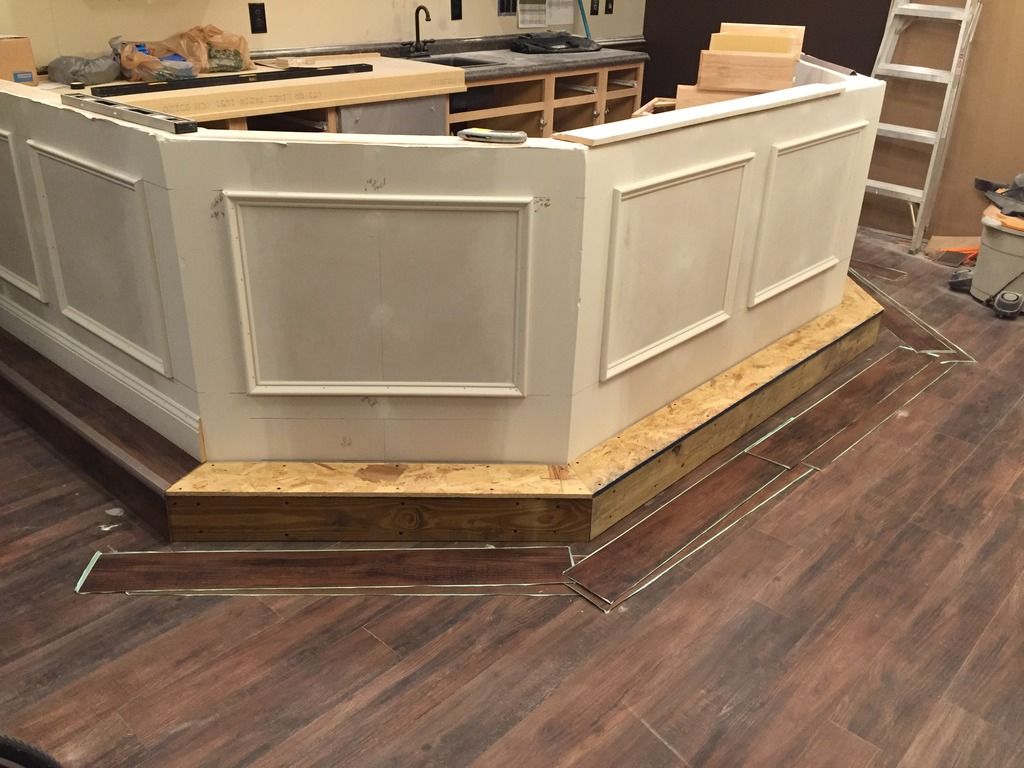
Finished building step


Put all the flooring on top of the step and installed the baseboard


Flooring on front of step and began spackling baseboard nail holes


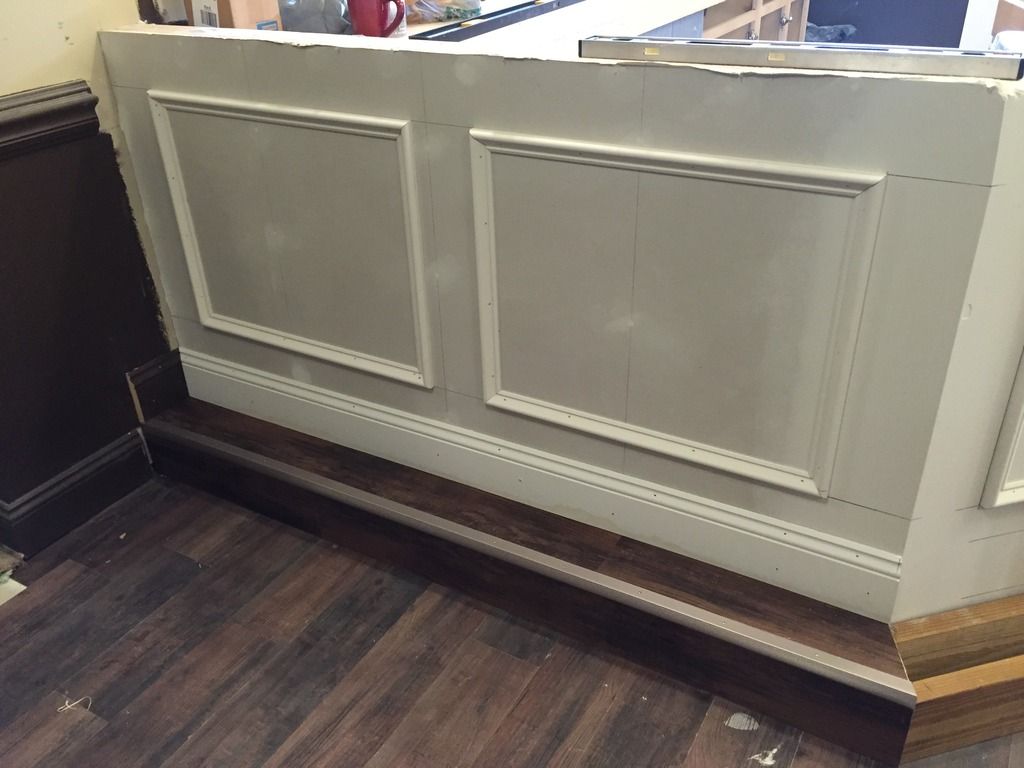
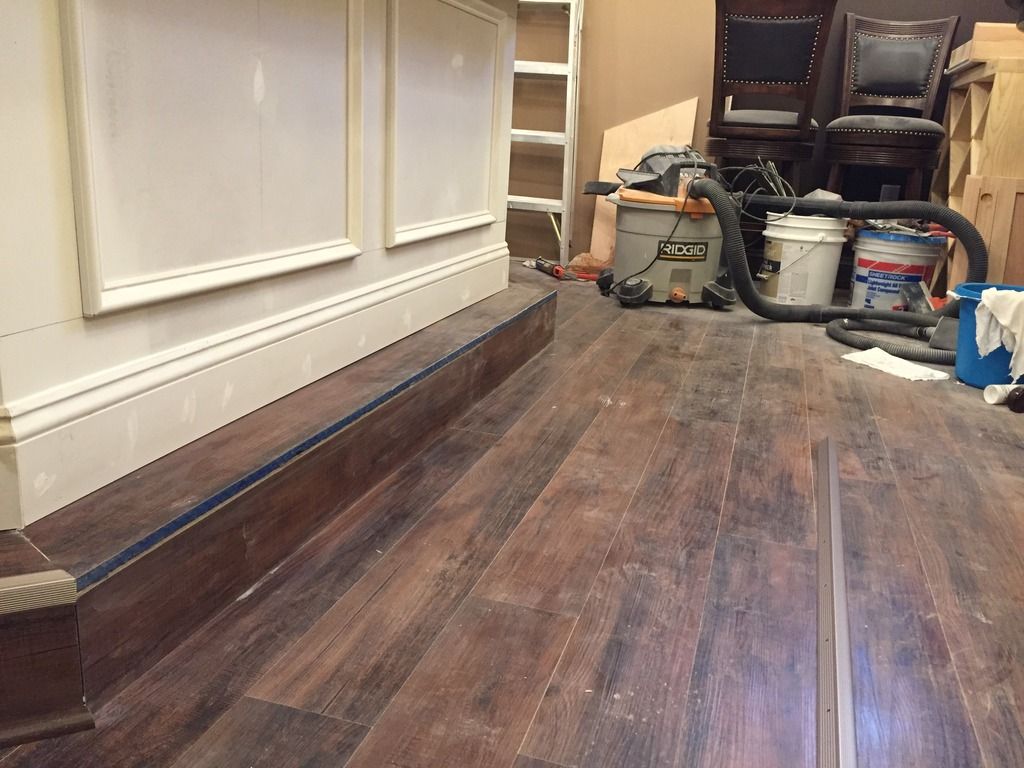
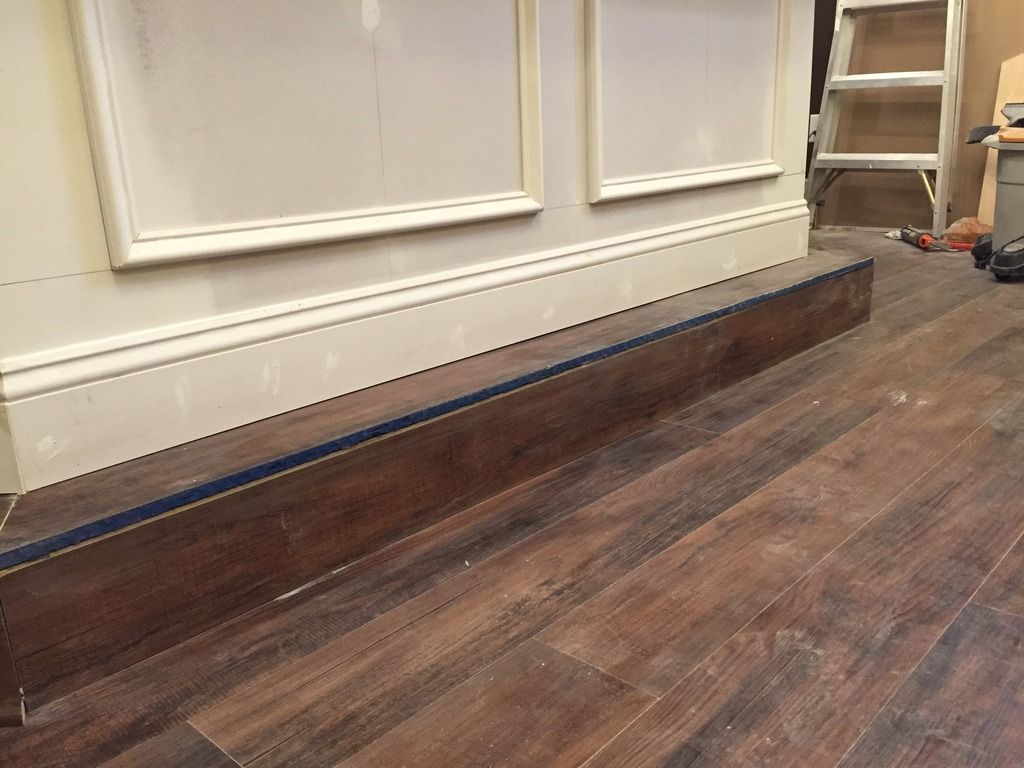
Flooring, stair edging and quarter round installed


Wednesday, March 9, 2016

Bar Project Series #11: Installed Panel Molding on Bar Wall

Again when we first started this project we had planned on buying the oak bar front kit from Hardwoods Inc. (We may still do this at some point and honestly it would have been a lot less work than having to tape and mud these corners. :-(  Ugh!).  We also considered doing stone, tile or reclaimed distressed wood... not sure.  For now though, we just put up some paneling trim, baseboard and are going to paint it dark brown (Sherwin Williams Turkish Coffee).

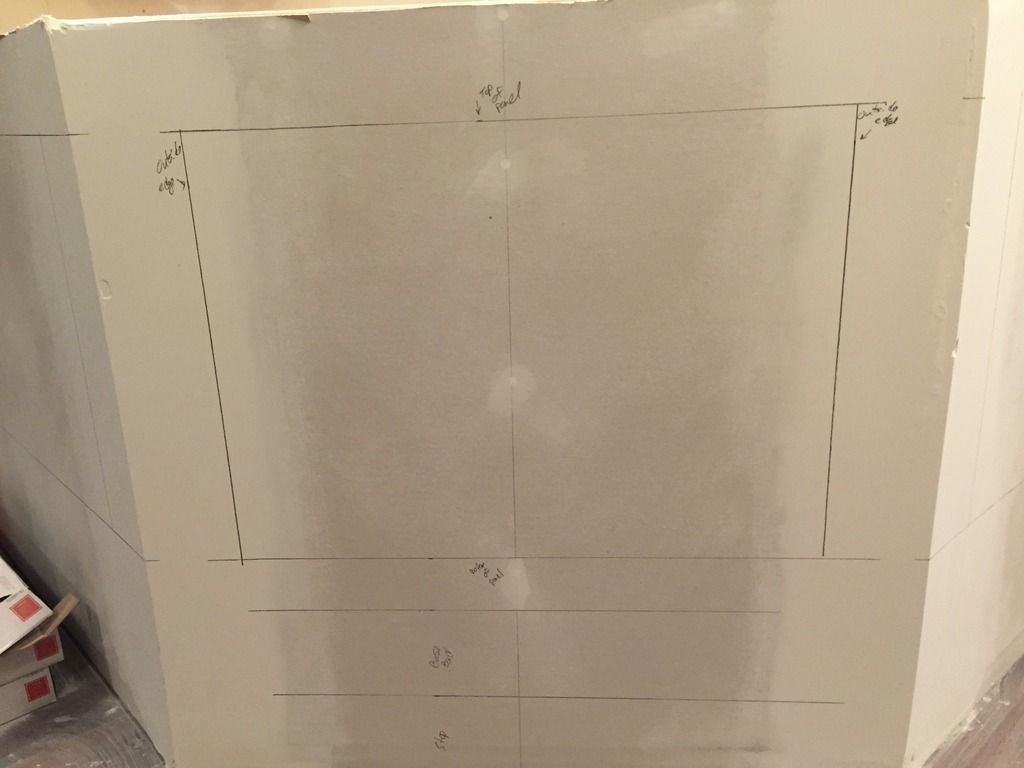
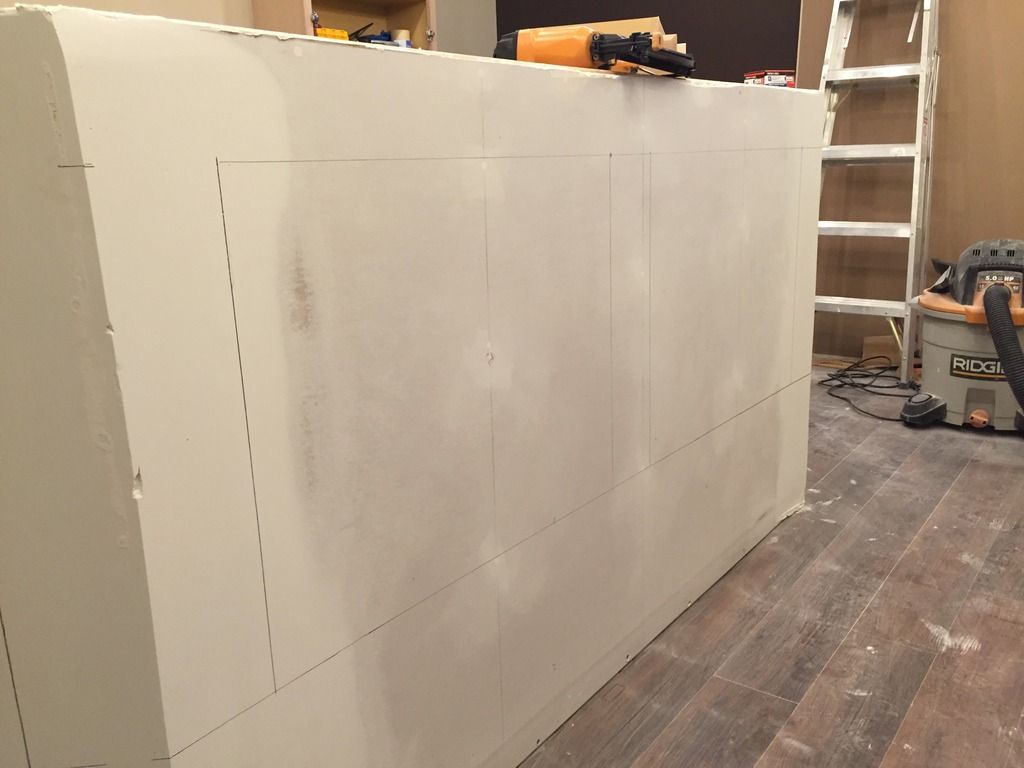
We started out by marking where the bar step and baseboard would be then figured out what kind of spacing we wanted around the paneling.  Then transferred the level lines around the bar wall and marked plumb lines for the vertical pieces. 

Two problems with doing it this way: 

First is that the floor isn't level and the gap between the bottom of the panel and the baseboard will not be the same from one side of the bar to the other.  If we made the boxes the same height and made the distance from the baseboard to the bottom of the panel box the same then the gap at the top would be off.  Alternatively we could have made the boxes different sizes to accommodate the change in the level of the floor but visually, you would have noticed the difference in panel size.  Doing it the way we did, you can sight the line of both the bottom and top of the panel boxes and they are straight.

The Second issue is that the taped and mudded corners aren't perfectly plumb, so the gap between the plumb panel and the corners is slightly off, top to bottom.

I'm sure these are nit picky details that absolutely no one will notice but it's frustrating to a DIYer striving to do the best they possibly can on a project.


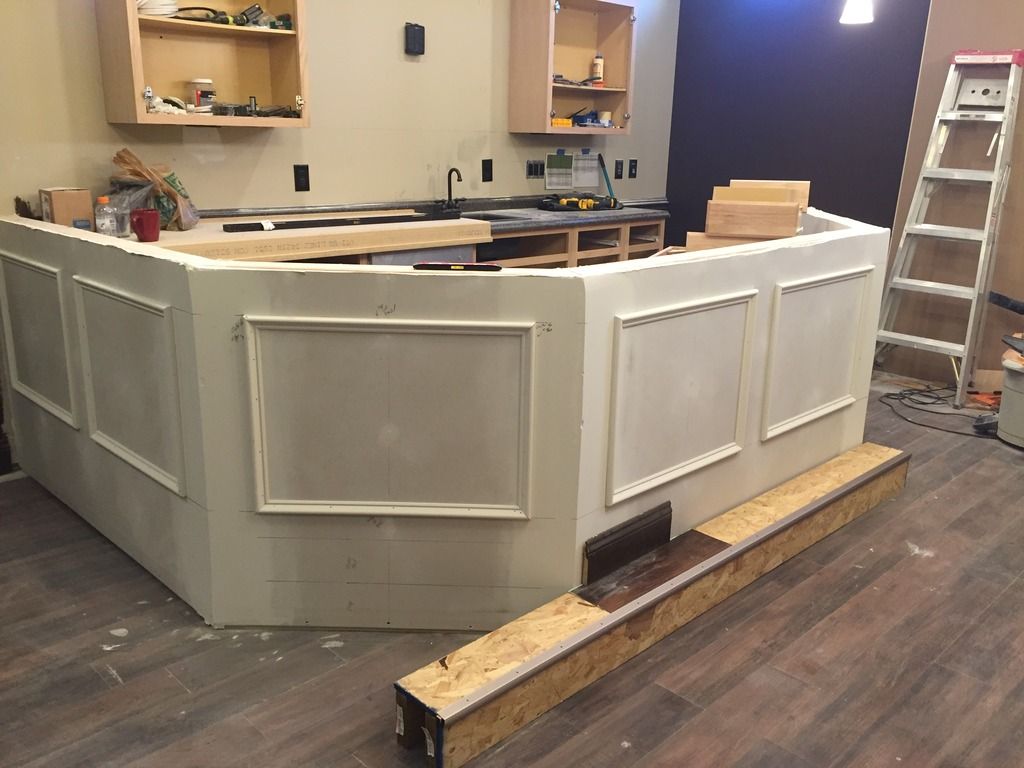
Starting mocking up where the bar step, baseboard and panel molding will go


Transferred Level Lines around bar wall.
You may also see some touch up I need to do on the corner... haha.


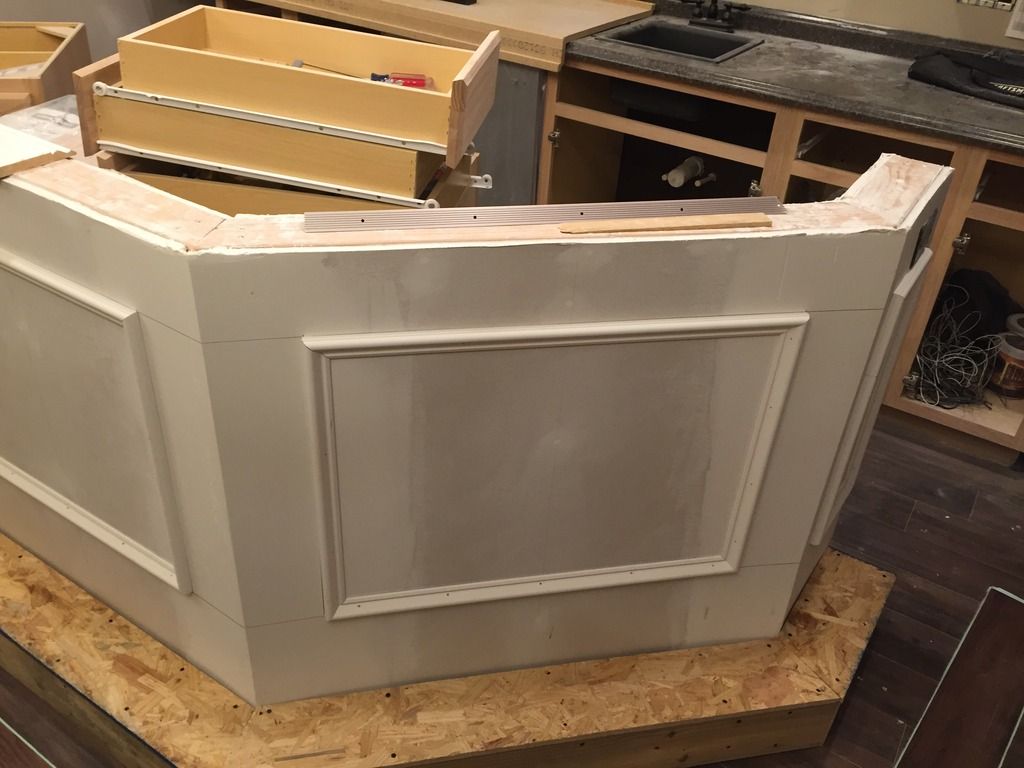
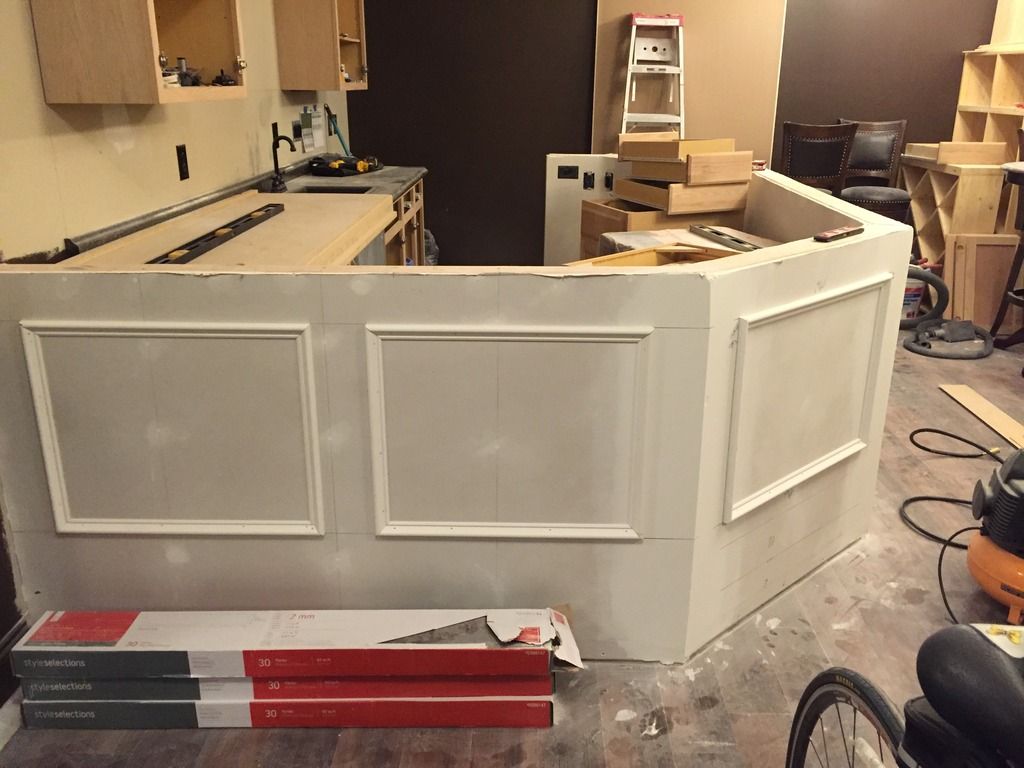
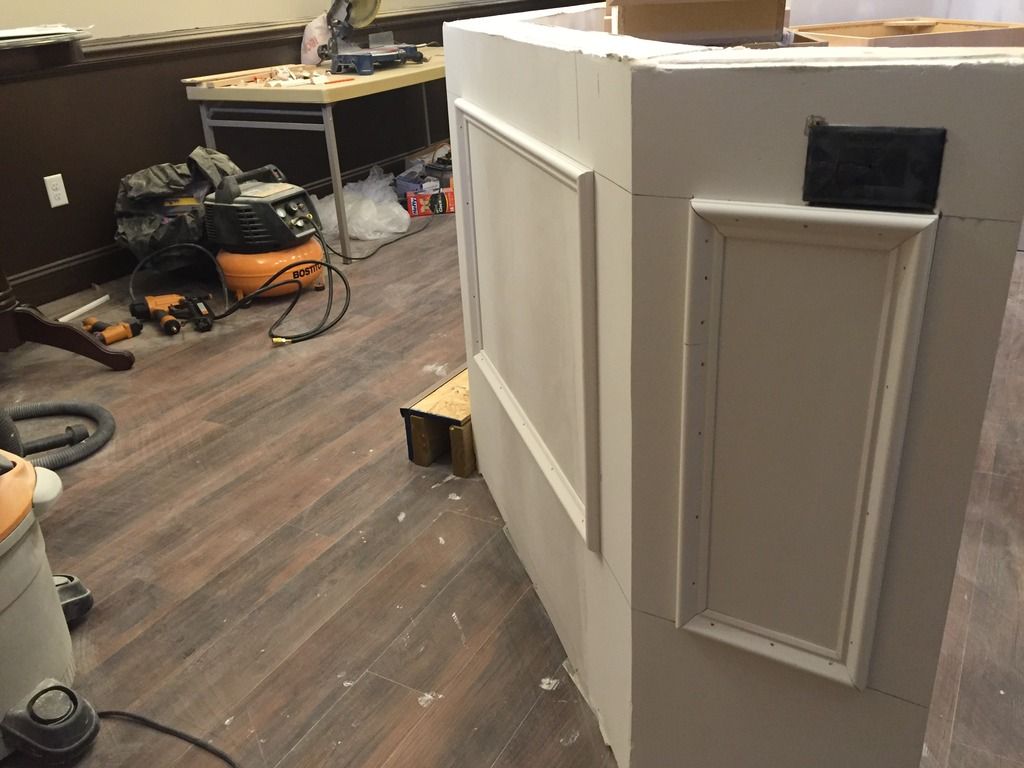
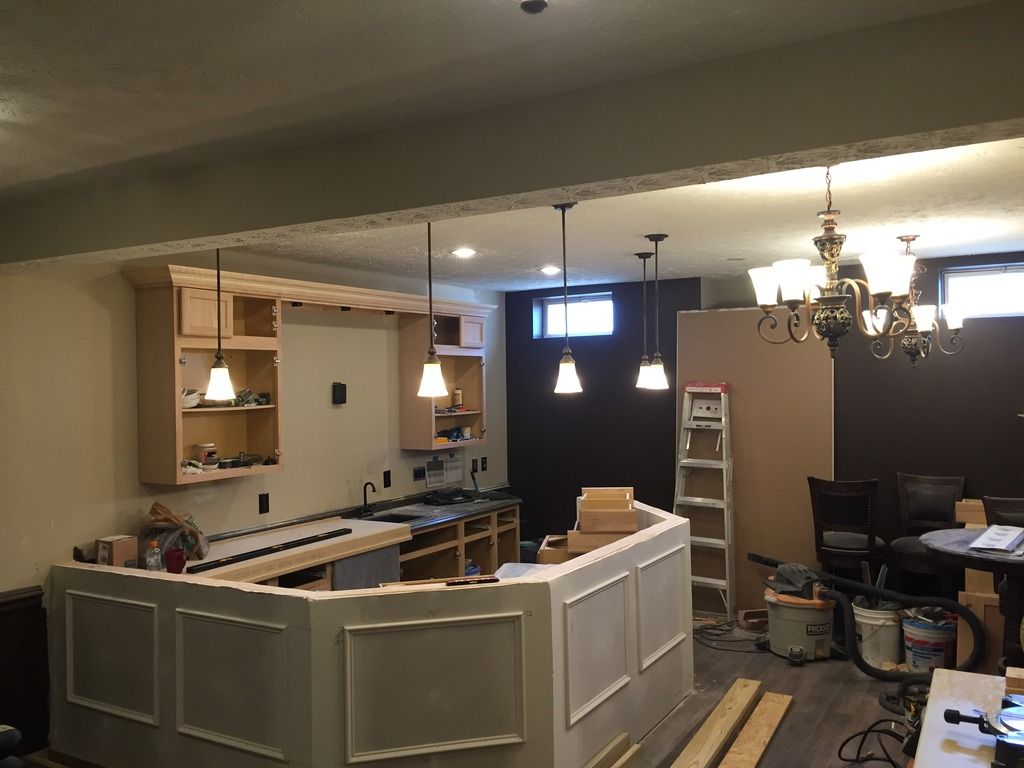
Panel Molding Installed. It looks high but there will be a bar step and
baseboard below it...


Other side of bar. Put in cable pass through for LED Rope Lights