I know we are in the middle of building the bar and this might seem out of place but it is relevant. For some reason it is taking much longer than expected for the stain and polyurethane to dry, so we have to find other things to work on while we wait. Many of the remaining items on the bar "to-do" list produce dust and we can't do that while we have wet stain or poly. Also, it is still too cold out to stain in the garage, so we had to find other things to do that are related.
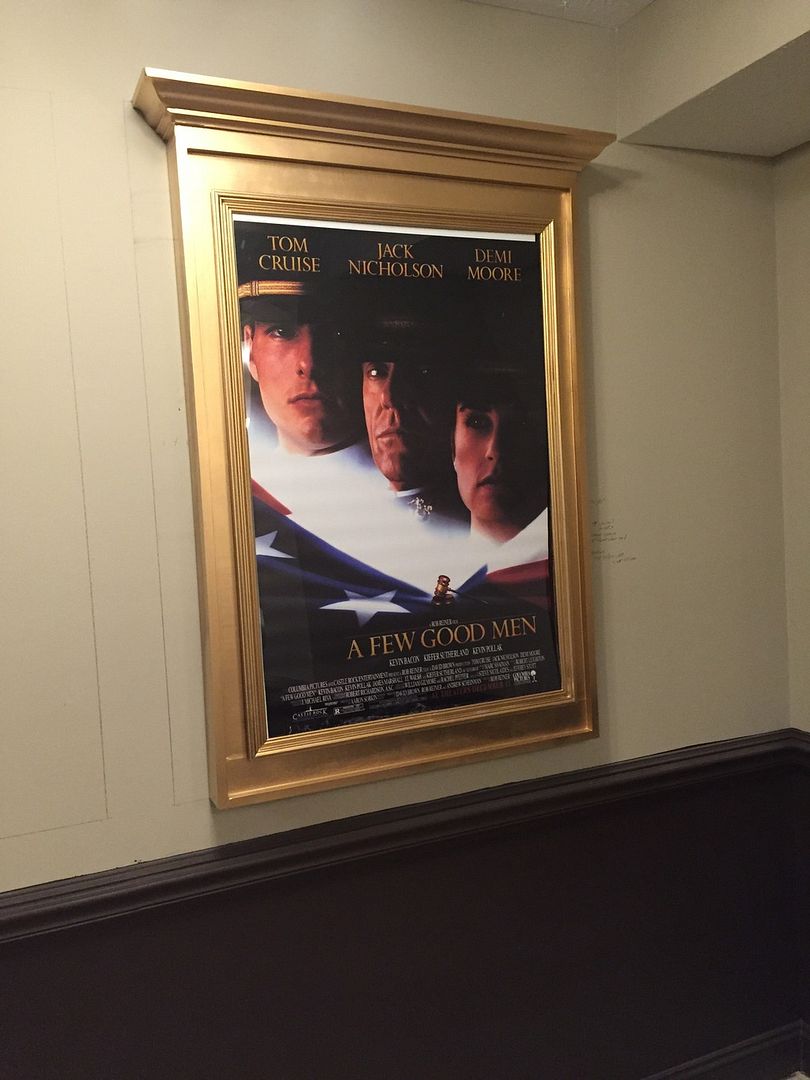
In the bar area, just outside the media room is a wall we had planned on decorating like the outside of a movie theater (sort of). We wanted to put somewhat authentic poster cases and put some of our favorite movies in them. If you ever look online at these things you will quickly find that they range in price from $600-$2,000. Even for a custom 27" x 40" framed and matted poster it is $300 for a nicer frame (not just plane square black). So we went online and looked at various frames and picked the ones we liked and sketched out a plan. The first one was the proof of concept and an opportunity to learn all our lessons and make mistakes :( Despite the imperfections that we will correct down the road (both on the next 4 we have to make... and later on this one), it turned out really nice. Oh... and total cost was around $175. The Lexan was $65 of that. I really prefer the Lexan over glass due to weight and durability but it would have been cheaper to buy the premade 27x40 frames on sale from Hobby Lobby for $35 and just not use the frame... just use the glass and poster backing.
Lessons Learned:
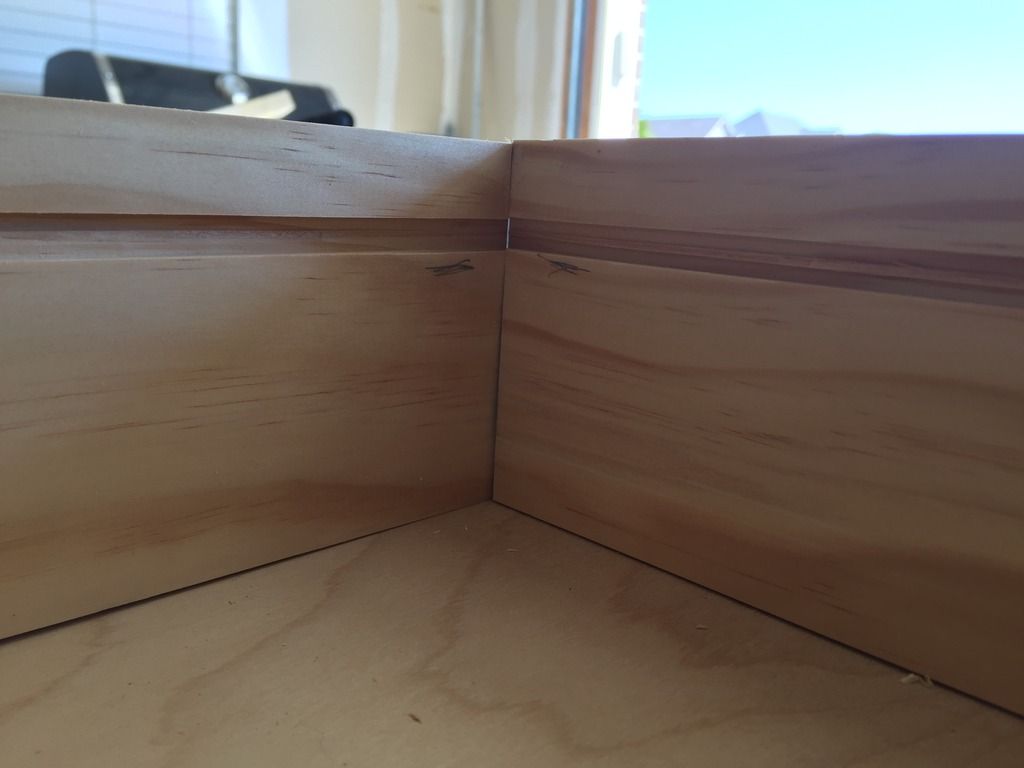
- Didn't mark which side was the smooth side on the birch plywood. Before cutting it was obvious but after it wasn't... and after test fitting several times, when we went to glue everything together we accidentally put 2 of the 4 pieces upside down and didn't notice until we painted and the rough grain showed through.
- Used spackle and caulk to fill gaps and try to blend some of the seems between pieces of wood. We cut everything pretty tight but you could still see small gaps because of the edge. Next time we need to do 2 things. 1.) Sand more and to a higher grit (maybe 400) to help blend and also produce a smoother surface for paint. 2.) Use bondo versus spackle to achieve a smoother surface and blend better. At some point, we will sand down the first one, bondo it and re-paint.
- We initially started building the inside frame with screws and things moved a little. Partially because we used glue too and also because we couldn't get clamps on every intersection. Also, the screws wanted to split the wood because we didn't pre-drill. So we switched to just using our nail gun and brads which worked much better.
Here are some pictures:
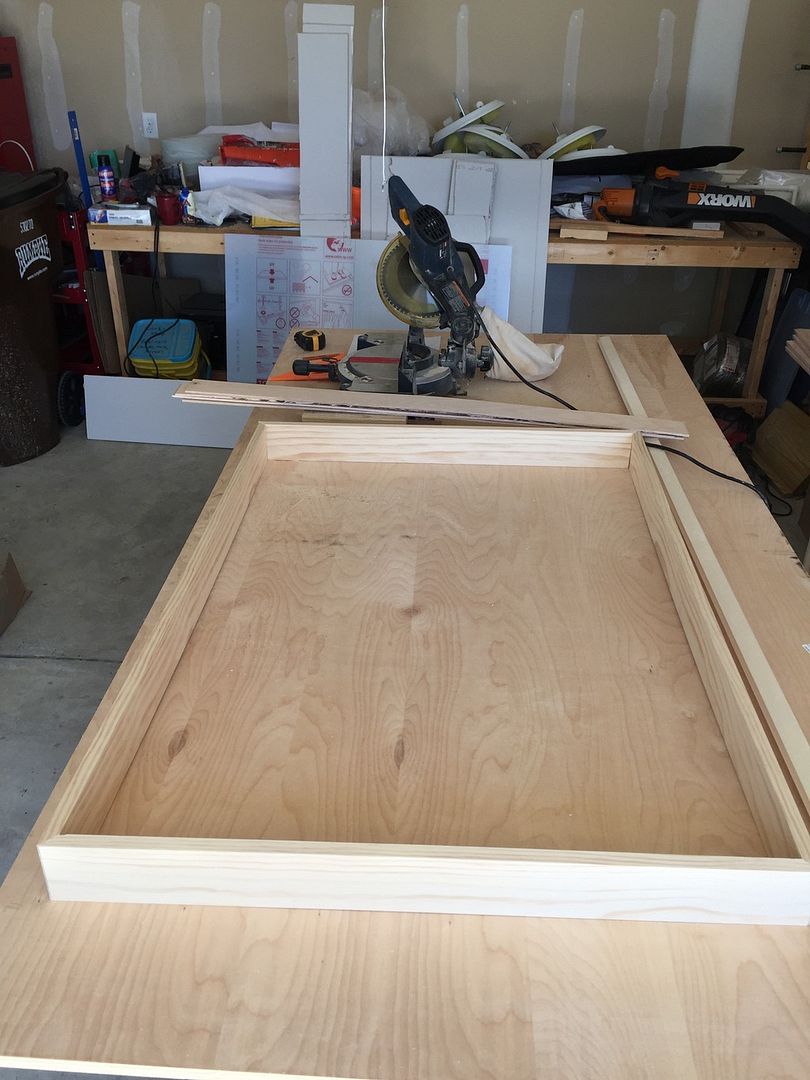 |
| Humble Beginnings...the outer frame |
 |
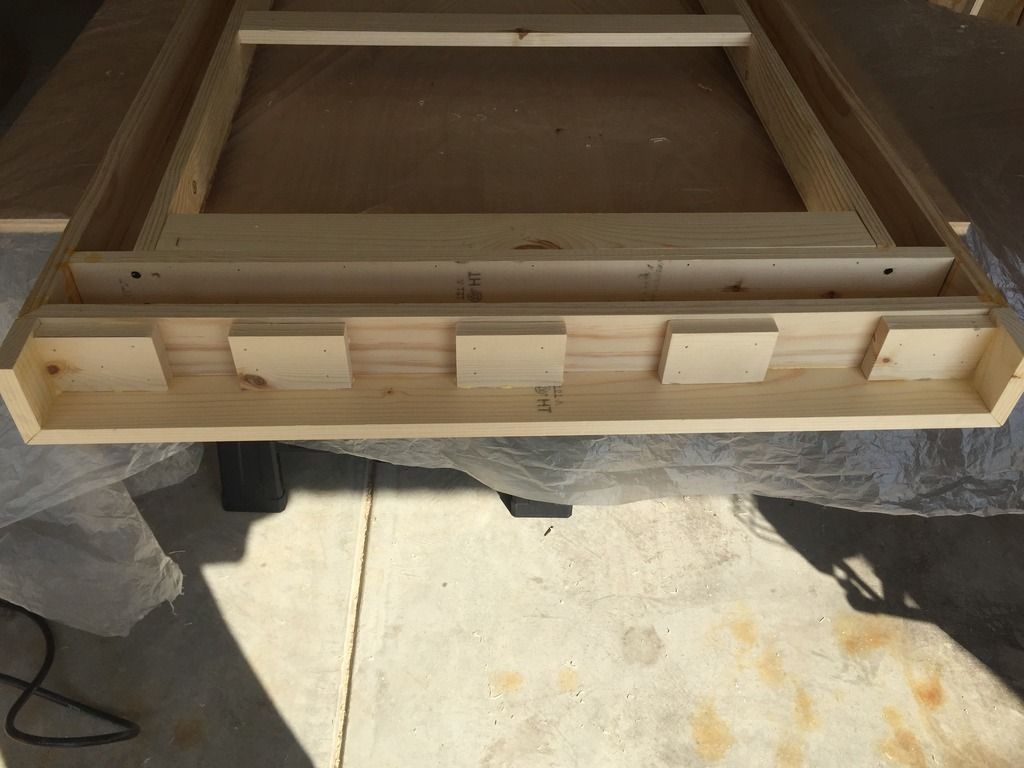
| 3" Recessed Boarder |
 |
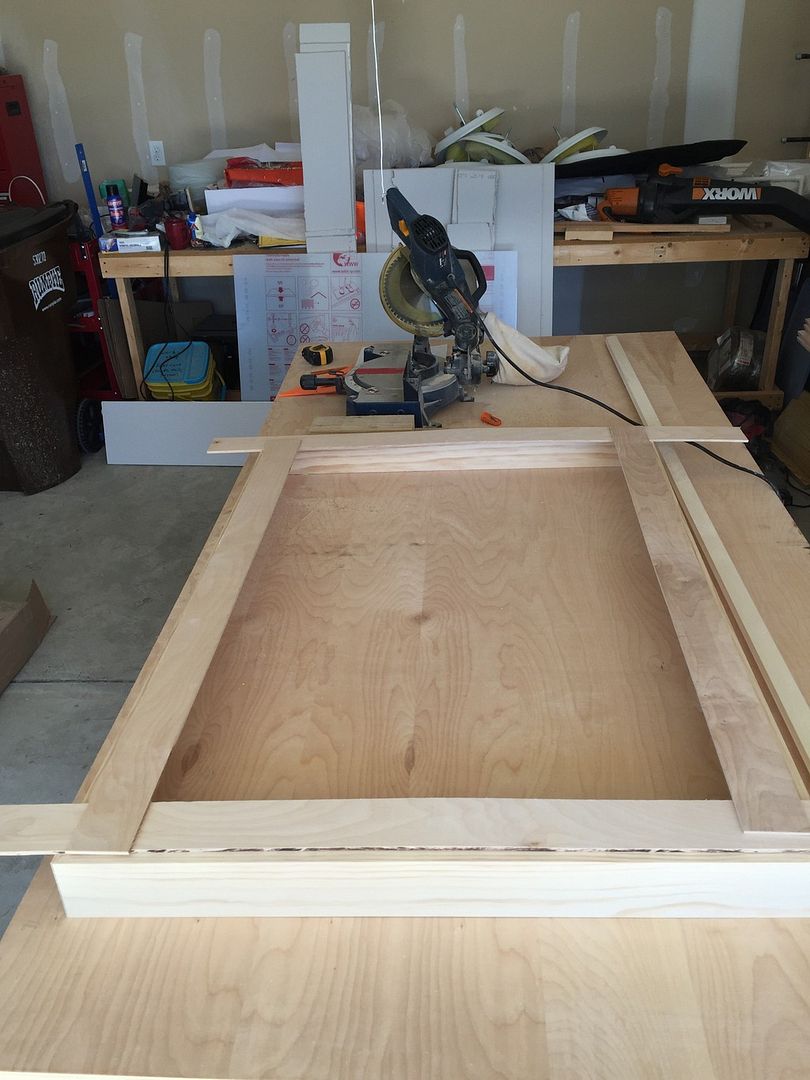
Dado cut for 3" x 1/4" Birch strips. Didn't actually use a Dado blade, just
made 2 passes with a regular saw blade moving the piece over 1/8" of an inch. |
 |
| All dry fit and ready for assembly |
 |
| Glued and nailed together with wood putty in all the nail holes |
 |
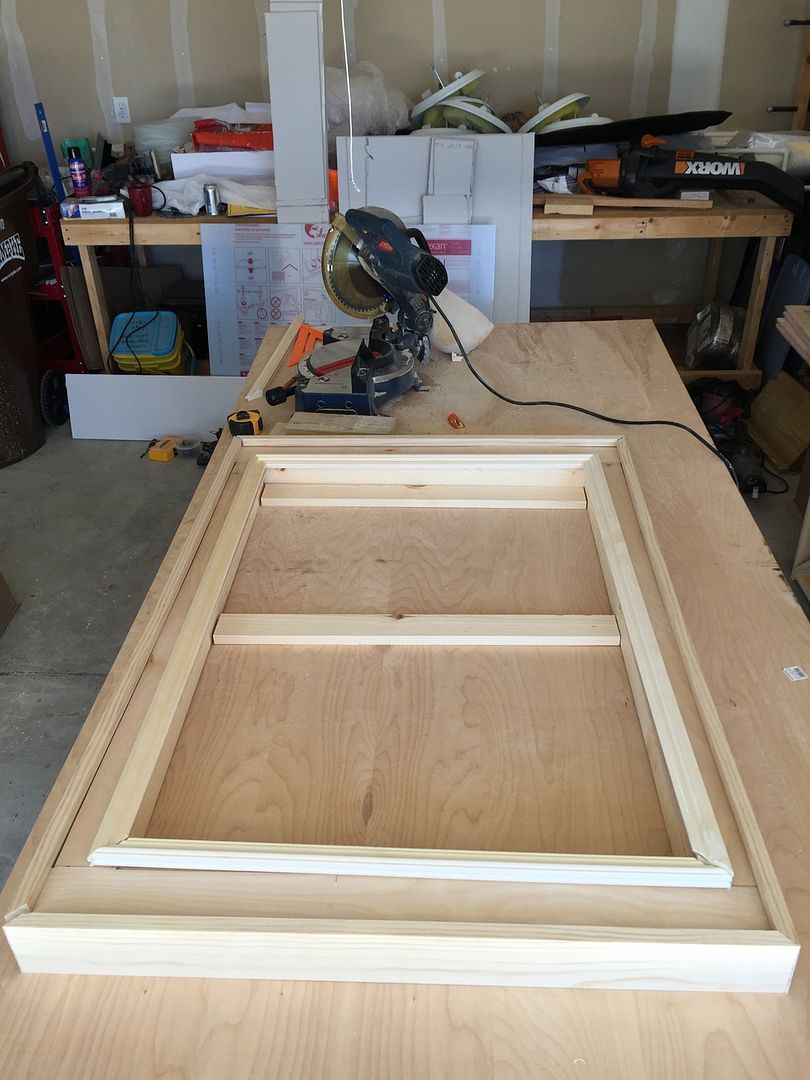
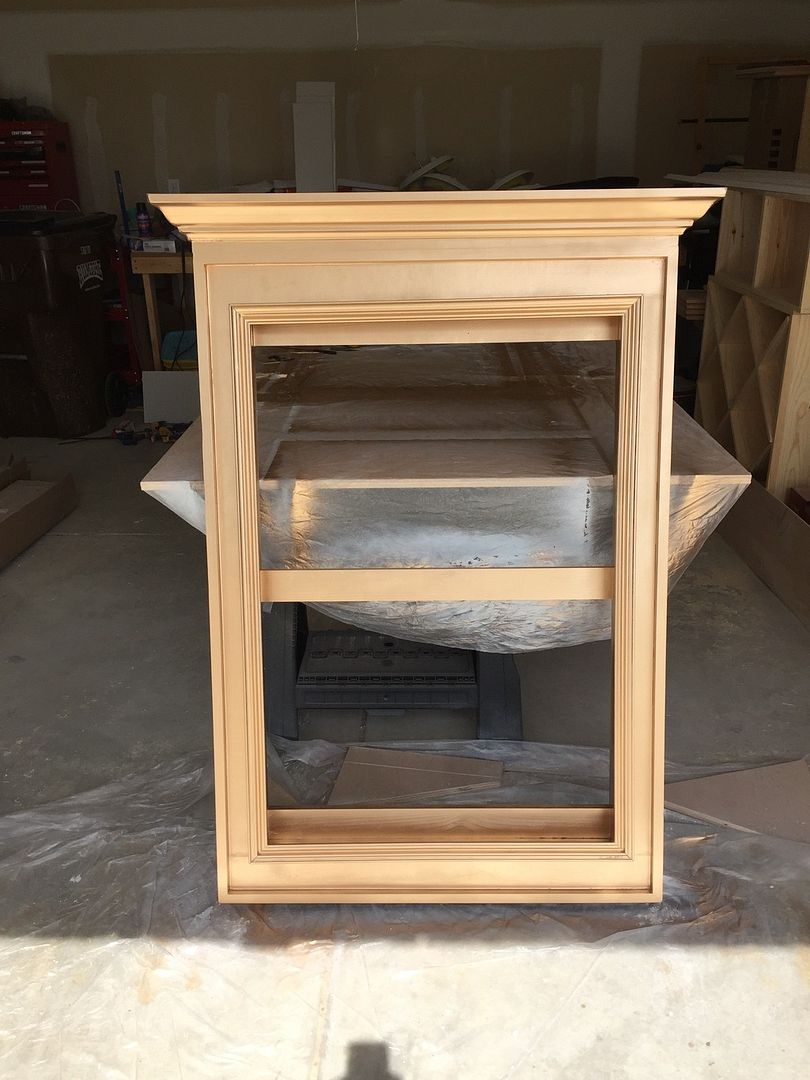
We made an 11th hour change. We had some scrap left over from other
projects and this one, so decided to build up the top and add crown |
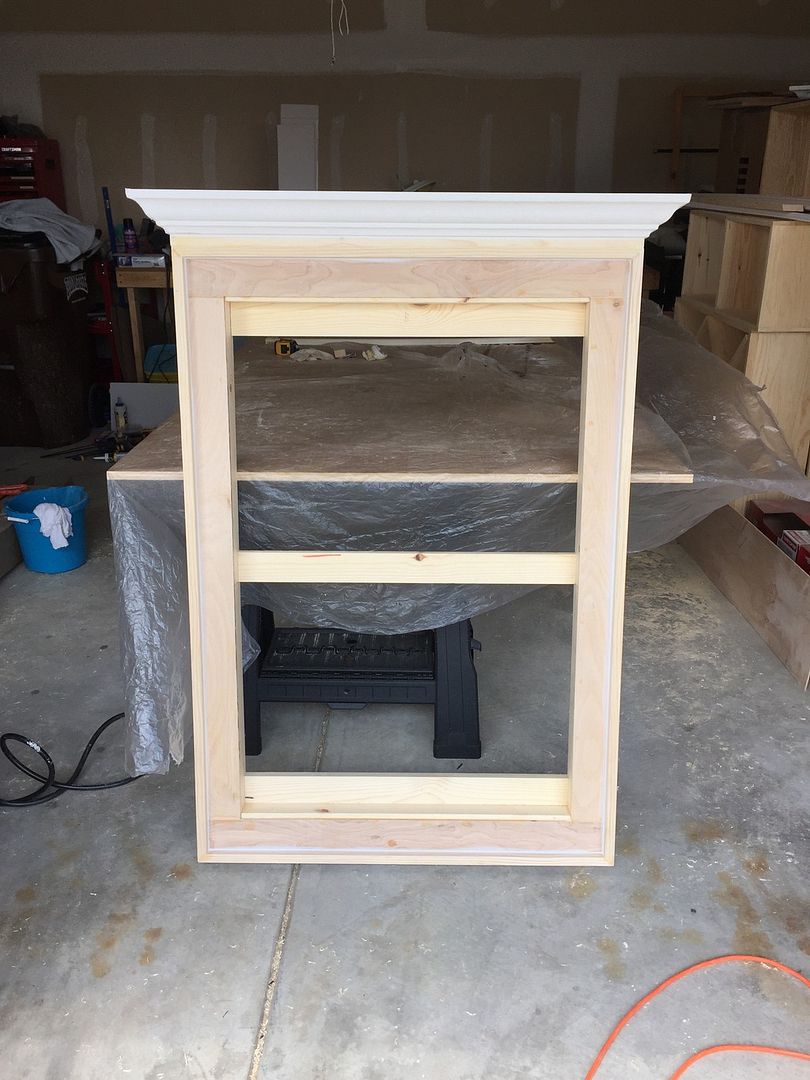 |
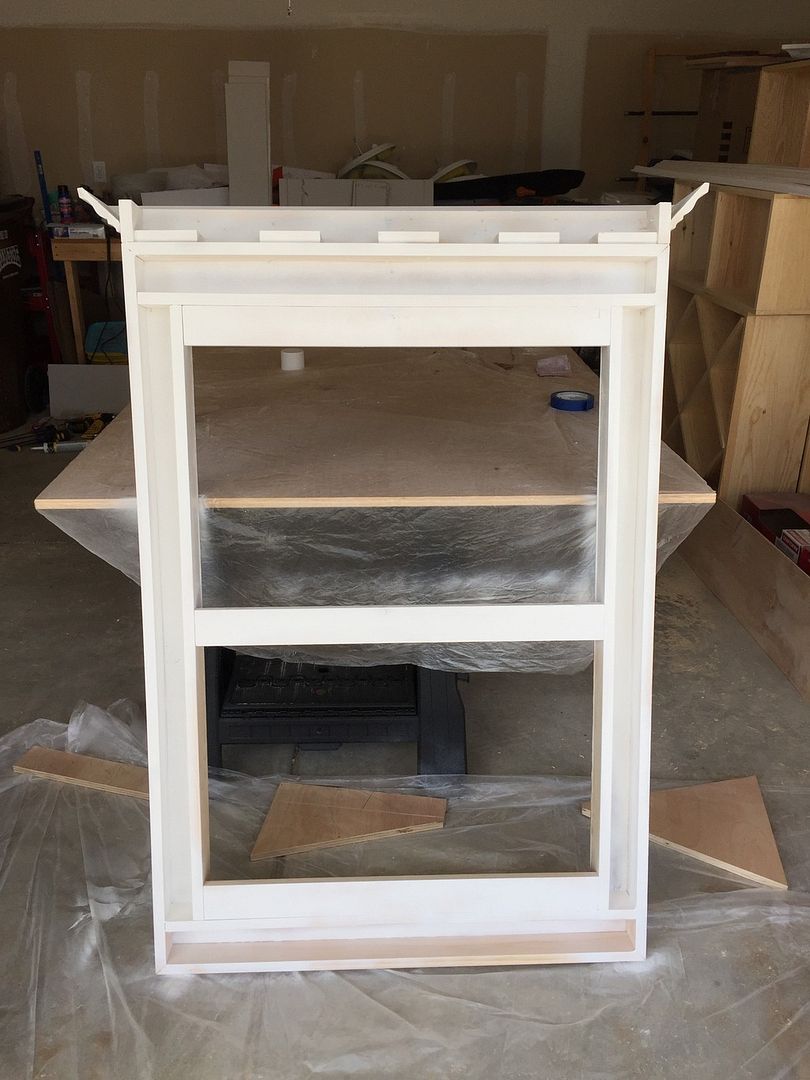
Final product with crown. We also caulked a few of the
seems in this pic too. |
 |
| Back view... also starting to spray Kilz primer. |
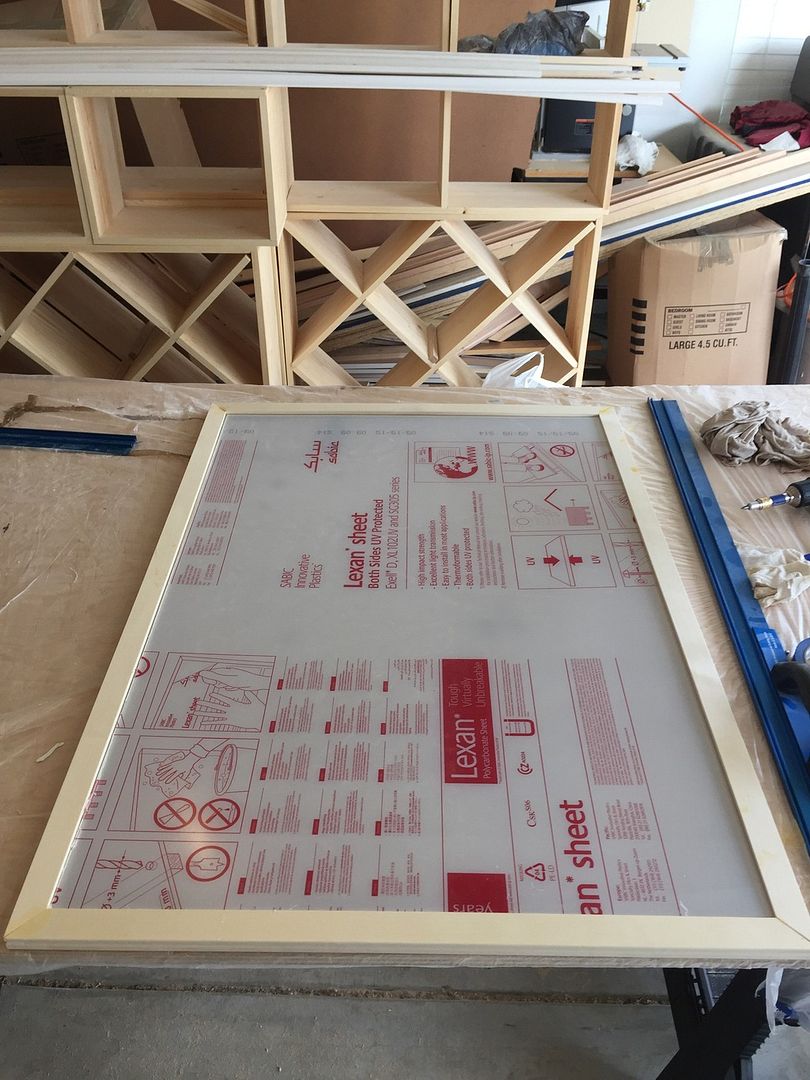 |
Lexan cut down to size and added to custom picture frame
we made. |
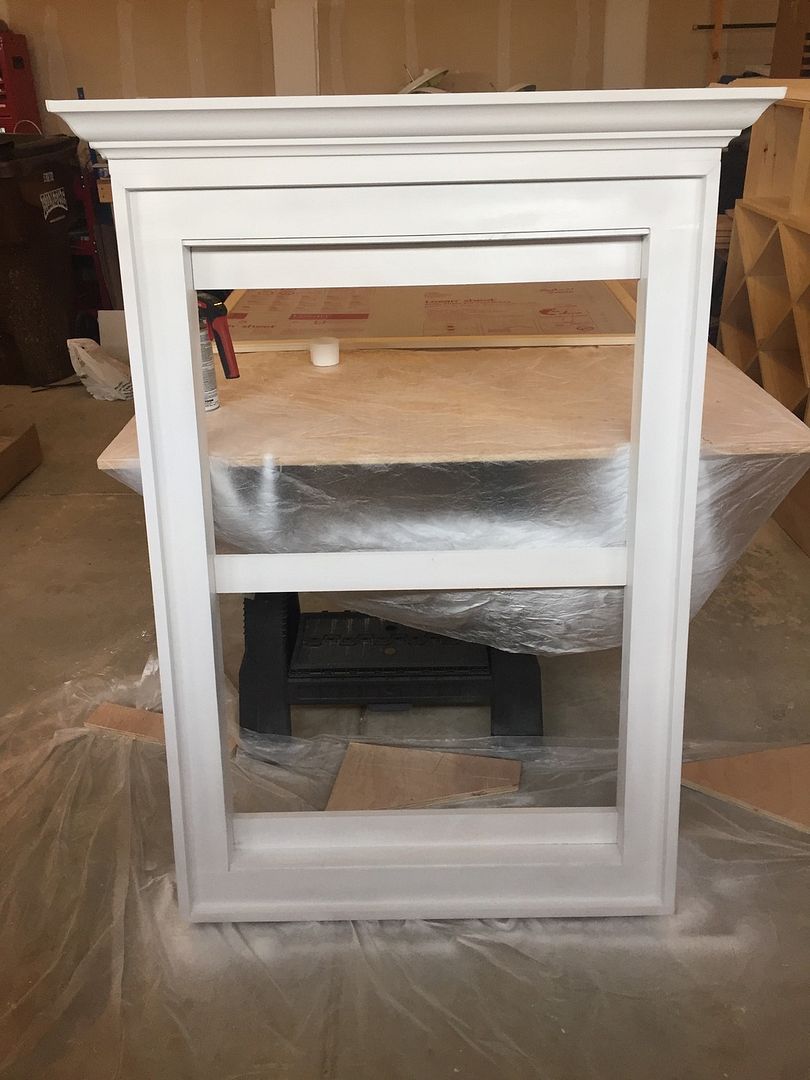 |
| All primed, ready for paint |
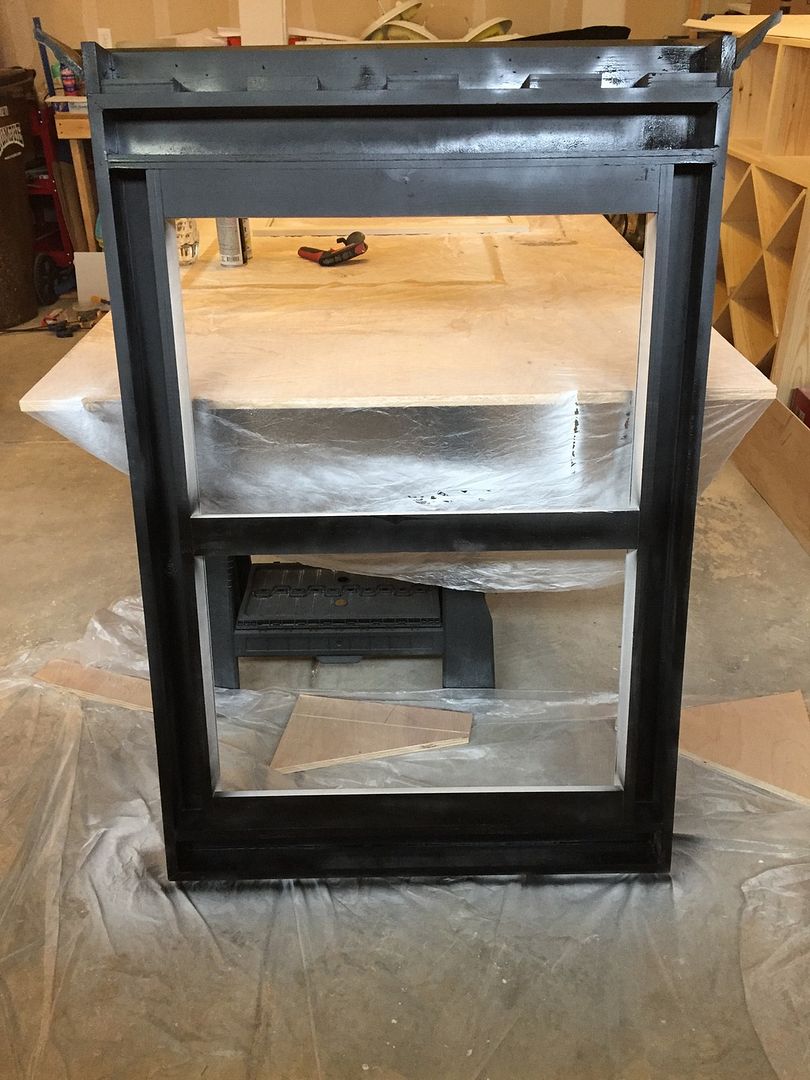 |
We just hit the pack with flat black to seal the wood and
give it a finished look if you were able to see the back at all |
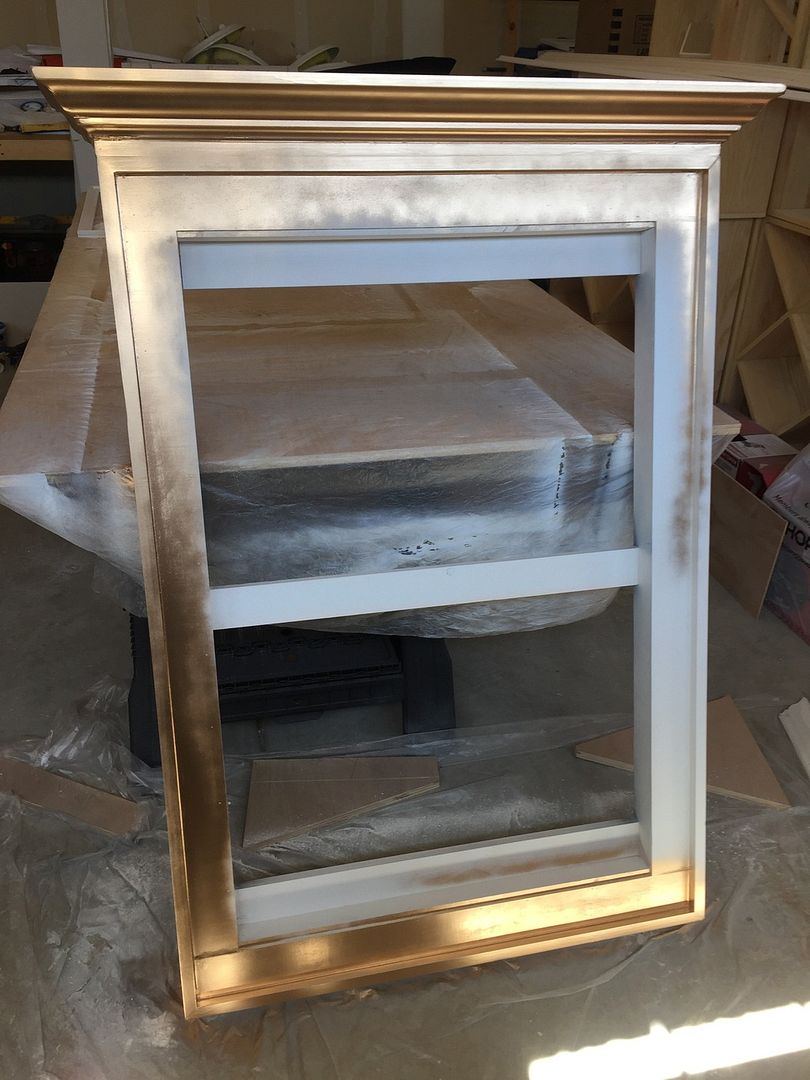 |
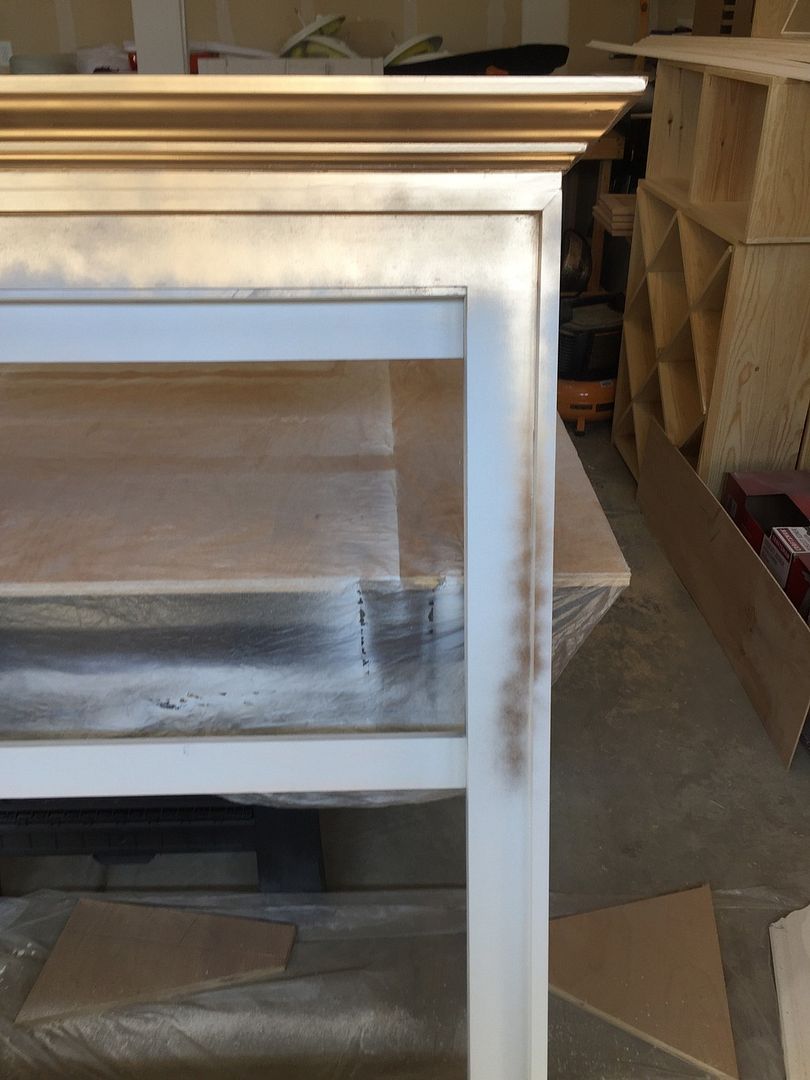
Painting on the metallic gold paint. Of course
EVERY imperfection is showcased with this stuff.
Ugh... next time we will do better. |
 |
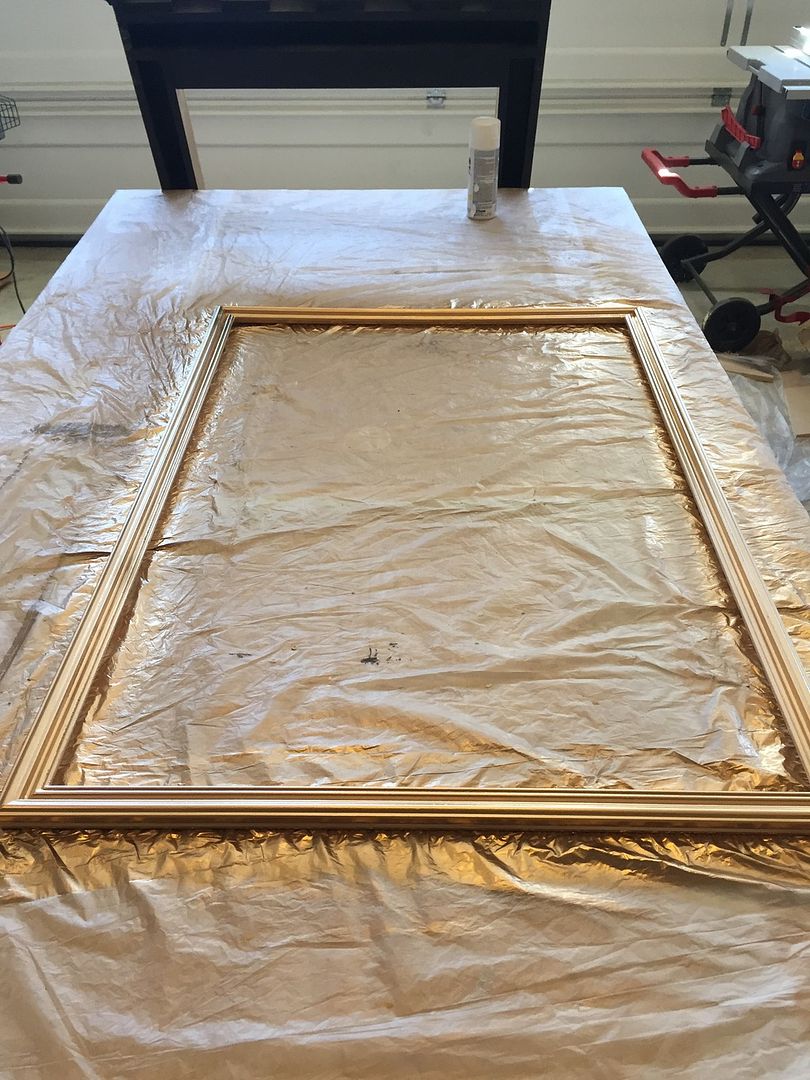
| All painted |
 |
| Picture frame painted |
 |
| Movie poster case with picture frame attached |
 |
Frame mounted and Lexan installed. We are going to
paint the wall behind these flat black. |
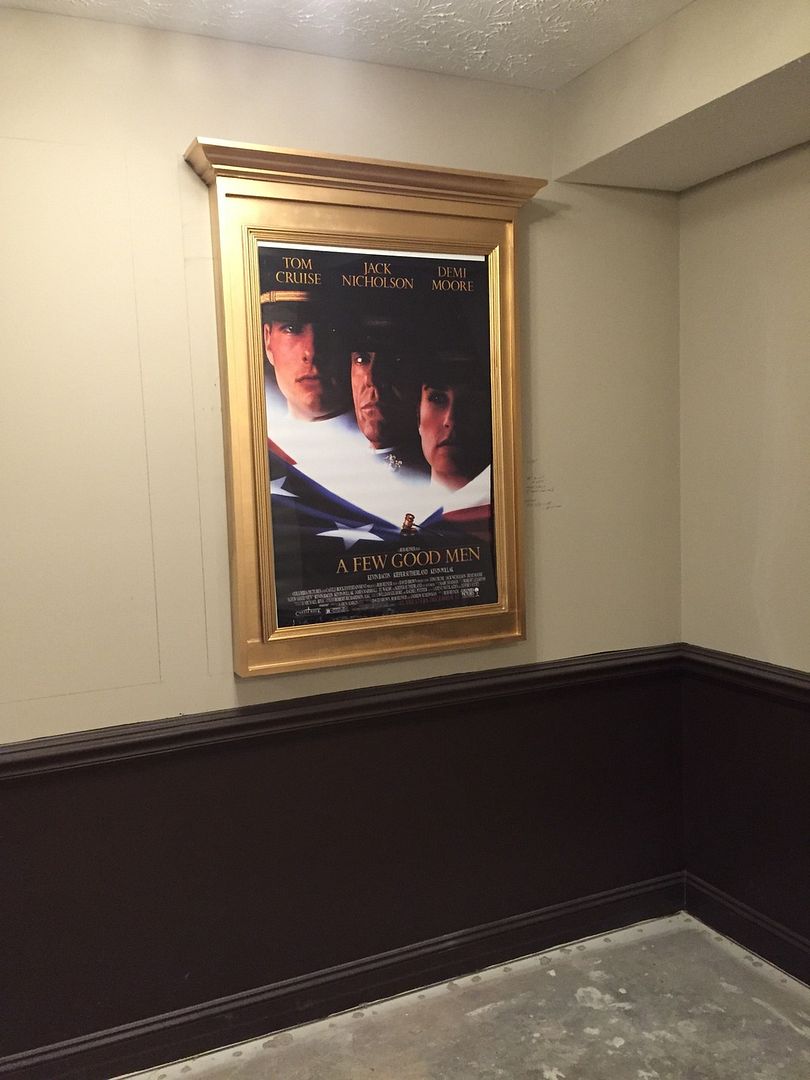 |
Poster added... we hadn't mounted the poster to the
poster board yet, so you can see a little white at the top. |
 |
You can kind of see some lines on the wall where we
laid these out. We had to move them over 2.5" after
adding the crown molding. |
+Cleaning+041.JPG)
+Landscaping+Day+2+035.JPG)


+PreSettlement+Walkthru+001.JPG)
+Granite+Countertops+001.JPG)

OMG! That is so awesome! Such talent!
ReplyDeleteThanks guys. This is the fun stuff!!! :-)
ReplyDelete