+Cleaning+041.JPG)
+Landscaping+Day+2+035.JPG)


+PreSettlement+Walkthru+001.JPG)


So while the mud was drying we:
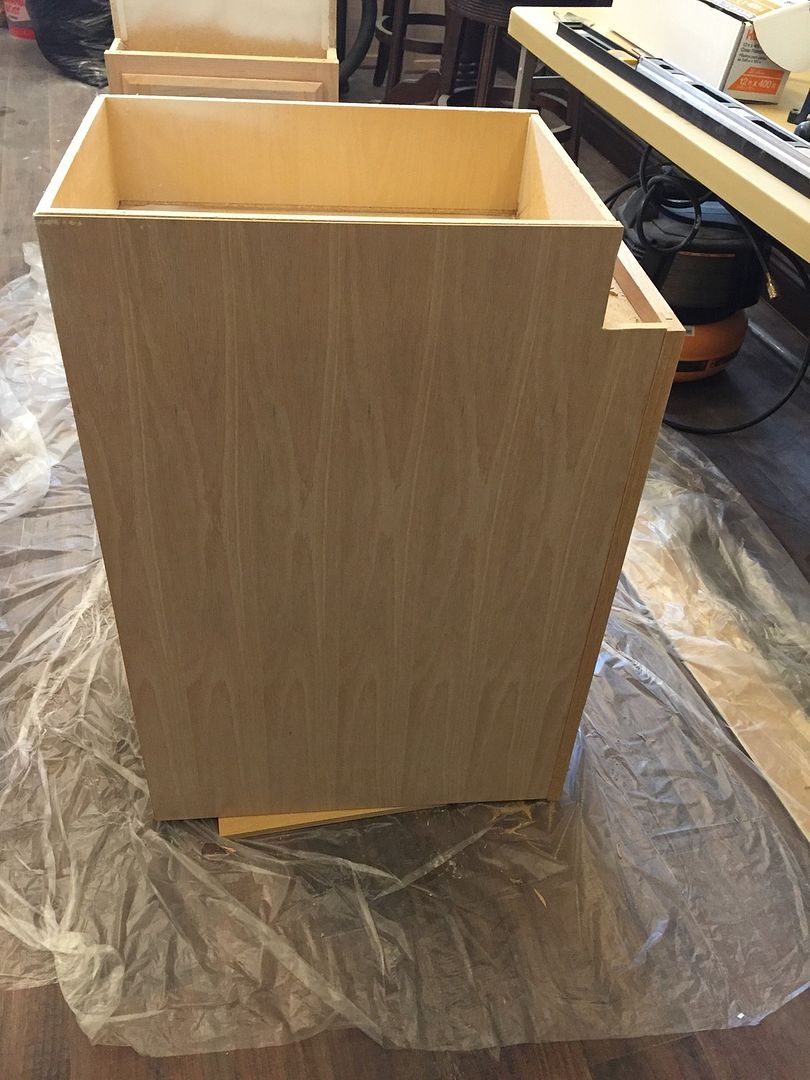
- Laminated the oak veneer to the outside lower cabinets
- Leveled and mounted the lower cabinets to the back wall
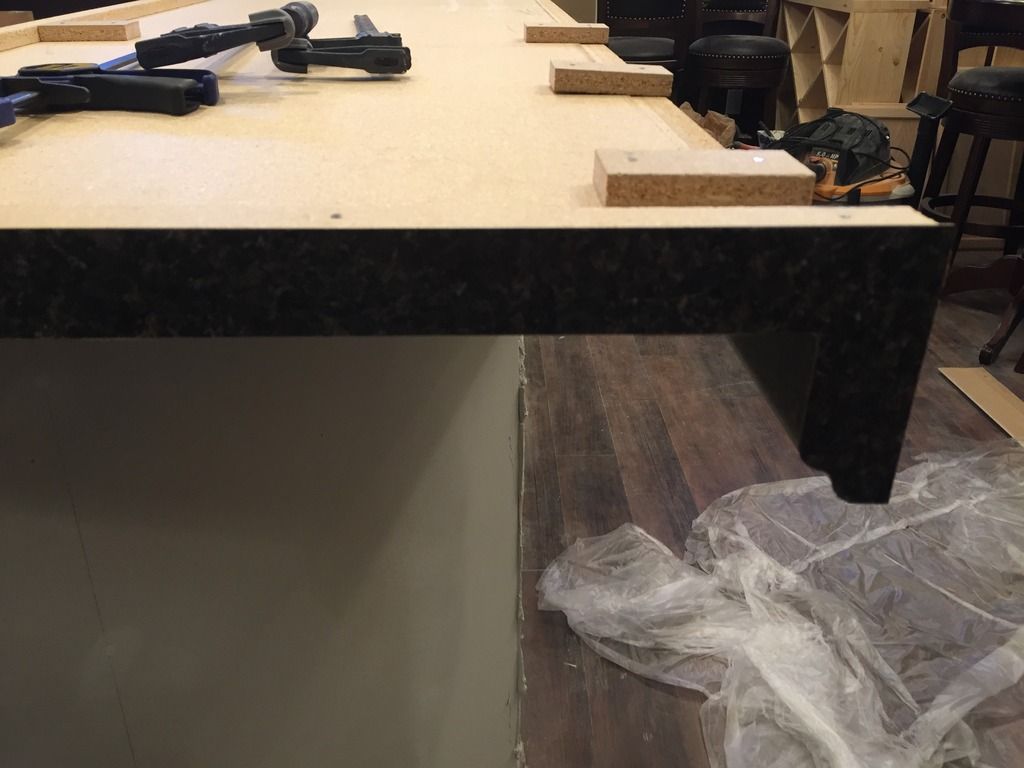
- Put build up blocks on the longer counter top for the back wall
- Attached the laminate end caps on the counter top
- Finally, we cut the holes for the sink and faucet.
We will probably plumb all that after applying the next coat of mud.
Laminating the oak veneer to the cabinets. With he first ones I used wood glue. It worked but I didn't like how the panel moved around and even when done there were spots that didn't quite adhere all the way. Also, it kept moving around and required a lot of even weight to keep it in place.. and took a while to fully dry. I found a Locktite laminate adhesive in a spray can at the home improvement store. WOW! this stuff is NO joke. You spray it on each side, wait 1-3 minutes, then put the two pieces together and use a rubber roller to ensure proper bonding. It's completely dry within 15 minutes... but honestly isn't' moving once you put the pieces together. You have NO ability to adjust once you put the piece down. So you have to line it up the first time; which isn't too difficult if you are careful. I was also really concerned about putting the veneer on the uppers using wood glue because they were already on the wall. Using this method, no slipping, no need to clamp or add any weight. Just spray, line up, stick in place and roll... DONE! I was really happy with how this method worked out and am going to use it on the toe kicks as well.
A quick note on the build up blocks. We didn't use these on the counter top we installed in our media room. For the most part we didn't need them but do notice that the clearance between the top of the drawer faces and the bullnose is right a the height where you will pinch your fingers in between them.
 |
| Upper Cabinet Sprayed with Locktite Laminate Adhesive |
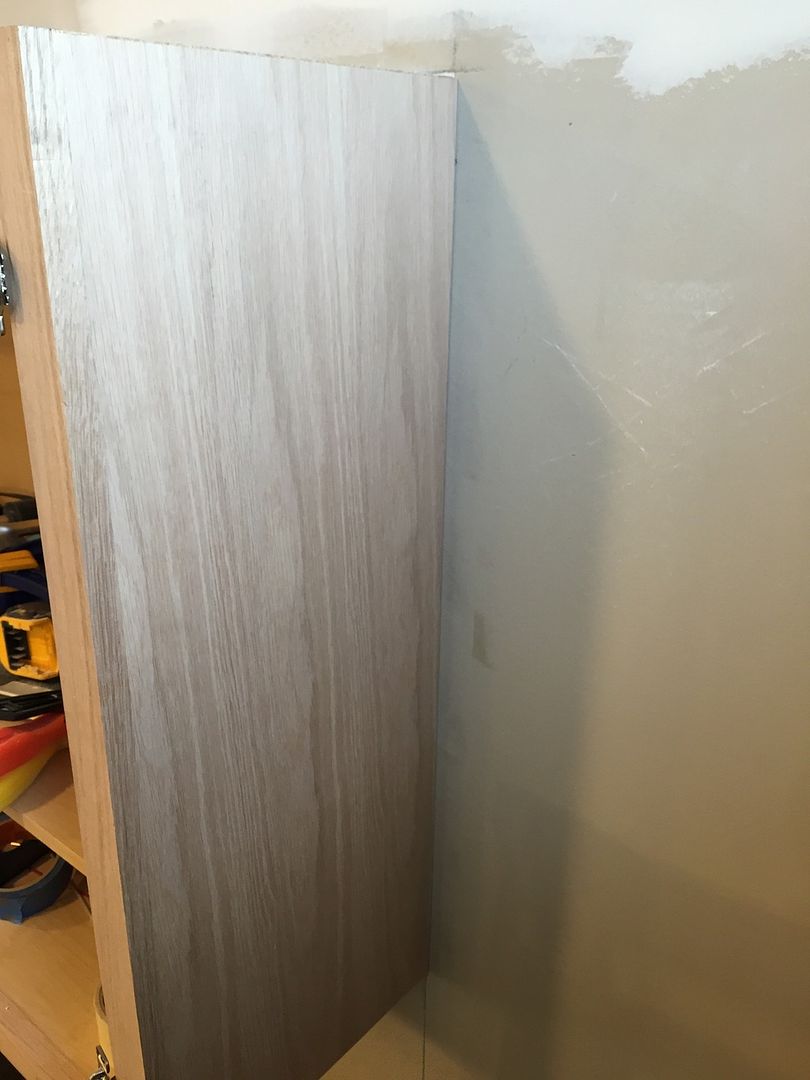 |
| Oak panel put in place and rolled on |
 |
| This is the oak veneer attached and trimmed |
 |
| We had sprayed some Oil Based Kiltz to the bottom of the cabinets that will be against the wall. We noticed some mildew accumulating on them and were concerned that there was moisture building up behind the wall. |
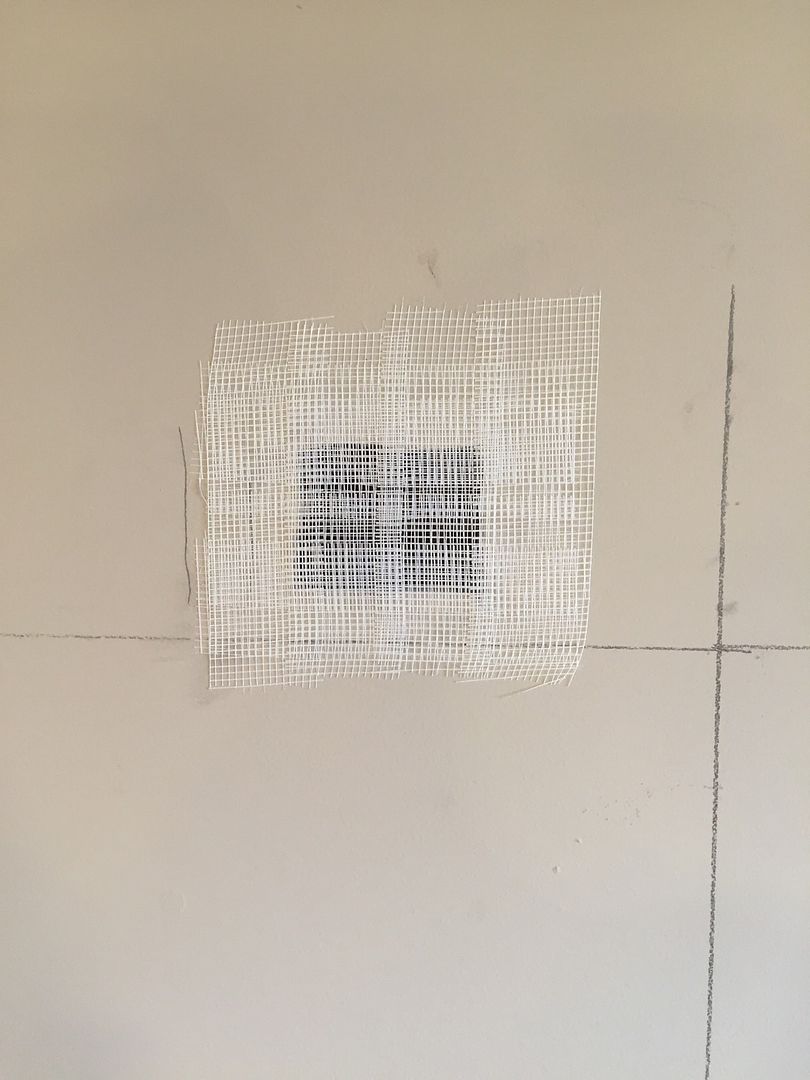 |
| Wasn't having as much success putting blocking behind the sheetrock pieces we had cut out to pull wires. We had a roll of that fiberglass drywall seem tape, so put 2 layers of tape across these small holes, and put drywall mud over them. Will let you know how it turns out. |
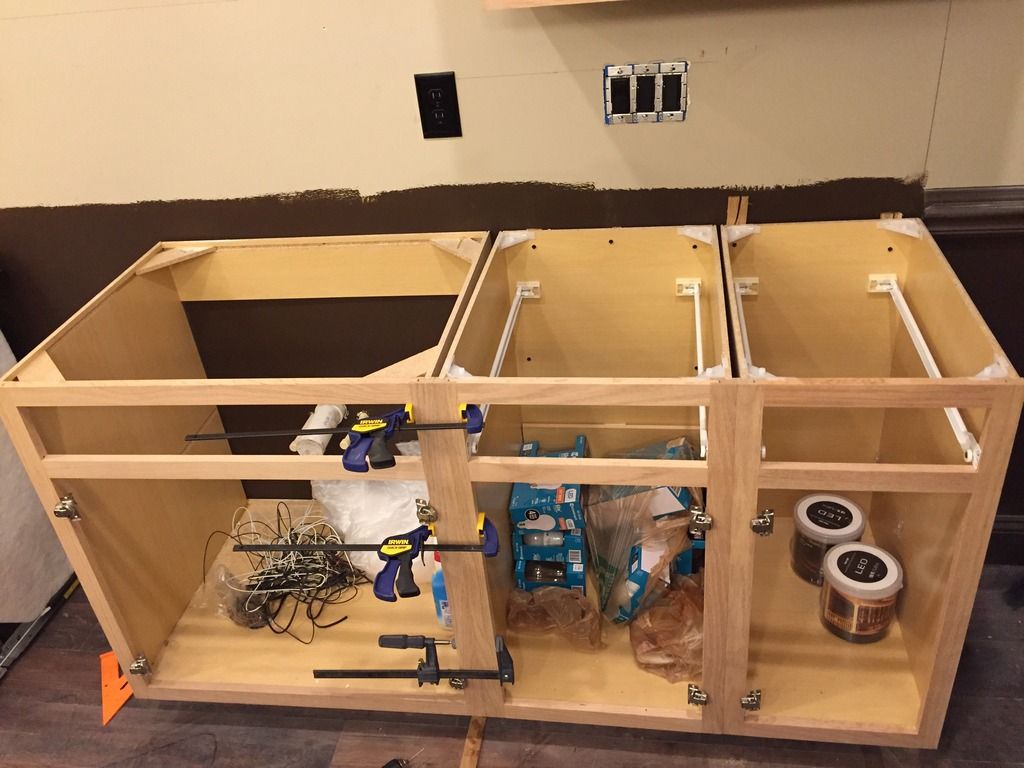 |
| Clamping and screwing cabinet faces together and attaching cabinets to wall |
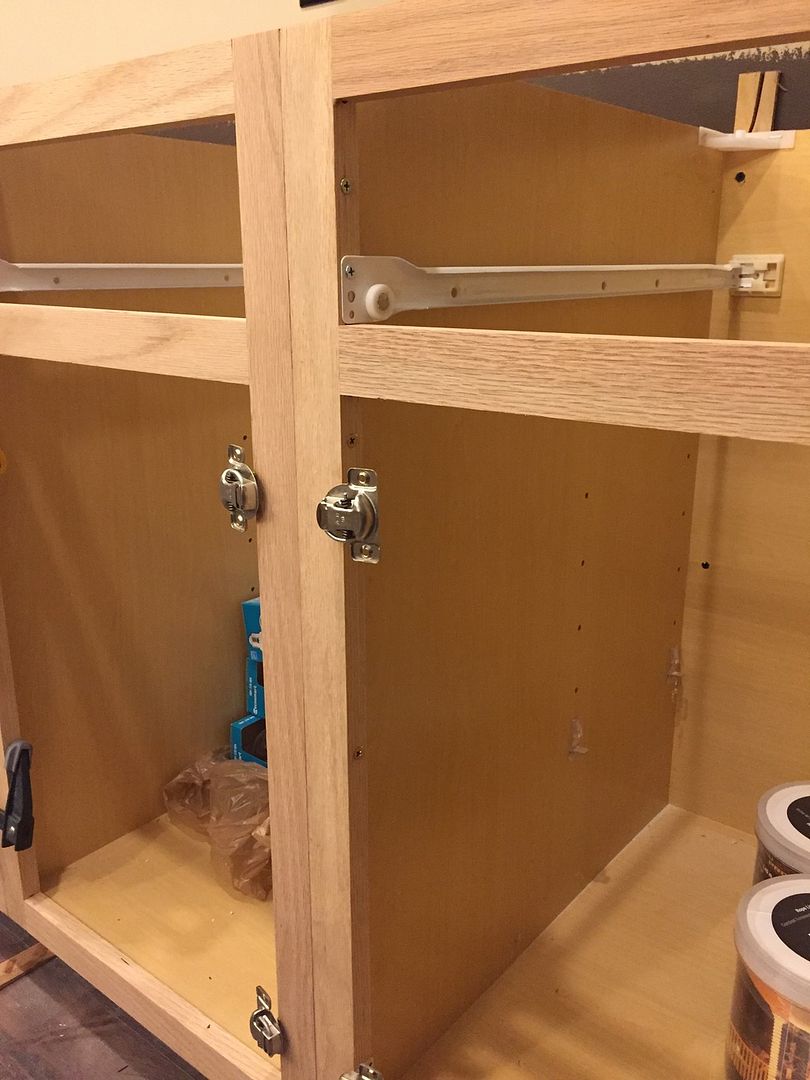 |
| You can sort of see the gold screws attaching the faces together |
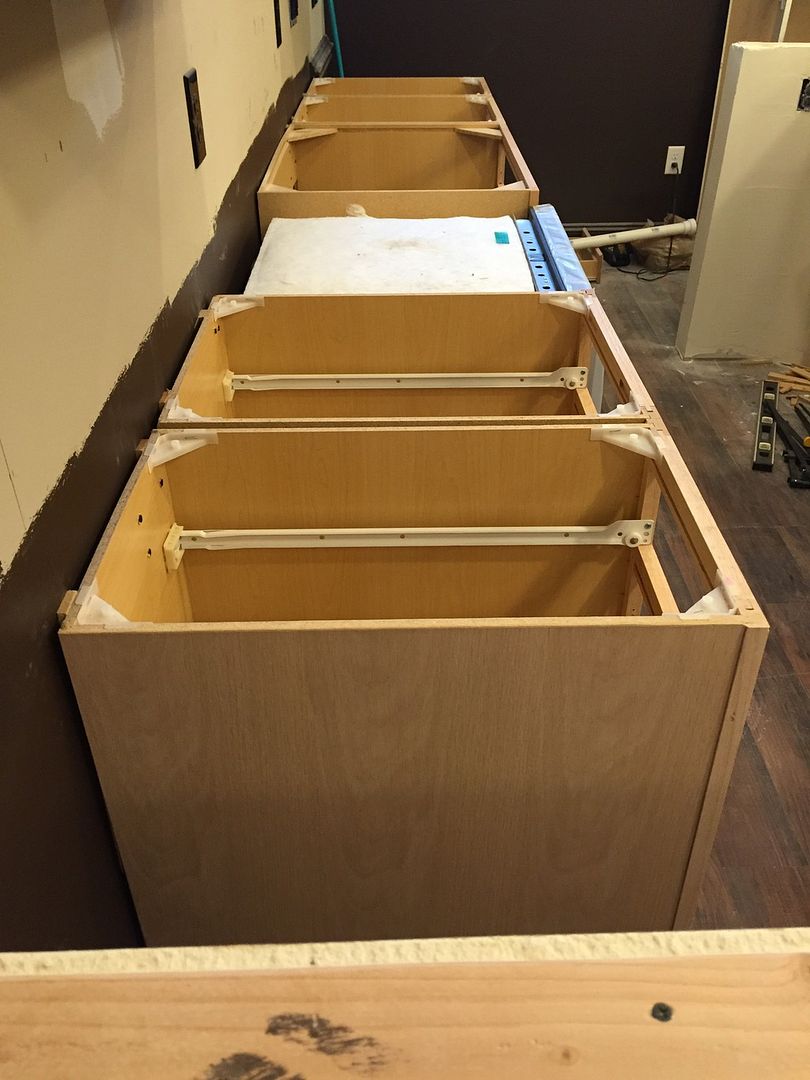 |
| All the lower cabinets leveled and secured to wall |
 |
| Looks kinda straight and level!?! |
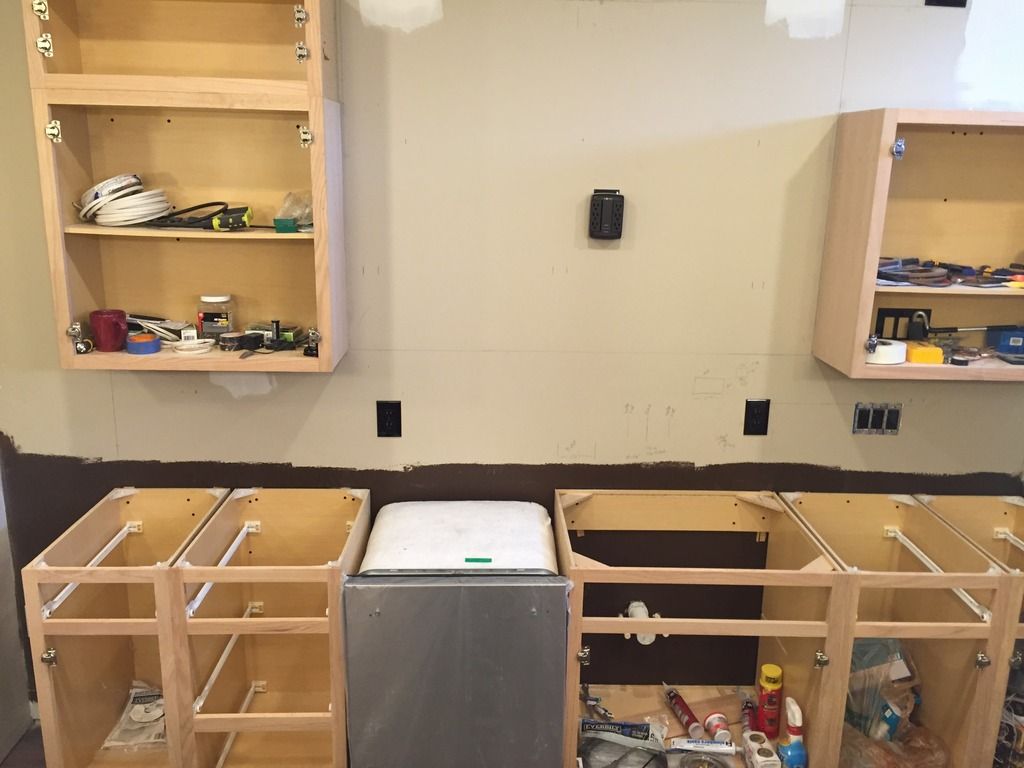 |
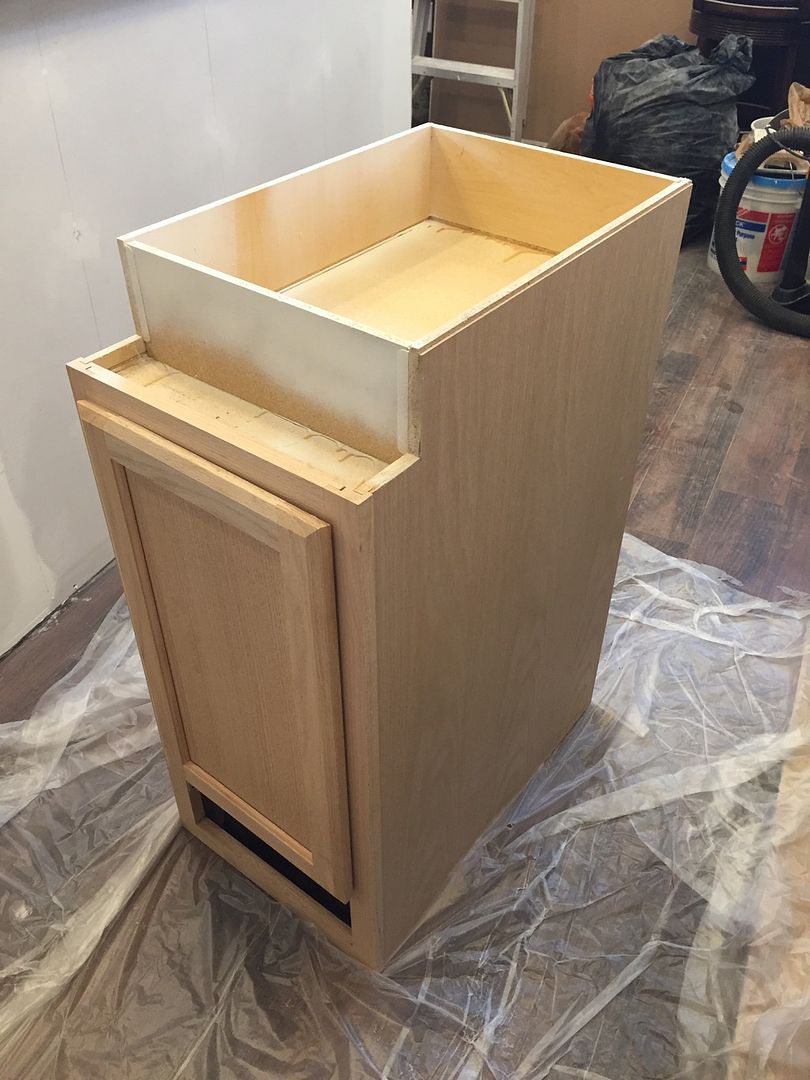
| Front view of cabinets... Please ignore the mess in the cabinets... Lots of supplies and tools. UGH! |
 |
| Adding Build Up Blocks to Counter Top. This is a 10' Counter Top and we used 2 Kits for this. They each have 8 blocks in them and cost around $5 each. |
 |
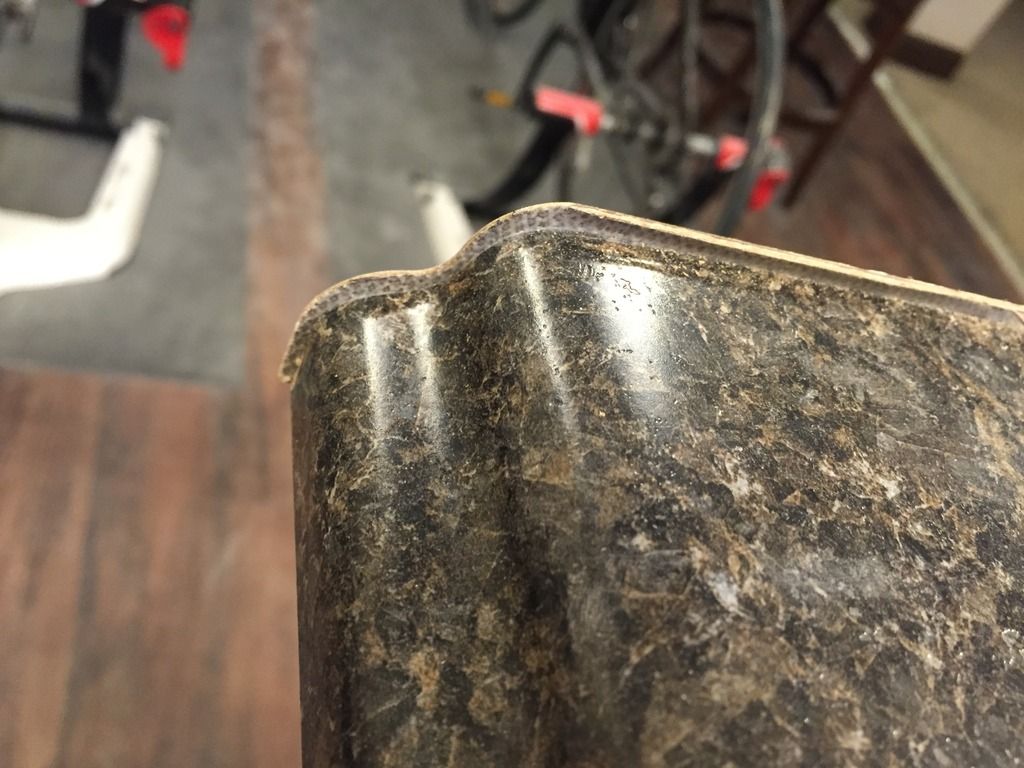
| Laminate End Cap Blocking Installed and Laminate Ironed on. It requires a bit of filing... took a few hours. Mostly because we couldn't find our good files. |


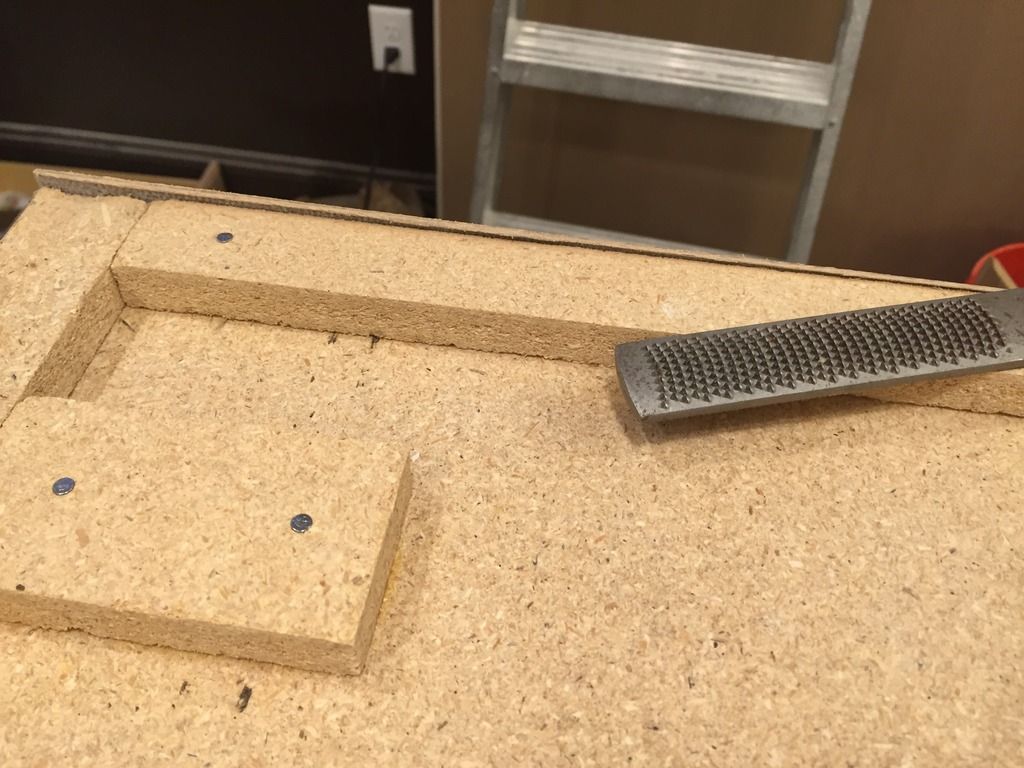 |
| You can see the little lip that is below the block. The laminate has to be filed down to the blocking |
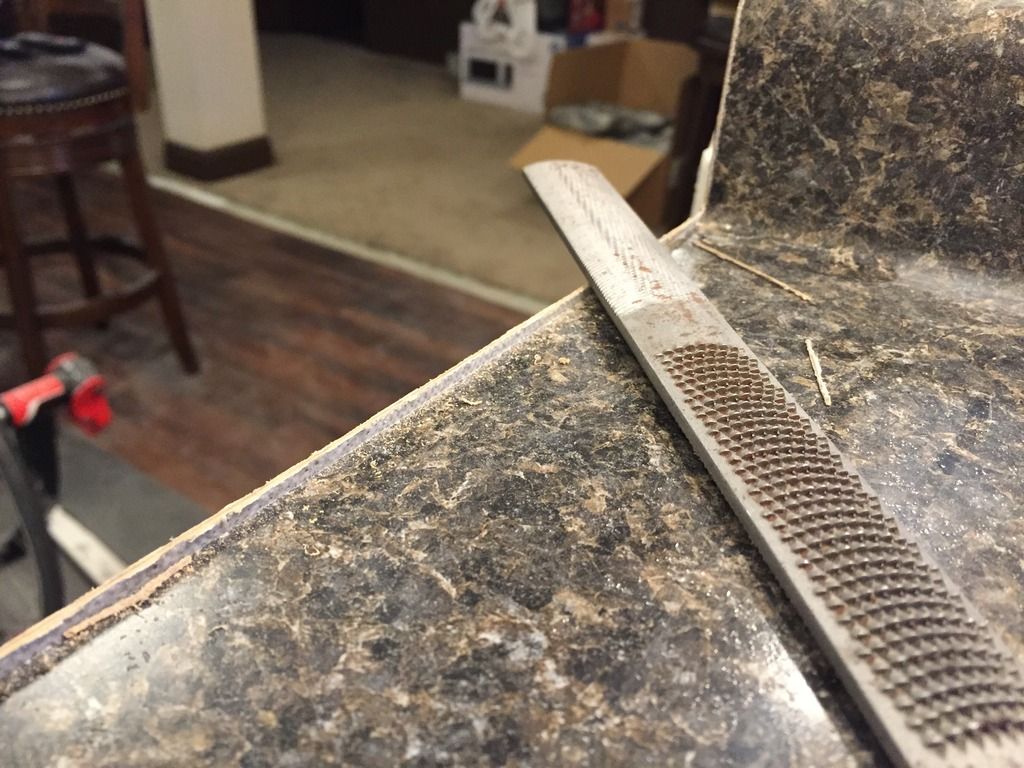 |
| The laminate is being filed down to be flush with the counter top |
 |
| Another shot of the laminate before being filed down |
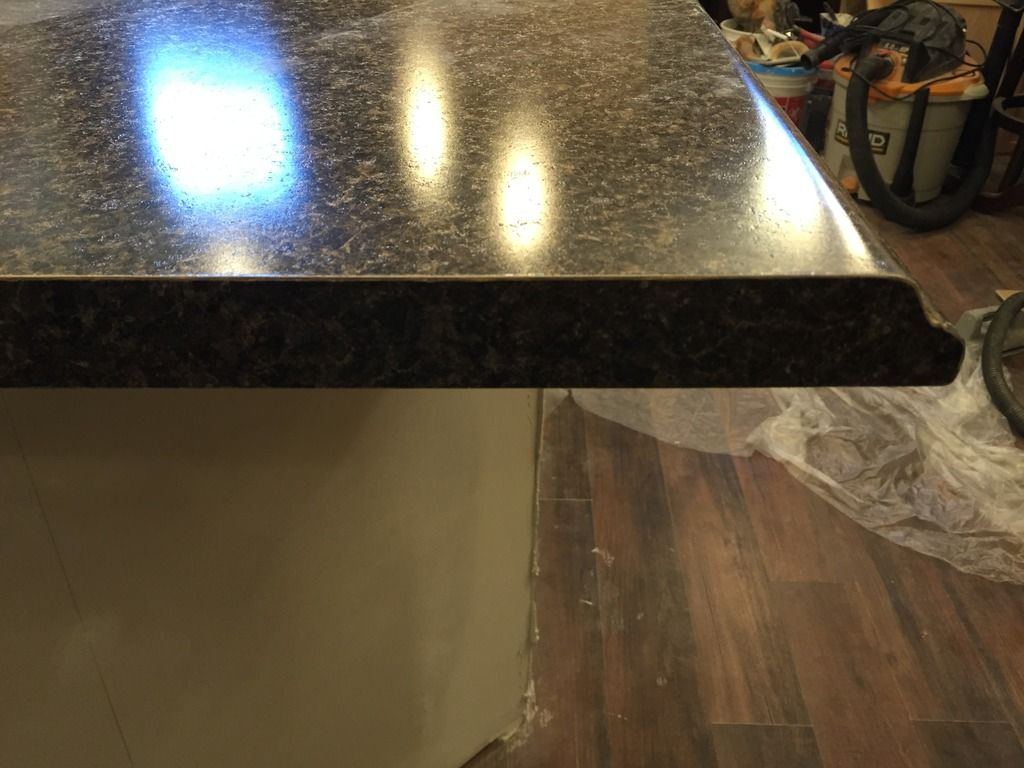 |
| Here is end cap after being filed to shape |
 |
| Trying to figure out where to set sink and faucet. Notice the high speed marking tool! We may have borrowed a White Crayon from our Son!!! Ooops... |
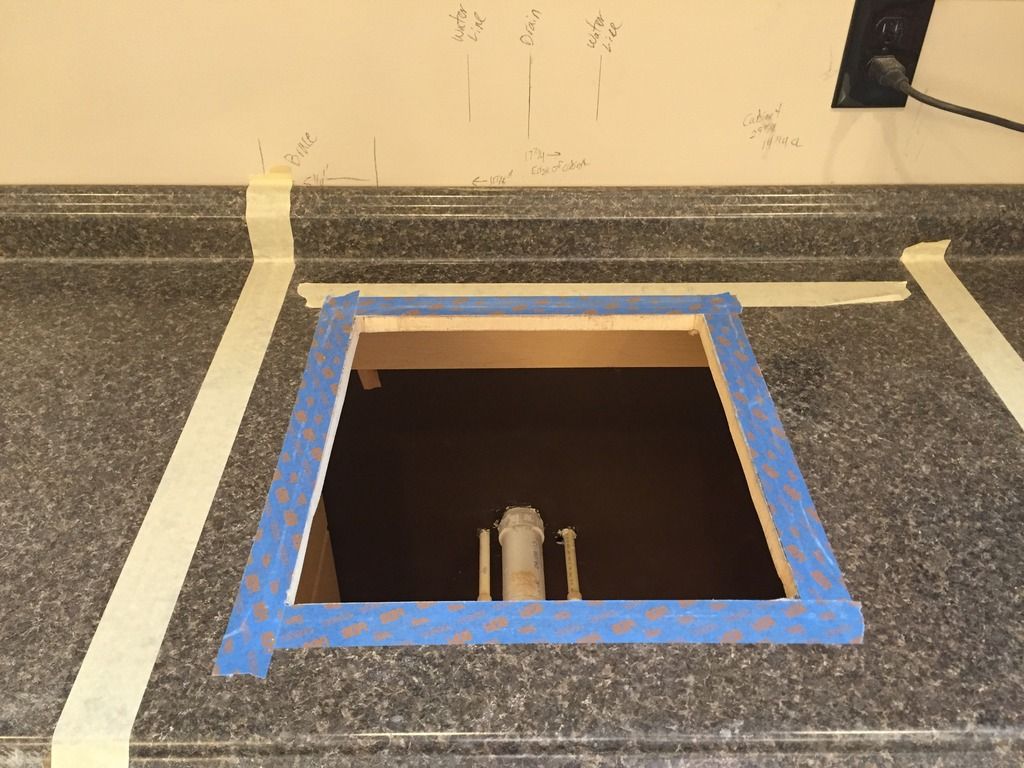 |
| Marked and cut out for the sink. The markings on the wall are where the drain and water lines are below the counter top for reference. Marked this before installing counter top. |
 |
| Sink dry-fit and getting faucet locations to drill holes |
 |
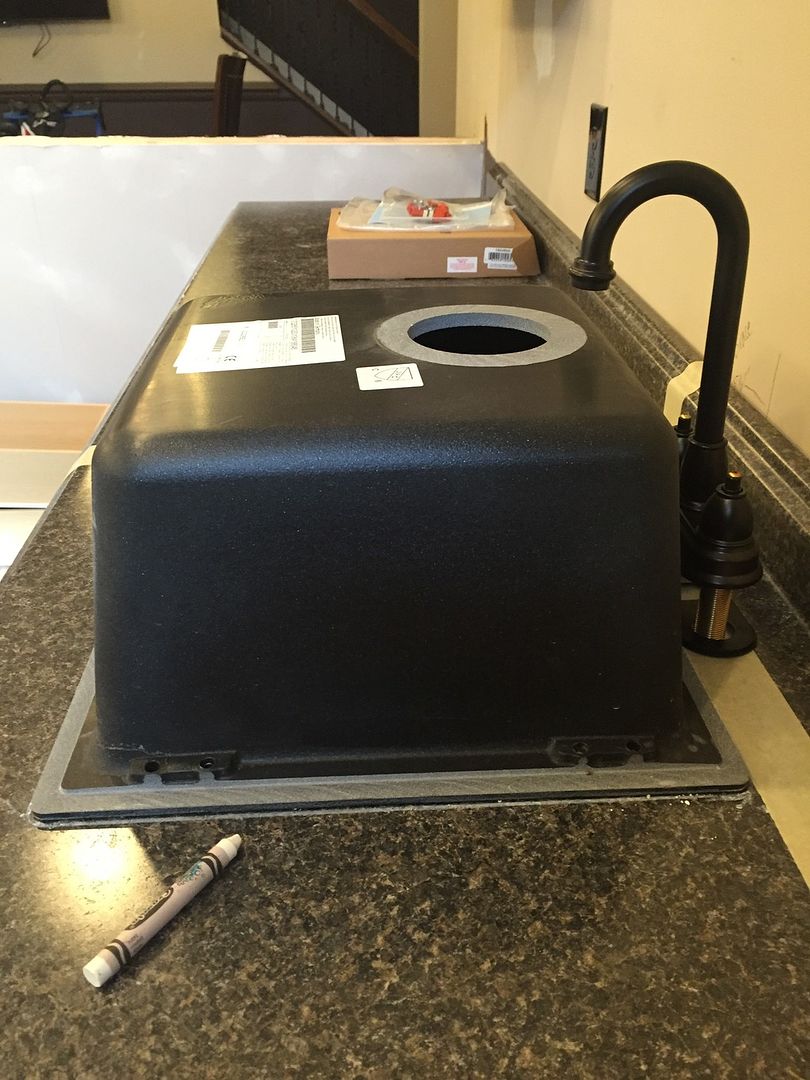
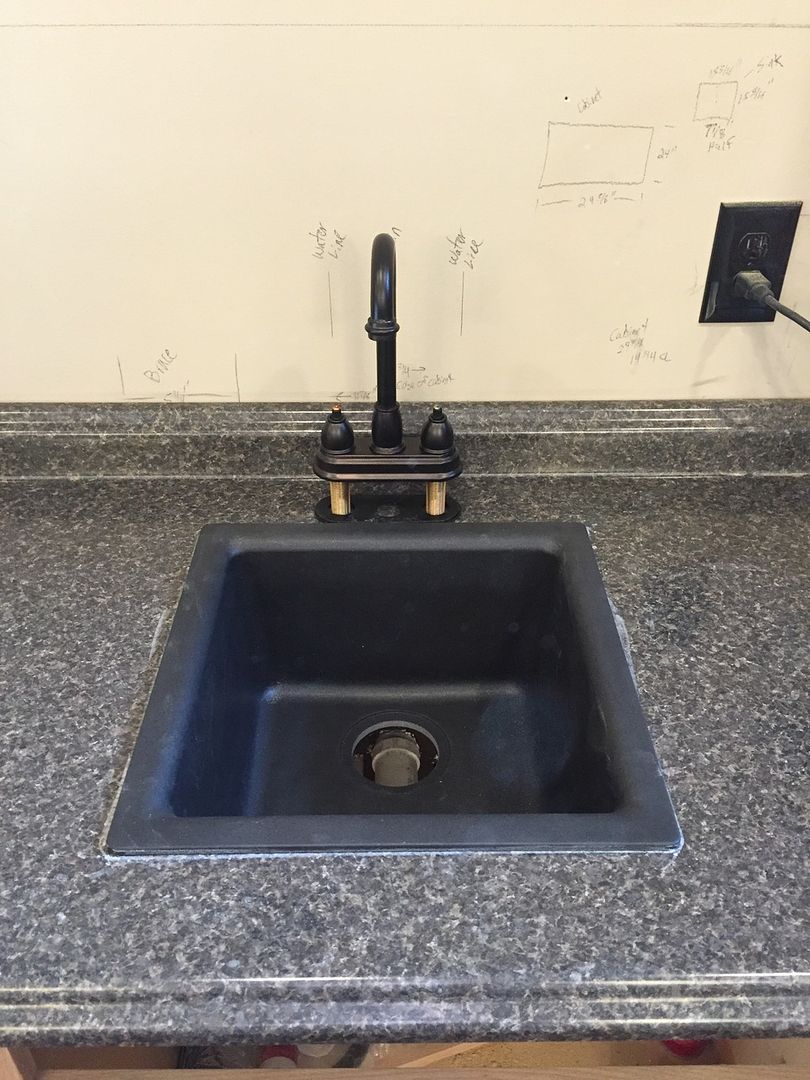
| Sink and faucet just set in place. Still need to plumb everything. |
You all are on a serious mission! I love it! Everything is coming together so nicely. Awesome job! Can't wait to see the completed project.
ReplyDeleteThanks guys. We are starting to turn the corner and see some of the nicer details come to life... the fun stuff!!! Looking forward to seeing more of your Toll Brothers build :-)
ReplyDelete